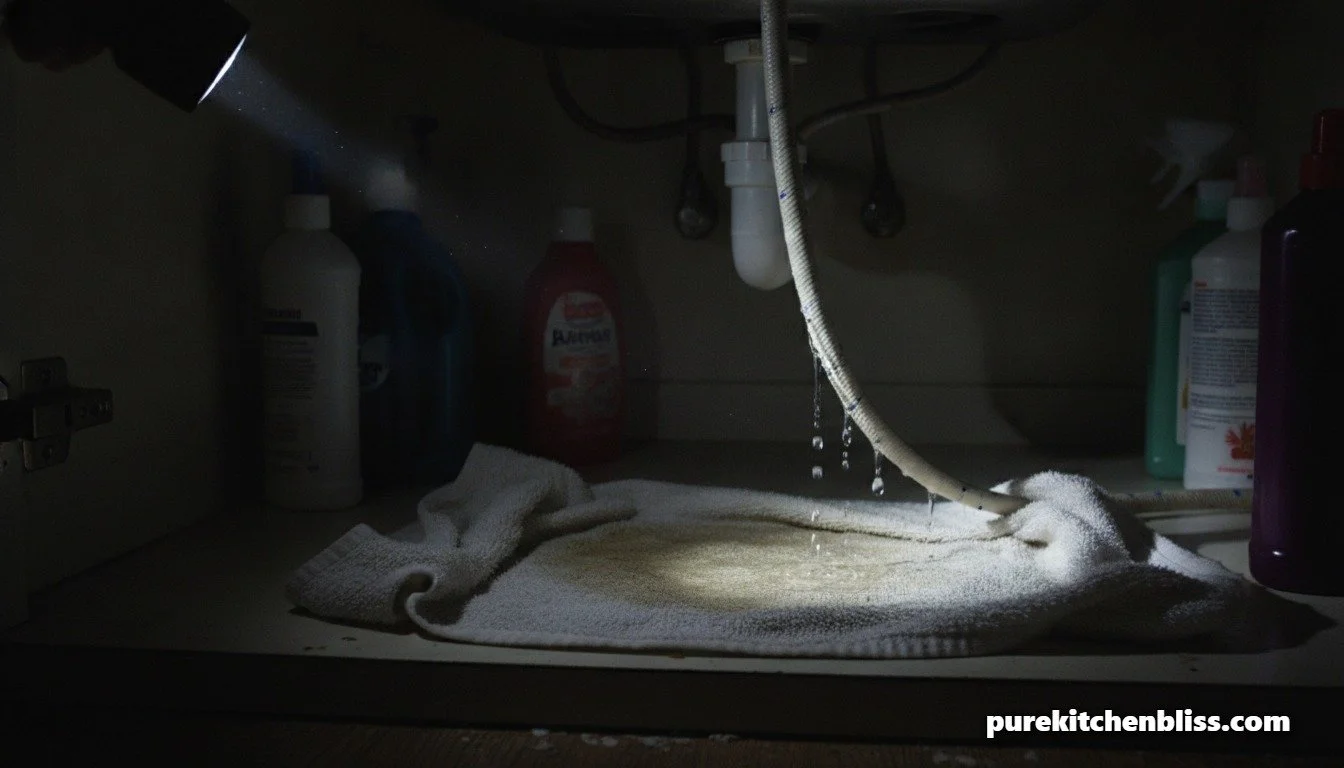
How to Fix a Leaky Kitchen Sink Sprayer Hose Before It Ruins Your Cabinets 🛠️💧
The other day, we looked at how running a fully loaded dishwasher is actually the most sustainable way to tackle the dinner cleanup loop. But no matter how much you rely on your machine, your kitchen sink’s pull-out sprayer hose still handles a ton of heavy daily torque, rinsing off big cutting boards, filling up stockpots, and spraying down the corners of the basin.
With four kids constantly managing their own cleanup, our sink sprayer gets yanked, twisted, and pulled dozens of times a day.
Last week, my oldest went to rinse out a cup and noticed a steady stream of water trickling down the braided line, running straight through the countertop hole and pooling right on the floor of the lower cabinet.
If you don't catch a leak like this quickly, that hidden water will warp your wood base panels, rot your subfloor, and create a breeding ground for mildew. A lot of people panic when they see water under the sink and assume they need to spend hundreds of dollars on a local plumber or replace the entire high-end faucet fixture.
As a builder, my first step is always to look at the mechanical connection points. Nine times out of ten, a leaking sprayer line is caused by a simple worn-out rubber seal or a loose quick-connect fitting. Here is my straightforward, step-by-step dad blueprint to diagnose and fix a leaky sink sprayer hose in under twenty minutes for less than five bucks.
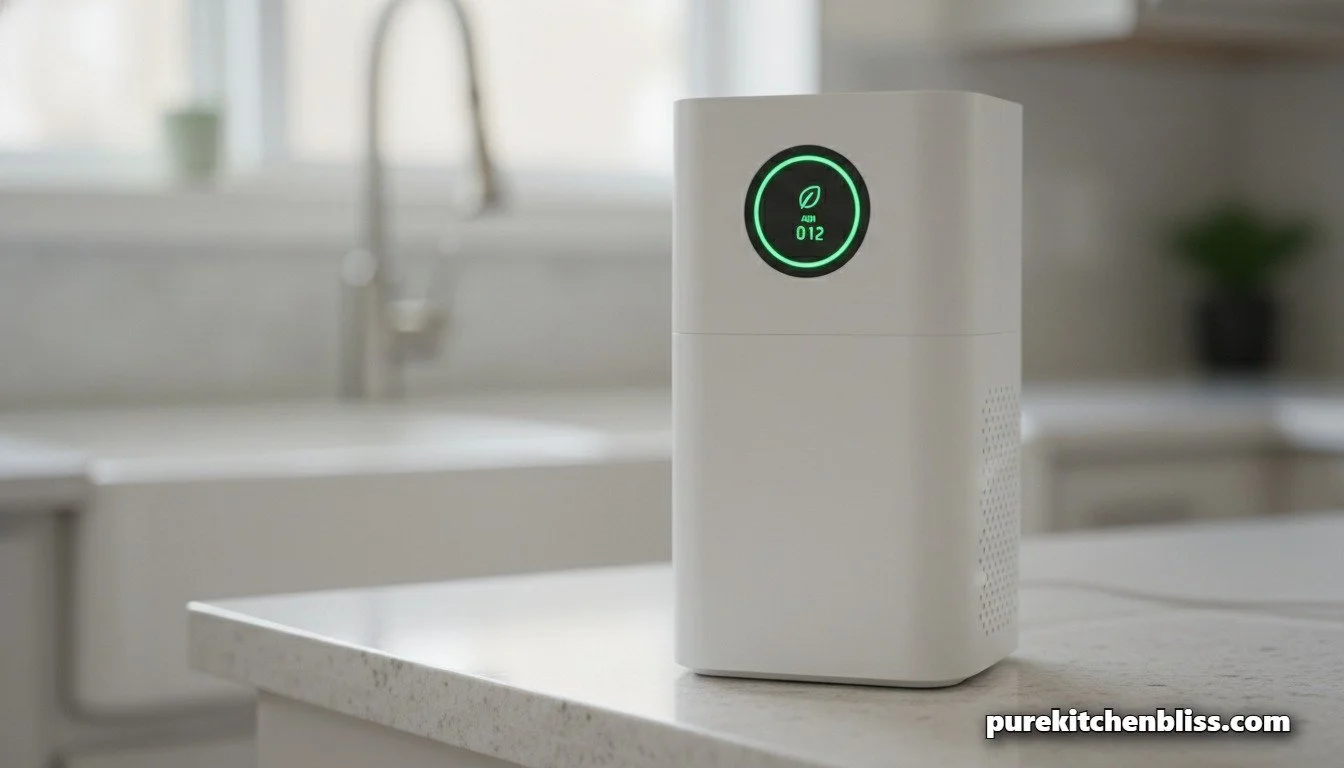
How Do I Improve the Indoor Air Quality in My Kitchen? 🌬️🍳
When we talk about upgrading a kitchen, we usually focus on the tactile elements: the durability of the cabinets, the layout of the island, or how easily we can scratch-test the stone surface. But as a builder, the invisible elements of a room matter just as much as the structural ones.
Data shows that kitchen air can be up to 2 to 5 times more polluted than outdoor air.
Between atomized cooking oils, gas combustion byproducts, and conventional chemical cleaners, the workspace where we feed our families can quickly turn into a stagnant cloud of airborne irritants.
With four kids running around our kitchen island every day, keeping our indoor air clean is a massive priority for me. Fortunately, managing your air footprint doesn't require tearing down your drywall or buying commercial-grade exhaust systems. By establishing a few basic ventilation routines and understanding how your cooking appliances affect your home's air loop, you can breathe much easier. Here is my straightforward guide to tuning your kitchen's air quality.

How Can I Improve My Bathroom Air Quality on a Budget? 🌿🧼
When we think about home wellness and renovation, the kitchen gets a lot of attention. We talk about stone surfaces, clean water lines, and ventilation. But from a builder's perspective, there is another room in the house that struggles with a much heavier environmental load: the bathroom.
Indoor air quality is a massive health driver for a family, and our bathrooms are natural breeding grounds for moisture build-up, volatile organic compounds (VOCs), and airborne spores.
In a house with four kids, the family bathroom handles a relentless rotation of steamy showers, damp towels, and daily grooming routines. For a long time, the standard solution for bathroom odors was to grab a bright can of synthetic aerosol air freshener from the grocery store aisle and spray down the room.
But as I’ve learned more about materials and home health, I’ve realized that spraying those aerosols is a major mistake. Most traditional air sprays are packed with synthetic fragrances and hidden chemicals like phthalates, which act as endocrine disruptors. You are essentially trying to mask an odor by loading the air with harsh chemical vapors right where your family brushes their teeth and breathes.
Creating a clean, healthy home environment doesn't require a $10,000 ventilation overhaul. You can clean up your bathroom's air quality on a strict budget. Here is exactly how I ditched the chemical sprays and used a few simple, affordable physics tricks to build a natural bathroom odor eliminator system for under twenty bucks.

Why I Stopped Using Aerosol Cooking Sprays on My Nonstick Pans 🍳❌
A lot of people notice that their nonstick frying pans, baking sheets, or waffle makers start losing their slick surface after just a few months of use. Even if you are incredibly careful, never using sharp metal utensils, always hand-washing them with a soft sponge, and storing them with protectors, food still starts sticking to the center of the pan.
In my shop and kitchen experience, the culprit usually isn’t your cooking temperature or your washing technique. It is that yellow aerosol cooking spray can sitting in your pantry.
With four kids in the house, we go through a lot of quick breakfasts and weeknight stir-fries. For a long time, grabbing a can of commercial nonstick spray seemed like the easiest, fastest way to coat a skillet or a 4-slice Belgian waffle grid before throwing down batter.
But as a builder, I tend to look at the chemistry of how different coatings interact under heat. Once you realize what is actually inside an aerosol canister, you’ll understand why it is slowly destroying your expensive cookware.
Today, I’m breaking down the basic chemistry of why aerosol sprays ruin nonstick finishes, and the simple, refillable tool I switched to instead to keep our pans perfectly slick for years.
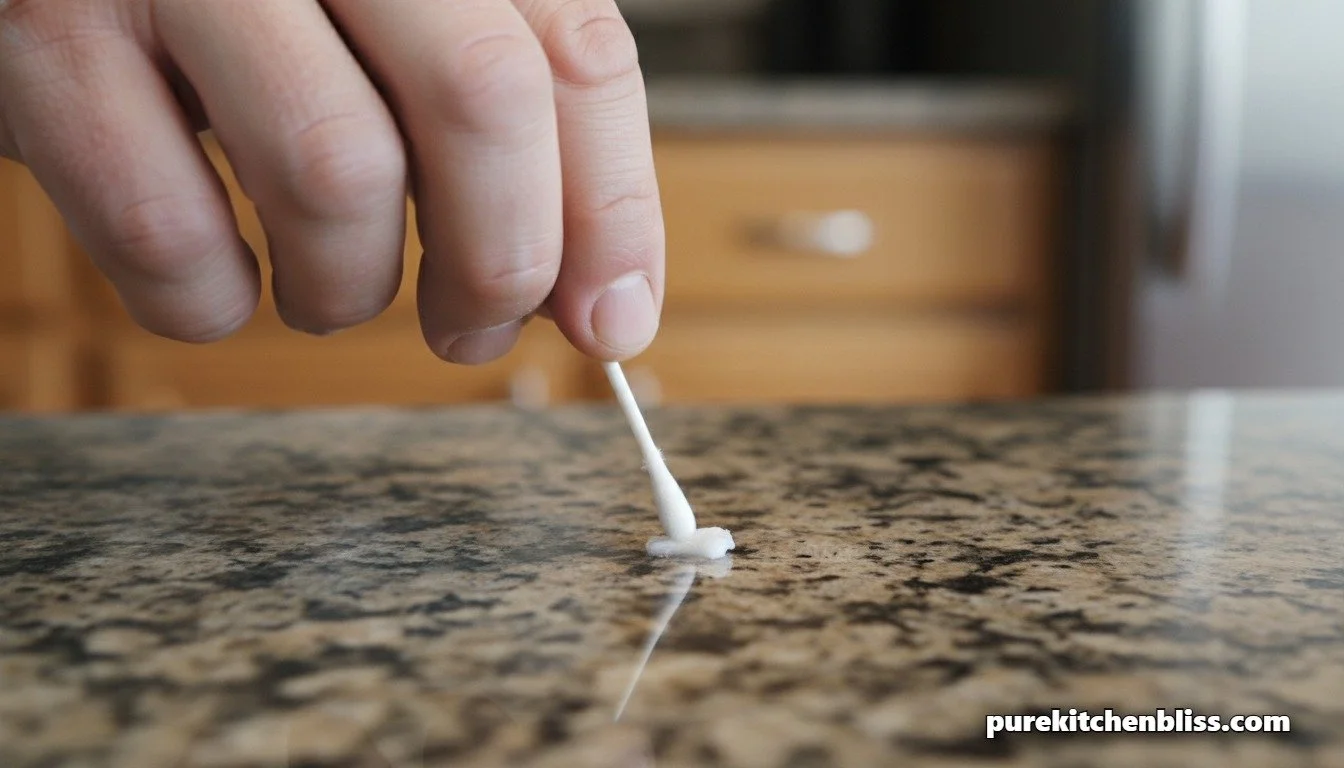
How I Get Super Glue Off My Countertop 🛠️💧
With having four kids, I always seem to have someone working on some sort of project at the kitchen island. Whether it's fixing a broken plastic toy, working on a school model, or doing crafts, our counters get a lot of action. And honestly, as the kids get older, the more glue it seems they want to use.
I feel like I am constantly cleaning dried glue, paint, and tape residue off our countertops.
Last week, my oldest one was working on a project and accidentally left me a nice, rock-hard puddle of super glue right on our main work surface. If you’ve ever dealt with cyanoacrylate (the chemical name for super glue), you know that once it cures, it bonds instantly and feels like plastic armor welded to your counter.
If you look up a quick solution online, a lot of generic advice will tell you to just grab a metal razor blade and scrape it off, or dump heavy acetone everywhere. But as a woodworker and builder, my immediate thought is always about protecting the surface finish. If you have a premium honed stone or wood counter, aggressive scraping or using the wrong chemicals can permanently scratch the material or strip away the protective sealer.
You have to be patient and let chemistry do the work. Here is exactly what I did last week to clean that super glue puddle off our countertop without leaving a single scratch behind.
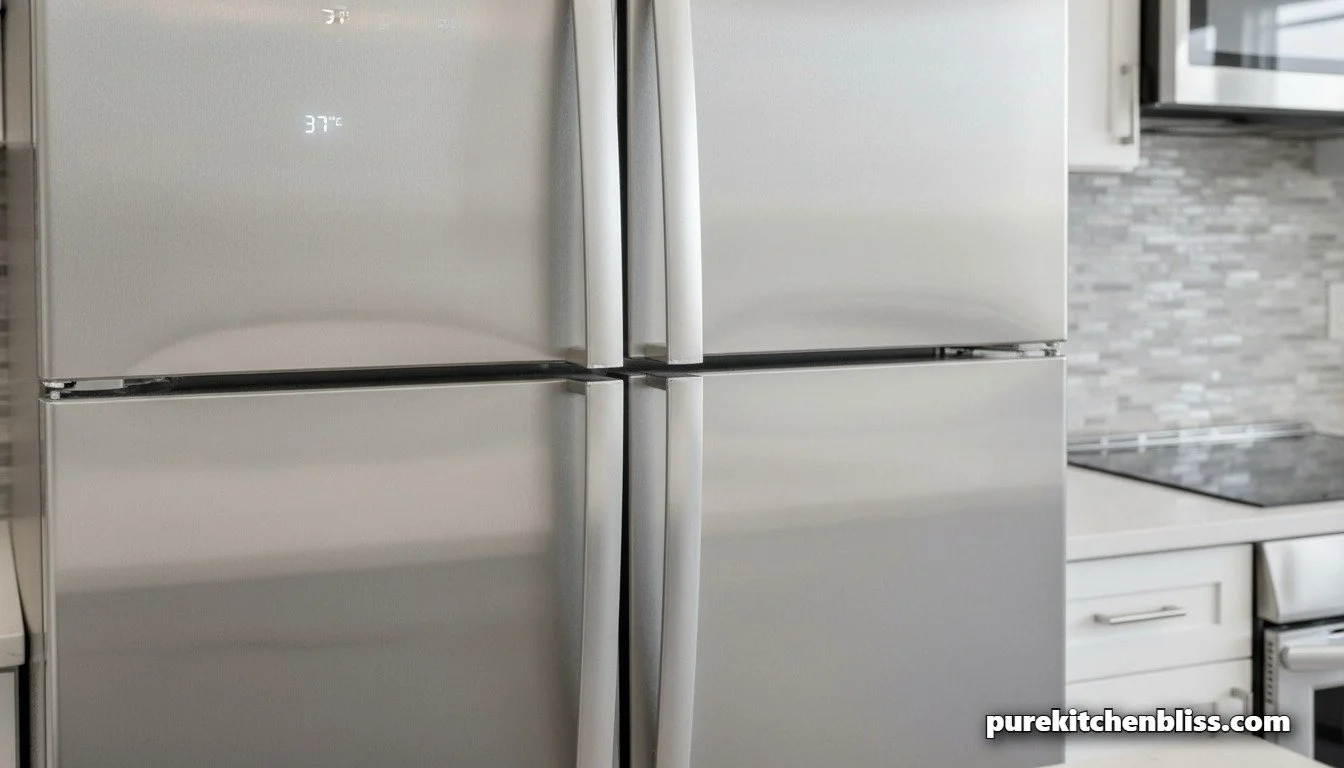
How I Tuned My Refrigerator Doors to Save Money on My Monthly Power Bill 🛠️💸
In my coffee shop, running refrigeration equipment with a failing door seal is a massive operational liability. If a walk-in cooler door sags by even a quarter of an inch, cold air constantly dumps out onto the floor, causing the heavy compressor engine to run around the clock. Your electricity bill spikes, the compressor prematurely burns out, and you risk ruining thousands of dollars in commercial dairy inventory.
Last weekend, I noticed a similar warning sign inside my own kitchen. As I sat at the island, the house was quiet, but our panel-ready refrigerator was emitting a constant, low, aggressive hum that wouldn't shut off.
In a home with four kids, our refrigerator doors get wrenched open and slammed shut dozens of times a day. Over time, that constant physical impact, combined with the heavy weight of milk jugs and juice bottles loaded into the door bins, will cause the factory hinges to sag.
If you ask a generic AI chat tool why your fridge is running constantly, it will instantly tell you to replace the compressor or call an appliance repair tech. But as a carpenter, I look at the physical geometry of the appliance first. Most of the time, the compressor is fine, the doors are just sagging out of alignment, breaking the magnetic seal. Here is my exact, first-person diagnostic routine to level your refrigerator doors and restore a watertight thermal barrier in 10 minutes flat using a basic wrench and a single dollar bill.
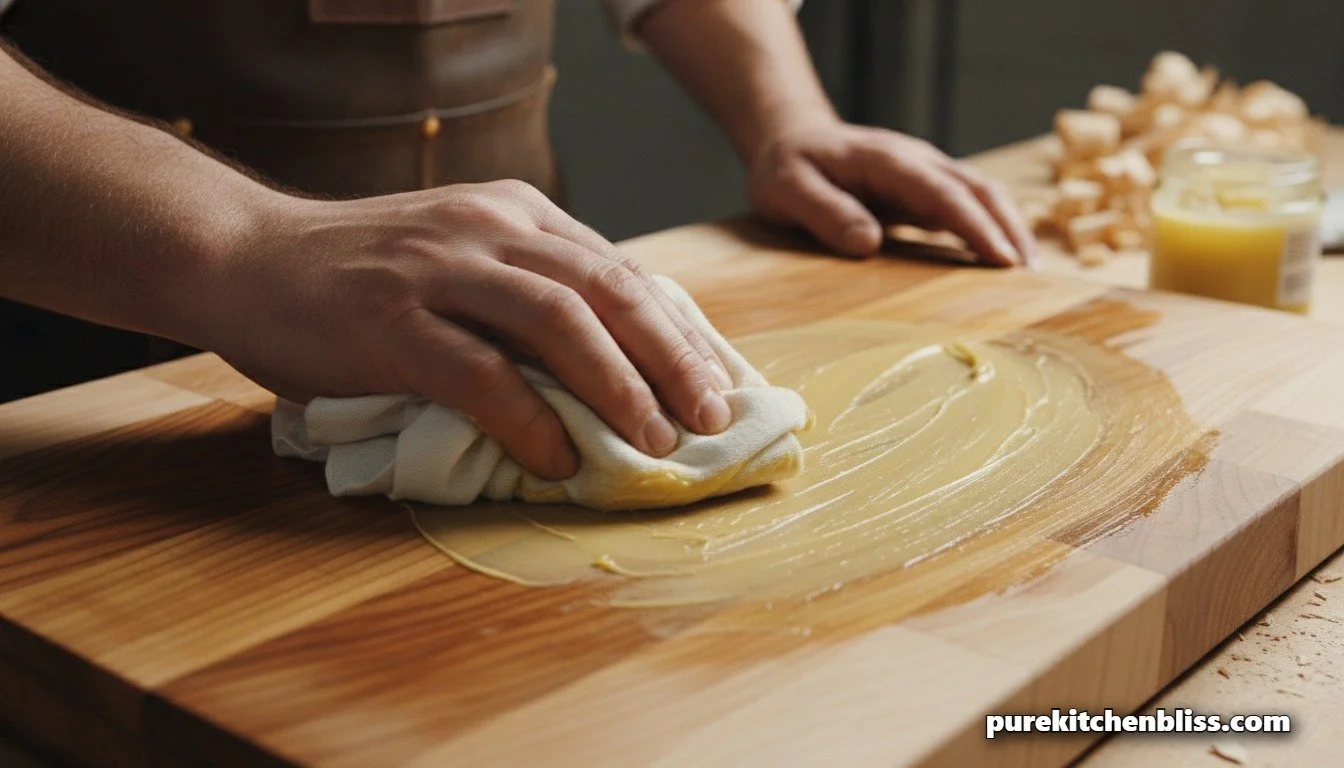
How I Re-Oil My Wood Cutting Boards to Stop Them from Splitting and Warping 🪵🛠️
In my carpentry shop, a premium slab of white oak, walnut, or rock maple is handled with absolute precision. We measure to the millimeter, control the ambient humidity, and apply beautiful protective finishes. But in my kitchen, my wood cutting boards are subjected to a daily, violent onslaught of water, acidic meat juices, heavy cleavers, and scrubby sponges.
With four kids running around a high-contact kitchen sanctuary, our prep boards face constant abuse. A few months ago, I walked into the kitchen and noticed my favorite heavy-duty walnut block was starting to look dull, dry, and gray. Even worse, it had developed a slight cup, meaning the edges were warping upward off the flat countertop.
If you jump onto a generic internet summary, it might tell you to rub olive oil or vegetable oil from your pantry onto dry wood. As a professional woodworker, I am telling you that is the fastest way to ruin a board. Cooking oils are unstable fats; they will oxidize, turn rancid, and leave your prep surfaces smelling like stale grease.
Twice a year, I round up every cutting board, wooden spoon, and rolling pin in the house and take them out to my workbench for a deep conditioning treatment. Here is my exact, first-person shop routine to clean, hydrate, and seal wood grains so they never split, warp, or trap bacteria again.

Toxic Overload: 3 Kitchen Chemical Products to Swap Out Today 🛑🌿
Whenever I hand over the keys to a newly finished custom kitchen, I always give my clients a quick rundown on how to maintain their premium surfaces. But lately, I’ve noticed a wild contradiction in how people treat their homes.
Homeowners will spend thousands of dollars sourcing toxin-free, zero-formaldehyde wheatstraw cabinet boxes and beautiful, organic stone countertops to protect their family's health. Then, the very next day, they’ll go under the sink, pull out a plastic bottle filled with harsh, corrosive chemicals, and spray it all over the place right next to their kids' school lunches. 🧴☠️
In a house with four kids, our kitchen counters are a high-contact zone. Food is constantly touching the island, and my kids are breathing the air while doing homework at the bar. As a builder and a coffee shop owner, I’ve learned that heavy commercial solvents aren't just bad for your lungs—they are actively destructive to the seals, finishes, and infrastructure of your home.
In 2026, creating a true kitchen sanctuary means cleaning up your chemical footprint. Here are the top three toxic kitchen products you need to ditch today, and the builder-approved, natural alternatives that work just as hard without the poison.
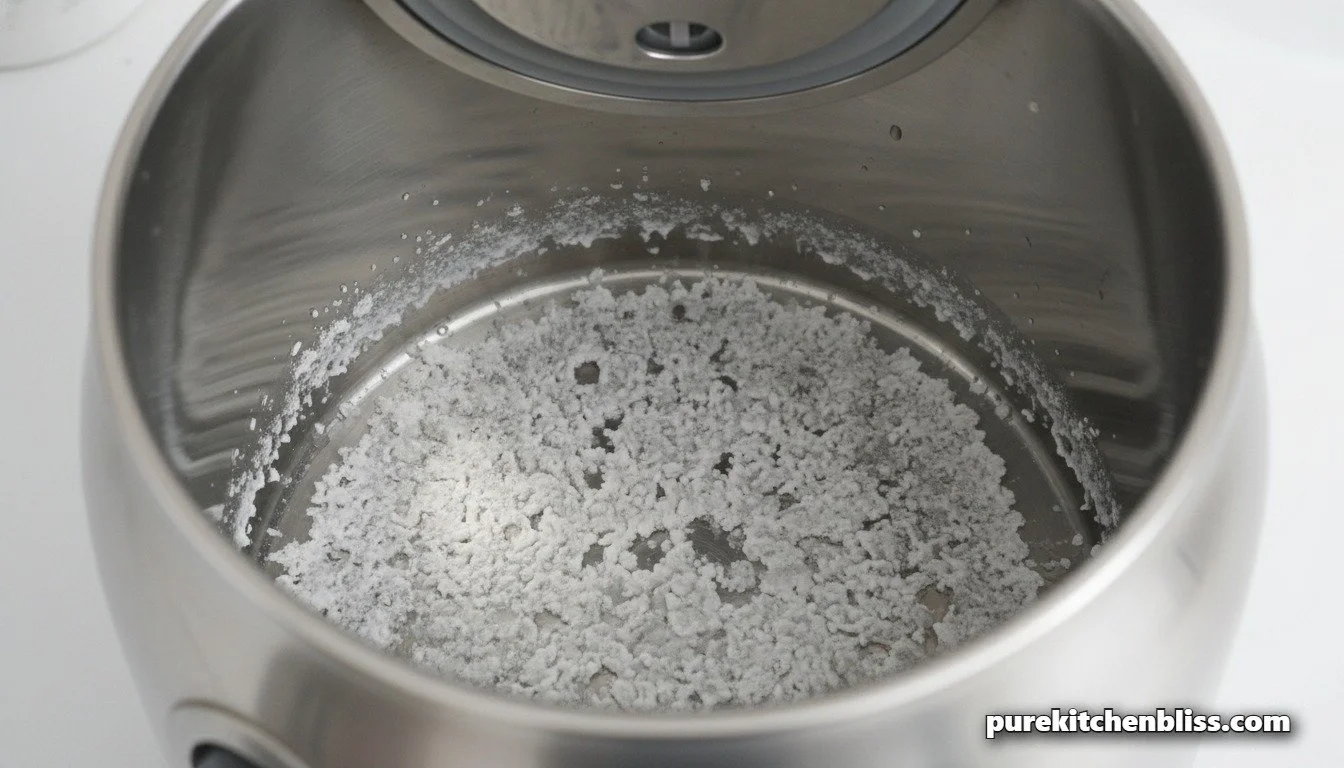
Do You Even Wash the Inside of Your Kettle? The Chalky, Hidden Truth 🫖🧼
Let’s be completely honest for a second. If I asked you when you last washed the inside of your kitchen kettle, you’d probably give me a blank stare.
It’s one of those silent kitchen laws most people take for granted: "It only holds clean water, and that water is constantly boiling, so the inside must be completely sterile, right?" 🤨
As a coffee shop owner, and a dad of four, I’m here to tell you that this logic is a massive trap. While boiling water does a fantastic job of killing off active bacteria, it does absolutely nothing to get rid of the geological chemistry hiding inside your water line. In fact, boiling water actively accelerates the problem.
If you peer inside your kettle right now and see a rough, chalky white film, or weird gray flakes swirling around the bottom of the basin, your kettle isn’t clean. It’s suffering from severe mineral calcification.
Today, we’re ignoring the old myth that kettles wash themselves. Let’s break down the actual science of why your kettle needs a regular interior flush, how it impacts your energy bill, and the simple 10-minute shop hack to make it look brand new.
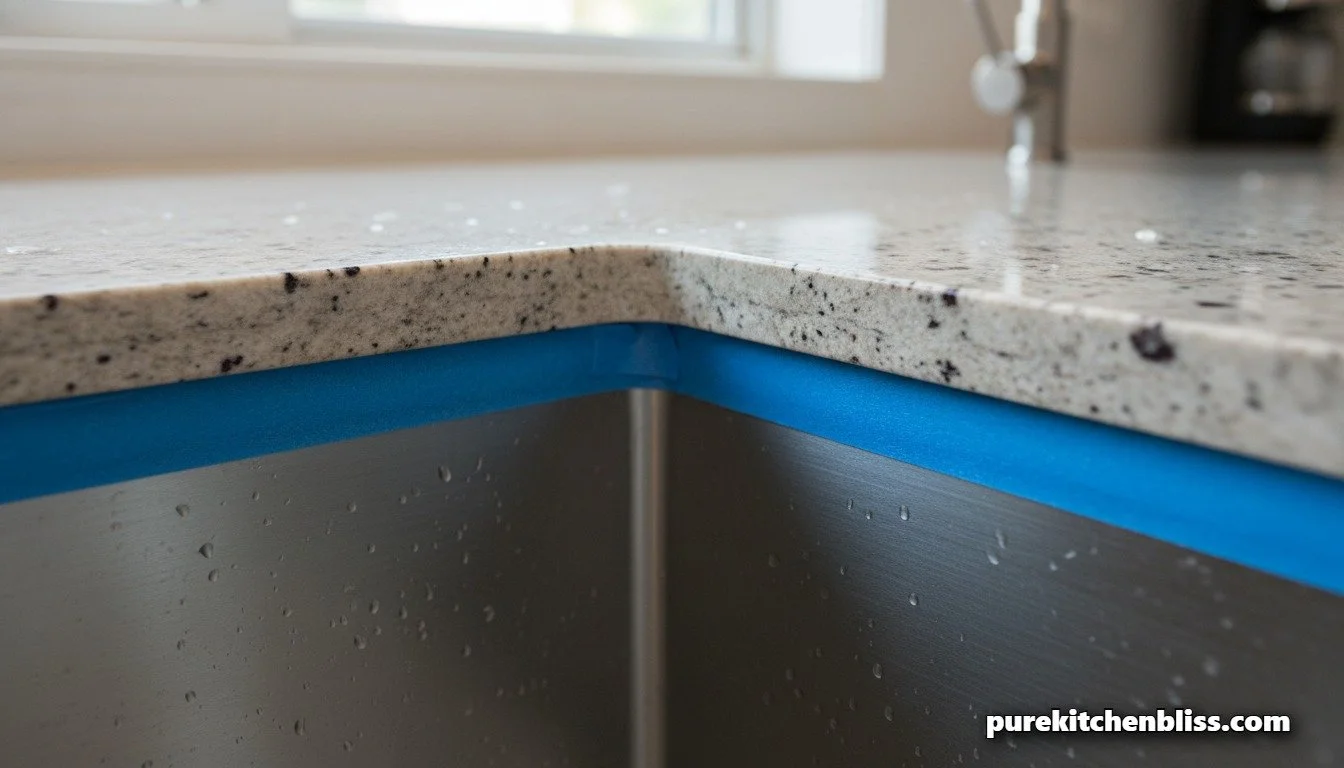
The Carpenter's Guide to Re-Sealing Undermount Sinks (Before It Ruins Your Cabinets) 🛠️💧
If you look underneath your kitchen counter right now, there is a silent battle happening between gravity, water, and the structural engineering of your kitchen cabinets.
When people remodel, they focus on the beautiful surface pairings, like laying out a gorgeous Cloud Dancer porcelain slab over custom cabinets. But as a carpenter, my focus is always on the joints. Specifically, the mechanical seam where an undermount sink connects to a stone countertop.
Unlike a traditional drop-in sink that rests its weight on top of the counter, an undermount sink hangs suspended over empty space. The only things keeping it up are a set of mechanical clips and a thin bead of 100% silicone sealant. Over time, from the vibrations of a heavy garbage disposal and the daily scrubbing of family pots, that silicone bead will crack, pull away, or degrade.
In a house with four kids, our workstation sink gets completely hammered every single day. A failed silicone seal is a ticking time bomb. Long before you ever notice a puddle on your kitchen floor, water will seep into that microscopic gap, traveling down the back of your plywood or wheatstraw cabinet boxes. It will blister the veneer, rust your soft-close drawer slides, mold the interior walls, and cause thousands of dollars of structural dry rot.
Today, we are putting on our work gloves. I’m giving you the step-by-step contractor's blueprint to scraping, cleaning, and completely re-sealing an undermount sink before a $5 leak turns into a $5,000 cabinet disaster.
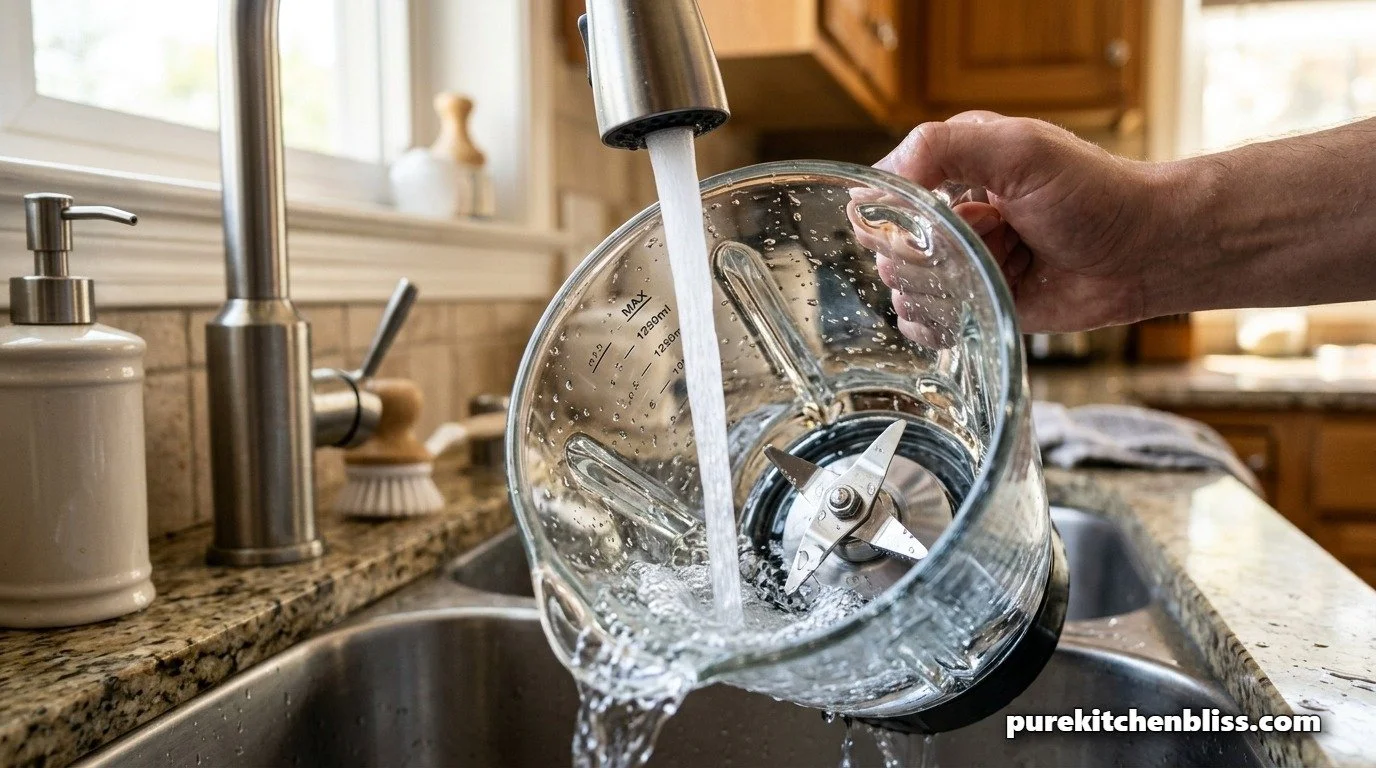
The "Self-Cleaning" Blender Hack: Why I Never Scrub My Blades Anymore! 🌪️✨
Let's talk about the sharpest hazard in your kitchen: The Blender. 🥤 As a carpenter, I have a healthy respect for spinning blades, and as a father of four, I know that a blender sitting in a sink full of soapy water is a disaster waiting to happen. 😱 You wouldn't reach into a bucket of water to grab a circular saw blade, so why do it with your smoothie maker?
Keeping your kitchen sanctuary safe means minimizing "blade contact time." Most people waste ten minutes trying to scrub under the blades with a sponge, only to end up with a cut finger and a still-dirty jar. 😫 We’re going to use the machine's own mechanical power to do the work for us. It’s fast, it’s 100% kid-safe, and it’s totally satisfying!
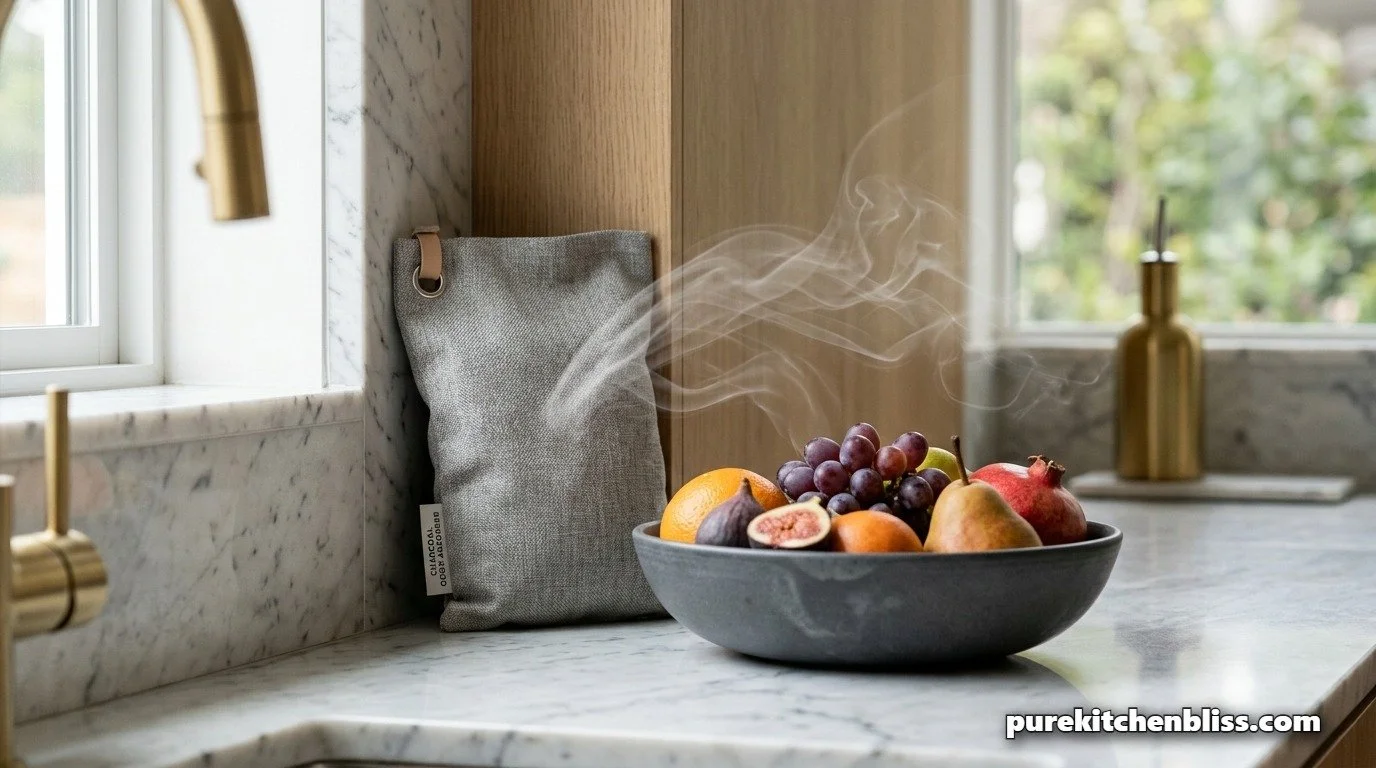
The Stealth Deodorizer: Why I Use Charcoal Bags to Keep My Kitchen Sanctuary Fresh! 🖤✨
As a father of four and a builder, I deal with a lot of "organic odors", from gym bags to last night’s fish tacos. 🐟 In my shop, I use heavy-duty filtration to keep the air breathable, and I believe your kitchen should be no different! Most people try to fix smells by spraying heavy perfumes, but all that does is create a "tropical-scented" trash can. 🤢
We want a sterile sanctuary, not a science experiment. That’s why I’m obsessed with activated charcoal bags. They are the ultimate "set it and forget it" mechanical tool for your kitchen. They don't just mask odors; they physically pull them out of the air. No chemicals, no batteries, just pure science!
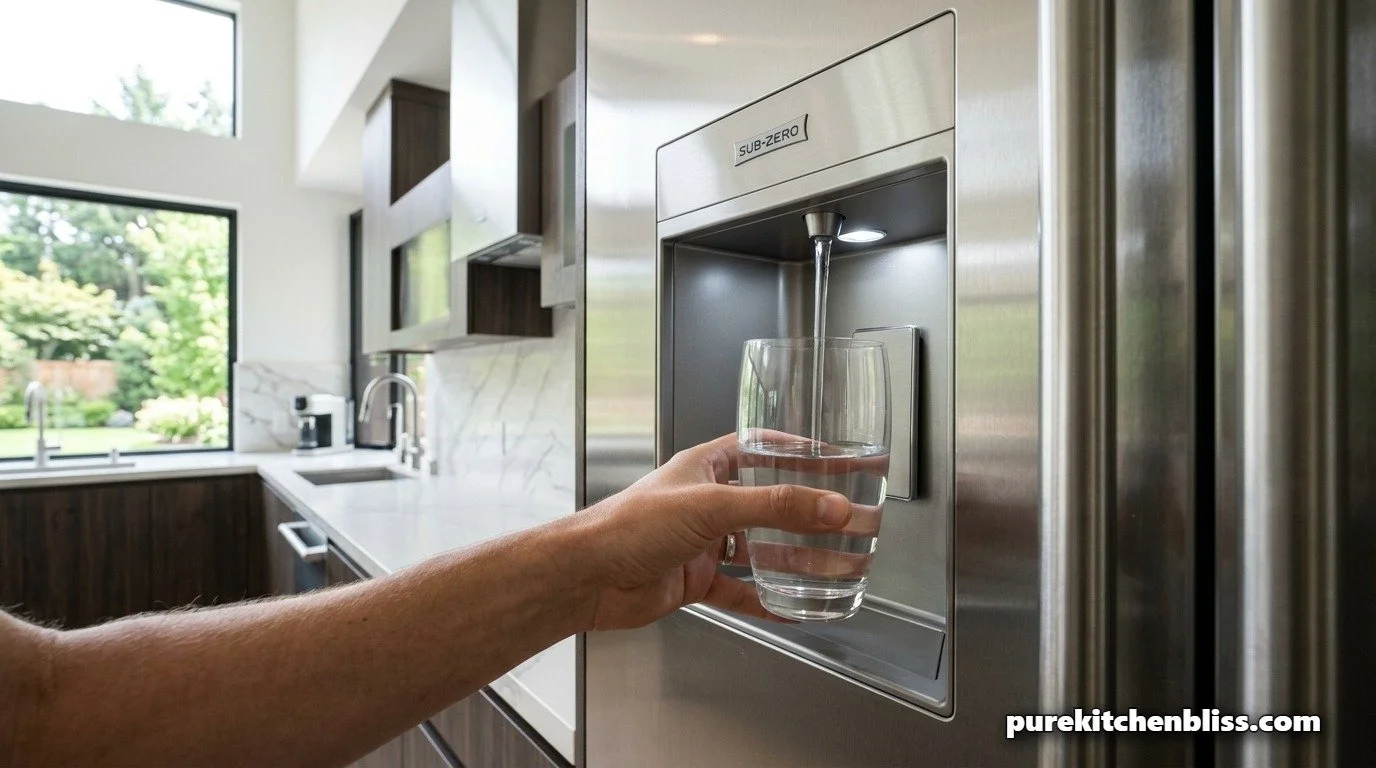
The "Frizz-Clean" Fridge Hack: How to Stop Drinking Slimy Water! 🤢
Let’s get real for a second: When was the last time you actually cleaned the mechanical insides of your fridge's water dispenser? 🤨 If you’re noticing black specks in your ice or your water tastes a little "earthy," you’ve got a major biohazard in your kitchen sanctuary.
As a dad with four kids and a carpenter who knows his way around a plumbing rough-in, I’m obsessed with keeping things efficient. You wouldn’t drink out of a dirty puddle, so why drink from a gunked-up fridge line? This "Frizz-Clean" hack is fast, easy, and totally satisfying, no scrub labor required!
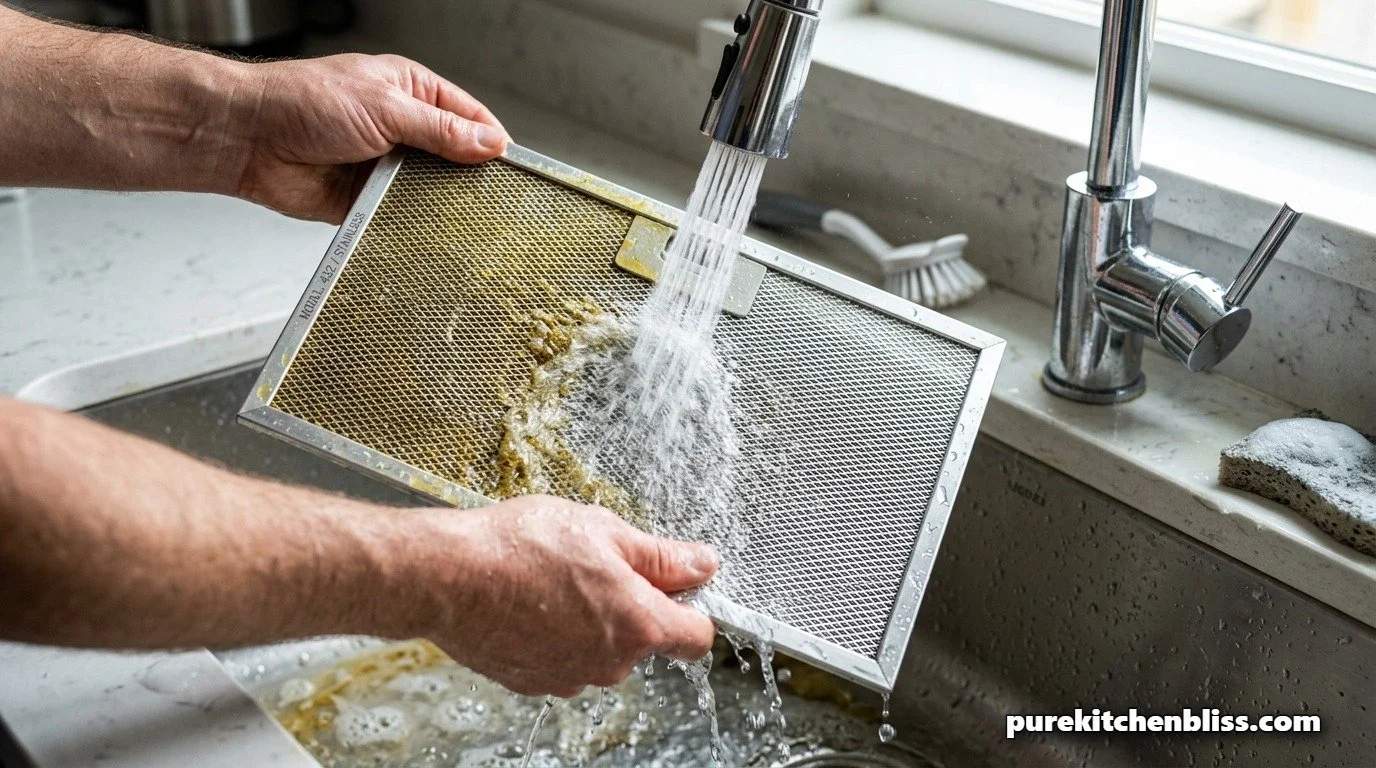
The "Grease-Melter" Hack: How to Clean Your Range Hood Without the Sticky Mess! 💨✨
Let’s talk about the "lungs" of your kitchen. 🫁 If your range hood is sounding extra loud but your kitchen still smells like onions three days later, your filters are officially suffocating. As a builder and a father of four, I know that a clogged vent is a total "mechanical bottleneck" for your kitchen sanctuary.
Most people avoid this job because it’s a sticky, icky disaster. 🤮 But you don't need to spend an hour scrubbing with a wire brush! We’re going to use a professional "immersion" hack that melts the grease away while you go play with the kids. It’s fast, it’s effective, and it’s totally satisfying.
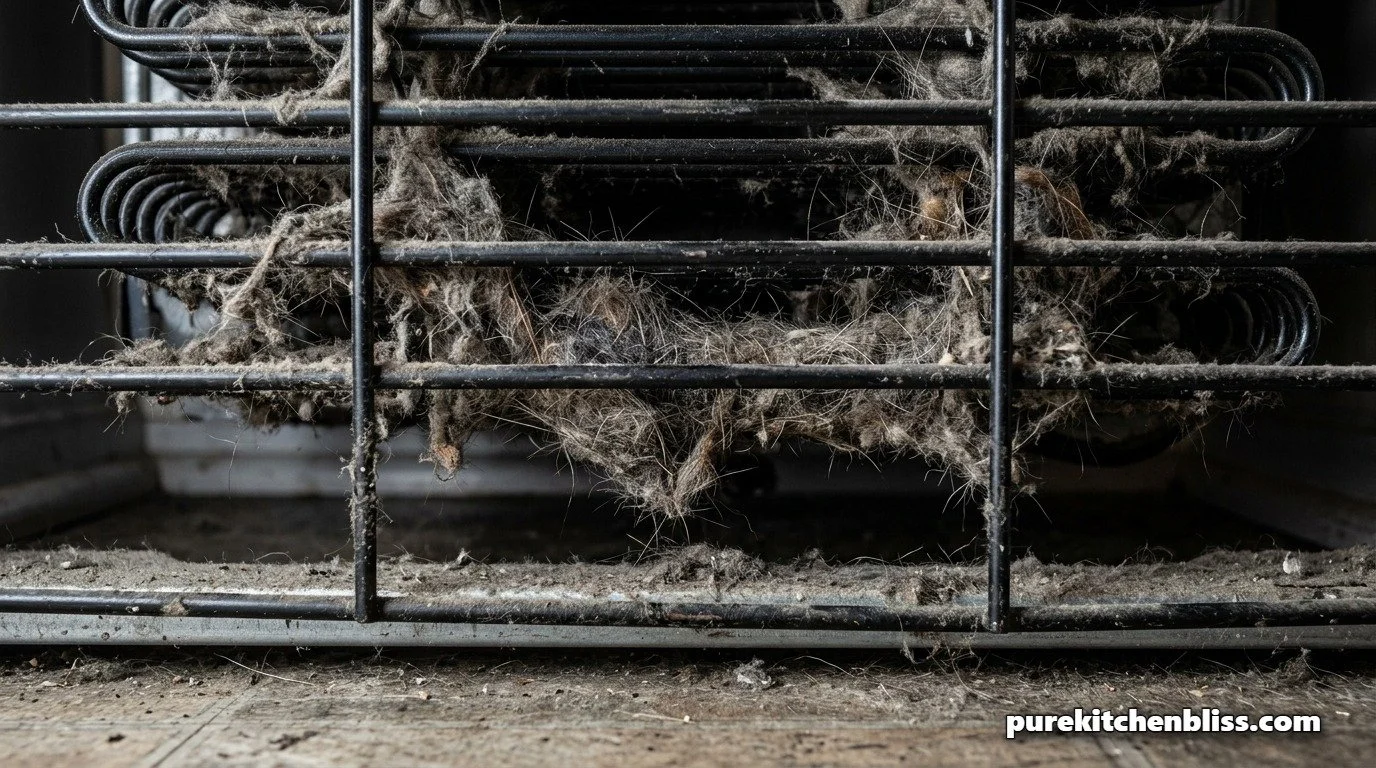
The "Dust-Buster" Fridge Reset: How to Save Your Compressor (and Your Sanity!) ⚡
As a carpenter and shop owner, I’ve seen it a thousand times: a high-end tool burns out because the intake is clogged with sawdust. Guess what? Your refrigerator is no different! 😫 If your fridge is running loud or feels warm to the touch, it’s not "getting old”, it’s probably just suffocating under a layer of dust.
In our zero-clearance fridge guide, we talked about the importance of airflow. But as a dad with four kids, I know that the "mechanical heart" of your kitchen is a literal magnet for hair and dust bunnies. Today, we’re doing a 5-minute "Dust-Buster" reset to keep your kitchen sanctuary running cool and quiet.
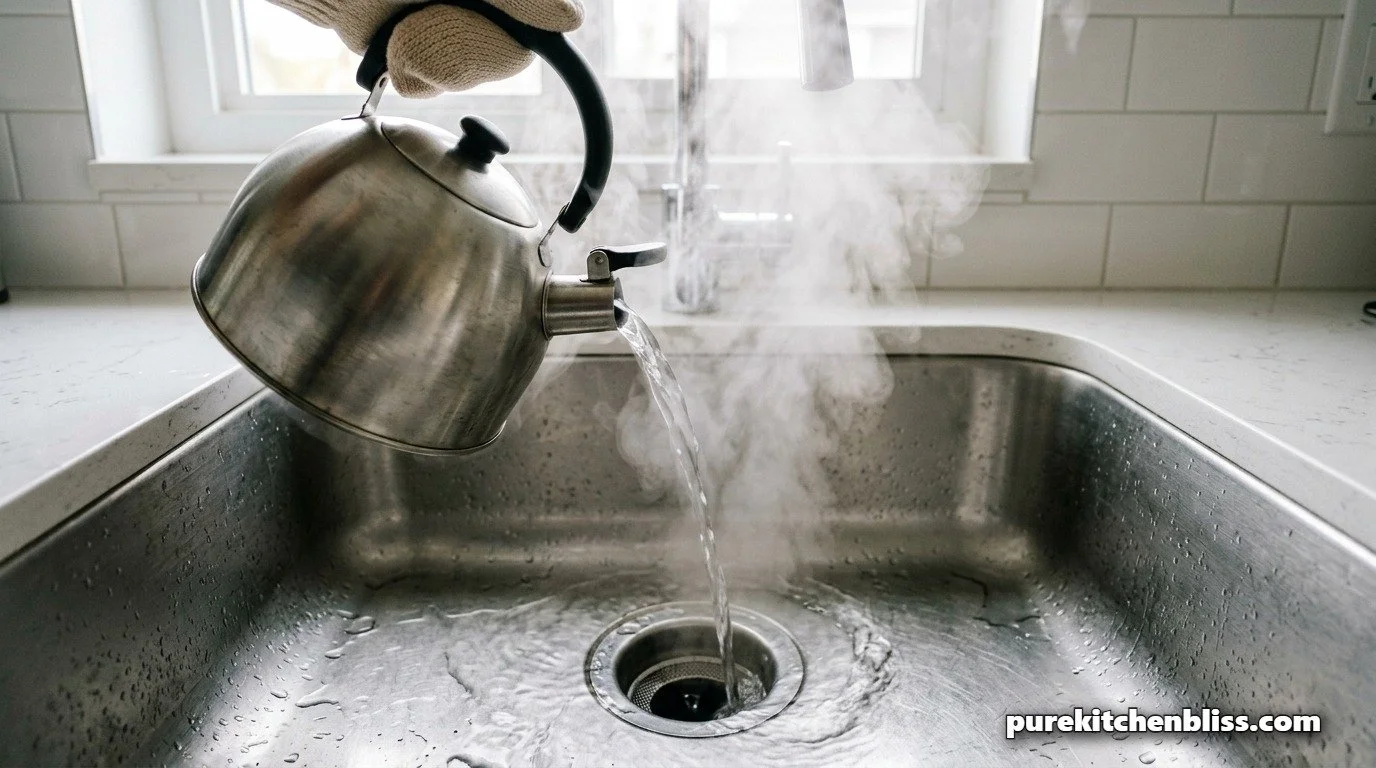
The "Fizzy" Drain Reset: How to Blast Through Clogs Without Toxic Chemicals! 🌋
There is nothing that kills the "Sanctivity" of your kitchen faster than a sink that won't drain. 😫 As a father of four, I know that the workstation sink is the engine room of the house—and when it’s backed up with grey water, the whole system stalls.
Most people reach for those blue or red bottles of liquid "drain opener" from the store, but as a builder, I’m telling you: Stop! 🙅♂️ Those harsh chemicals can eat away at your PVC joints and gaskets over time. Instead, we’re going to use a simple "mechanical fizz" hack that leverages a natural reaction to blast through organic gunk. It’s fast, it’s cheap, and it’s actually kind of fun to watch!
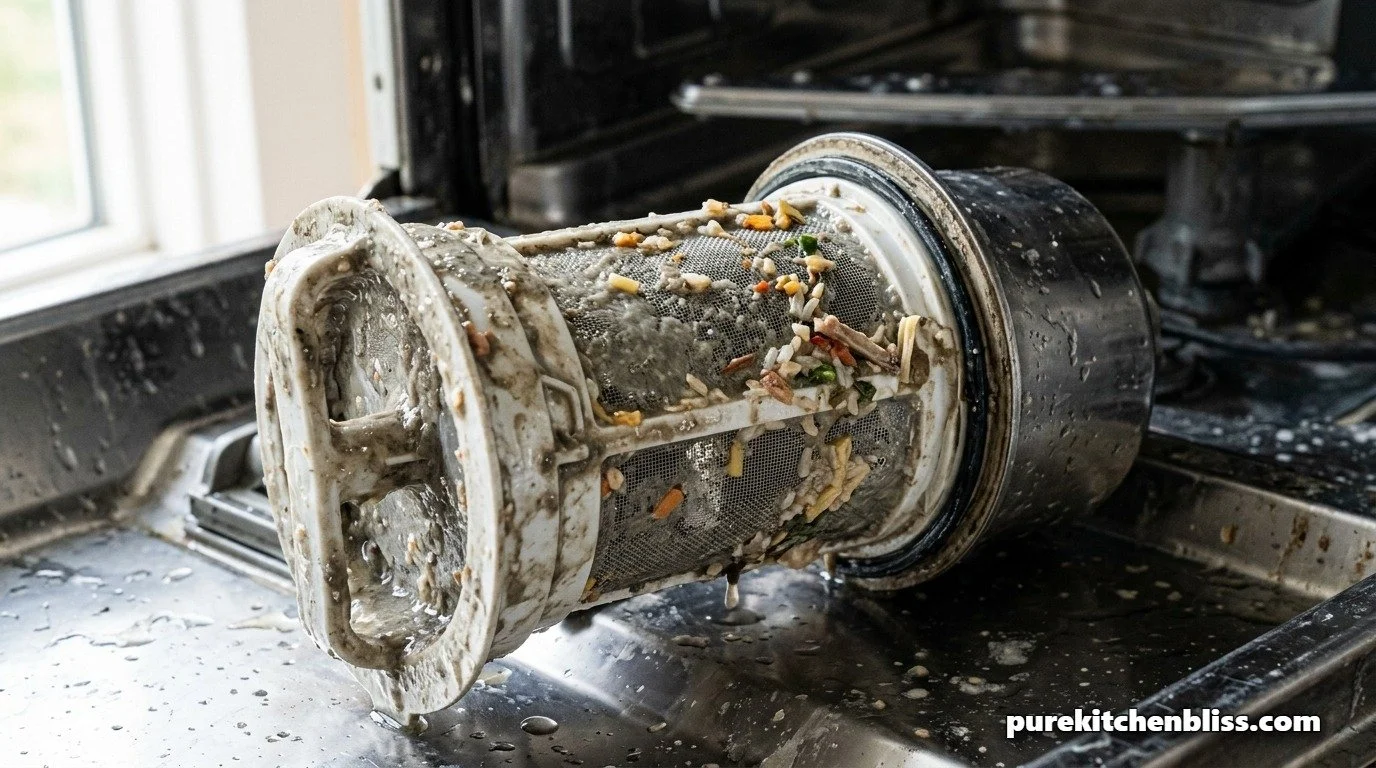
The "2-Minute" Dishwasher Reset: Stop Washing Your Dishes with Dirty Water! 🤮
If your glasses are coming out cloudy or you’re noticing "mystery grit" on your plates, I’ve got bad news: Your dishwasher filter is probably a biohazard zone. 😫 As a dad and a builder, I treat my dishwasher like a precision tool, and you’d never leave a saw blade covered in pitch, right?
Most people think you need a degree in engineering to clean these, but it’s actually a total 2-minute hack! We’re going to clear that "mechanical bottleneck" so your kitchen sanctuary stays sterile and your dishes come out sparkling every single time.
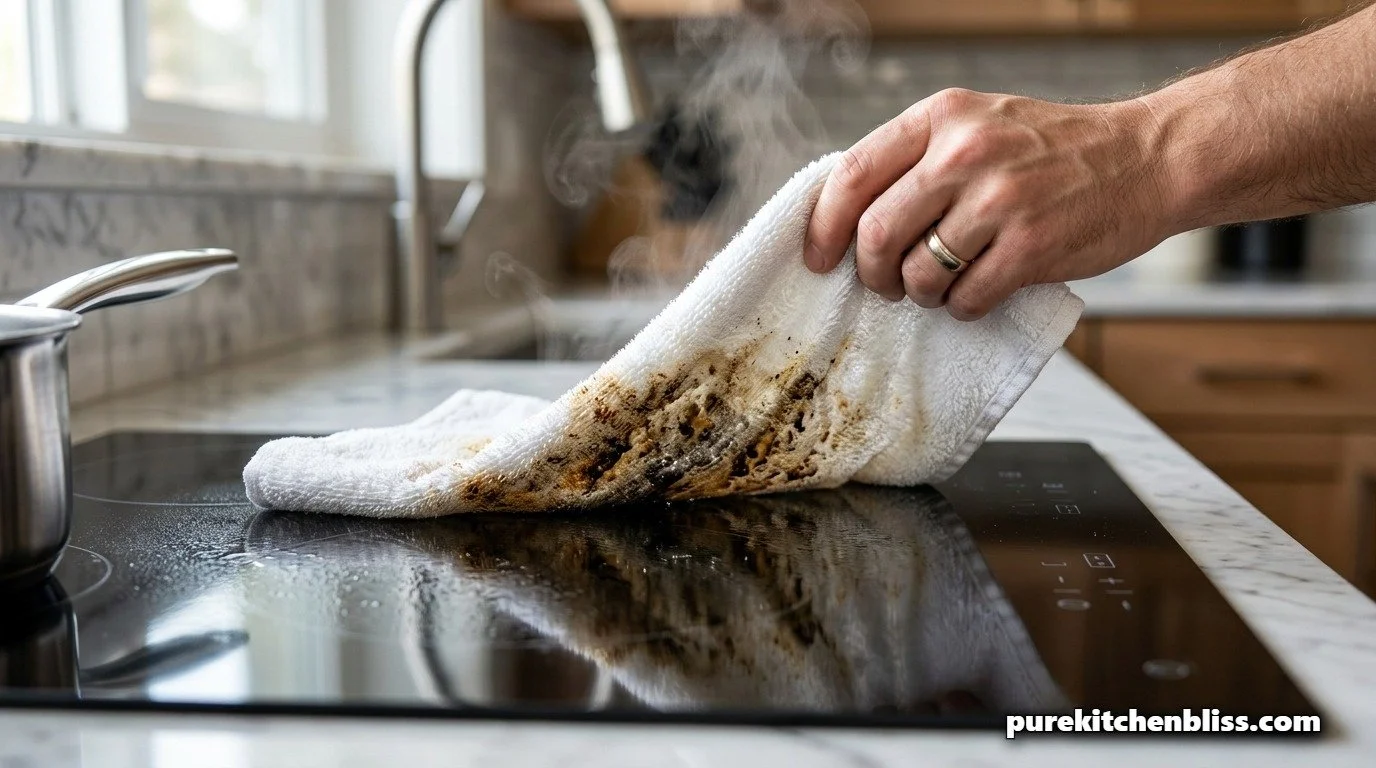
The "Hot Towel" Hack: How I Clean My Stovetop Without Even Scrubbing! 😲
If you’re anything like me, you’ve spent way too long hunched over a glass stovetop trying to scrape off those crusty white rings. 😫 As a carpenter and a father of four, I’m obsessed with efficiency. I don’t want to work harder; I want to work smarter. Why spend 20 minutes scrubbing when you could let physics do the job for you?
This "Thermal Soak" method is a total game-changer for your kitchen sanctuary. We’re going to use steam and chemistry to melt that burnt-on mess away while you go pull a shot of espresso. No razor blades, no scratches, just a mirror finish in minutes!
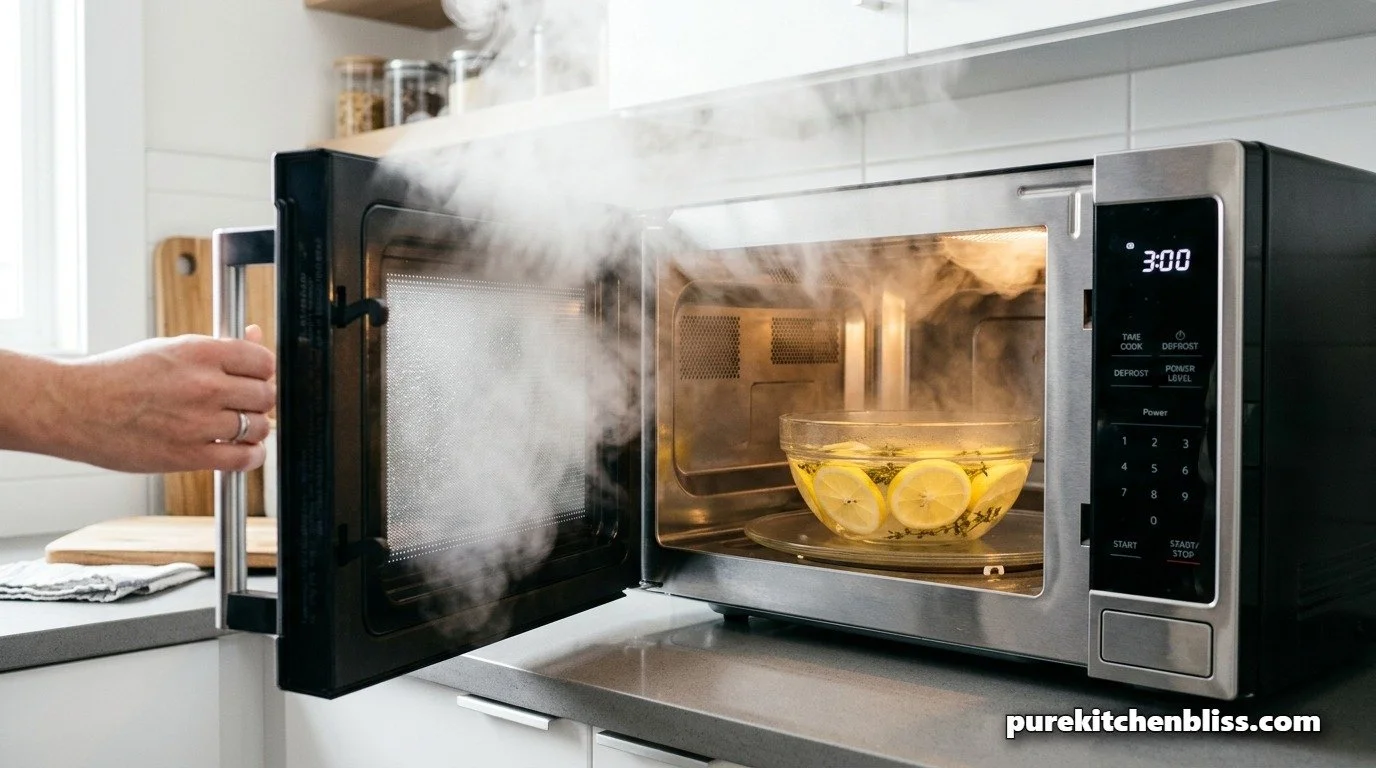
The 5-Minute Microwave Steam Reset: Efficiency Over Elbow Grease
Between running a coffee shop, and wrangling four kids, I’ve learned one absolute truth: if you’re spending twenty minutes scrubbing a microwave, you’ve failed the efficiency test. In my shop, we don't use "elbow grease" when we can use the right tool for the job. In the kitchen, that tool is atmospheric steam.
A dirty microwave isn't just an eyesore; it’s a failure of your kitchen sanctuary. Exploded food particles carbonize over time, which can actually damage the appliance's interior lining. Instead of reaching for a scraper, we’re going to use basic physics to "reset" the machine in five minutes flat.
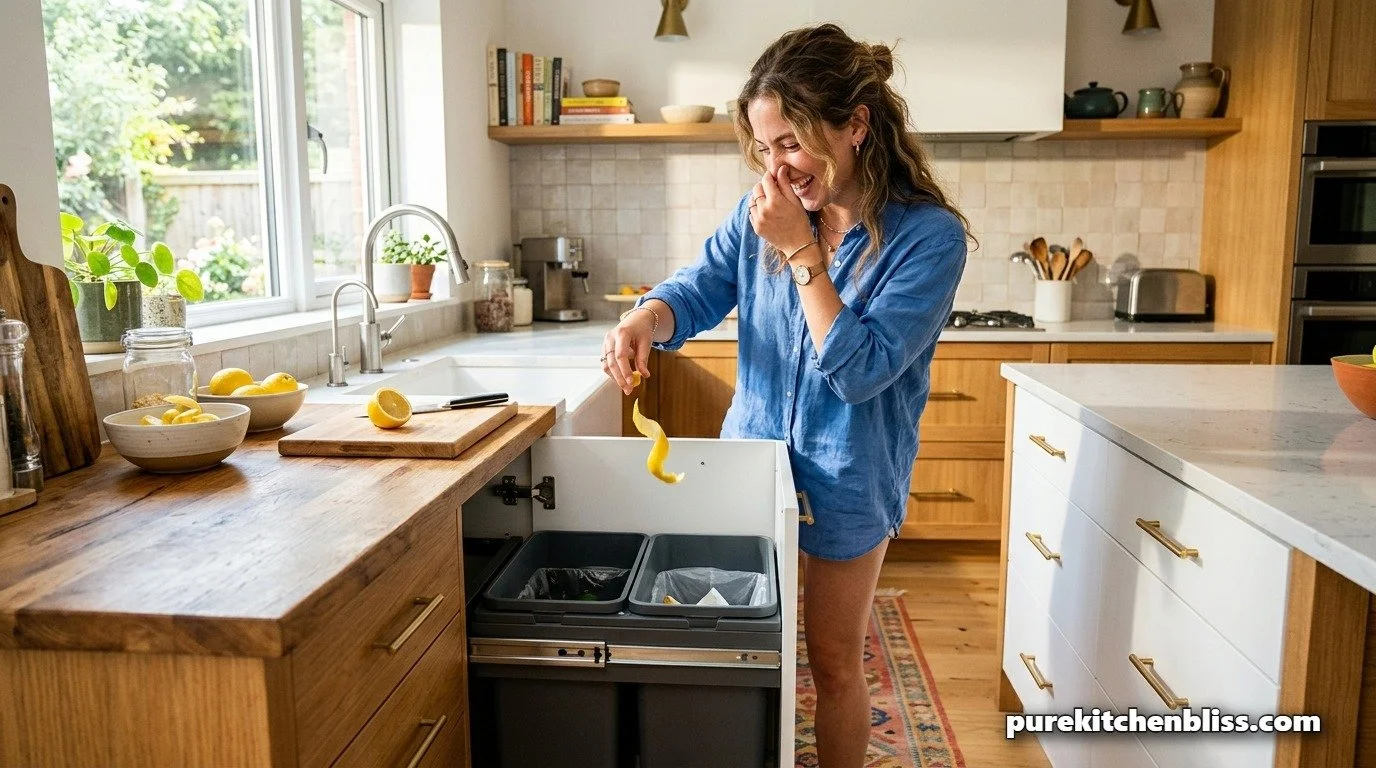
5 Genius Hacks to Stop Your Trash Can From Ruining Your Kitchen Vibe!
Let’s be real: Nothing kills the "Sanctuary" vibe faster than a trash can that smells like a swamp. 🤢 You’ve spent months perfecting your multipurpose island and polishing your stainless steel, but one hot June afternoon can turn your kitchen into a scent nightmare.
If you’re tired of holding your breath every time you toss a coffee pod, you’re in the right place! We’re going beyond the basic "take out the trash" advice. We’re looking at the mechanical reasons why bins trap odors and the genius hacks to fix them for good.