A Simple Guide to Choosing Under-Cabinet Lights
Transparency Note: We independently select these products based on research and user reviews. If you buy something through our links, we may earn a commission.
In a high-performance kitchen, lighting is the primary interface between the user and the workspace. If you cannot see the precise state of your ingredients, the doneness of a protein, the freshness of produce, or the accuracy of a knife cut, you are operating with a structural deficit. Most residential kitchen lighting relies on ambient overhead fixtures that create "backlighting," casting your workspace into a shadow while you are trying to work.
Under-cabinet lighting is the correction for this failure. It transforms the counter from a dark, shadowed surface into a high-visibility, precision workspace. However, not all lighting is created equal. Most "consumer-grade" LED kits prioritize aesthetic brightness over Color Rendering Index (CRI) and Thermal Stability. This audit evaluates the technical requirements necessary to build a permanent, professional-grade lighting infrastructure that enhances safety and visual clarity.
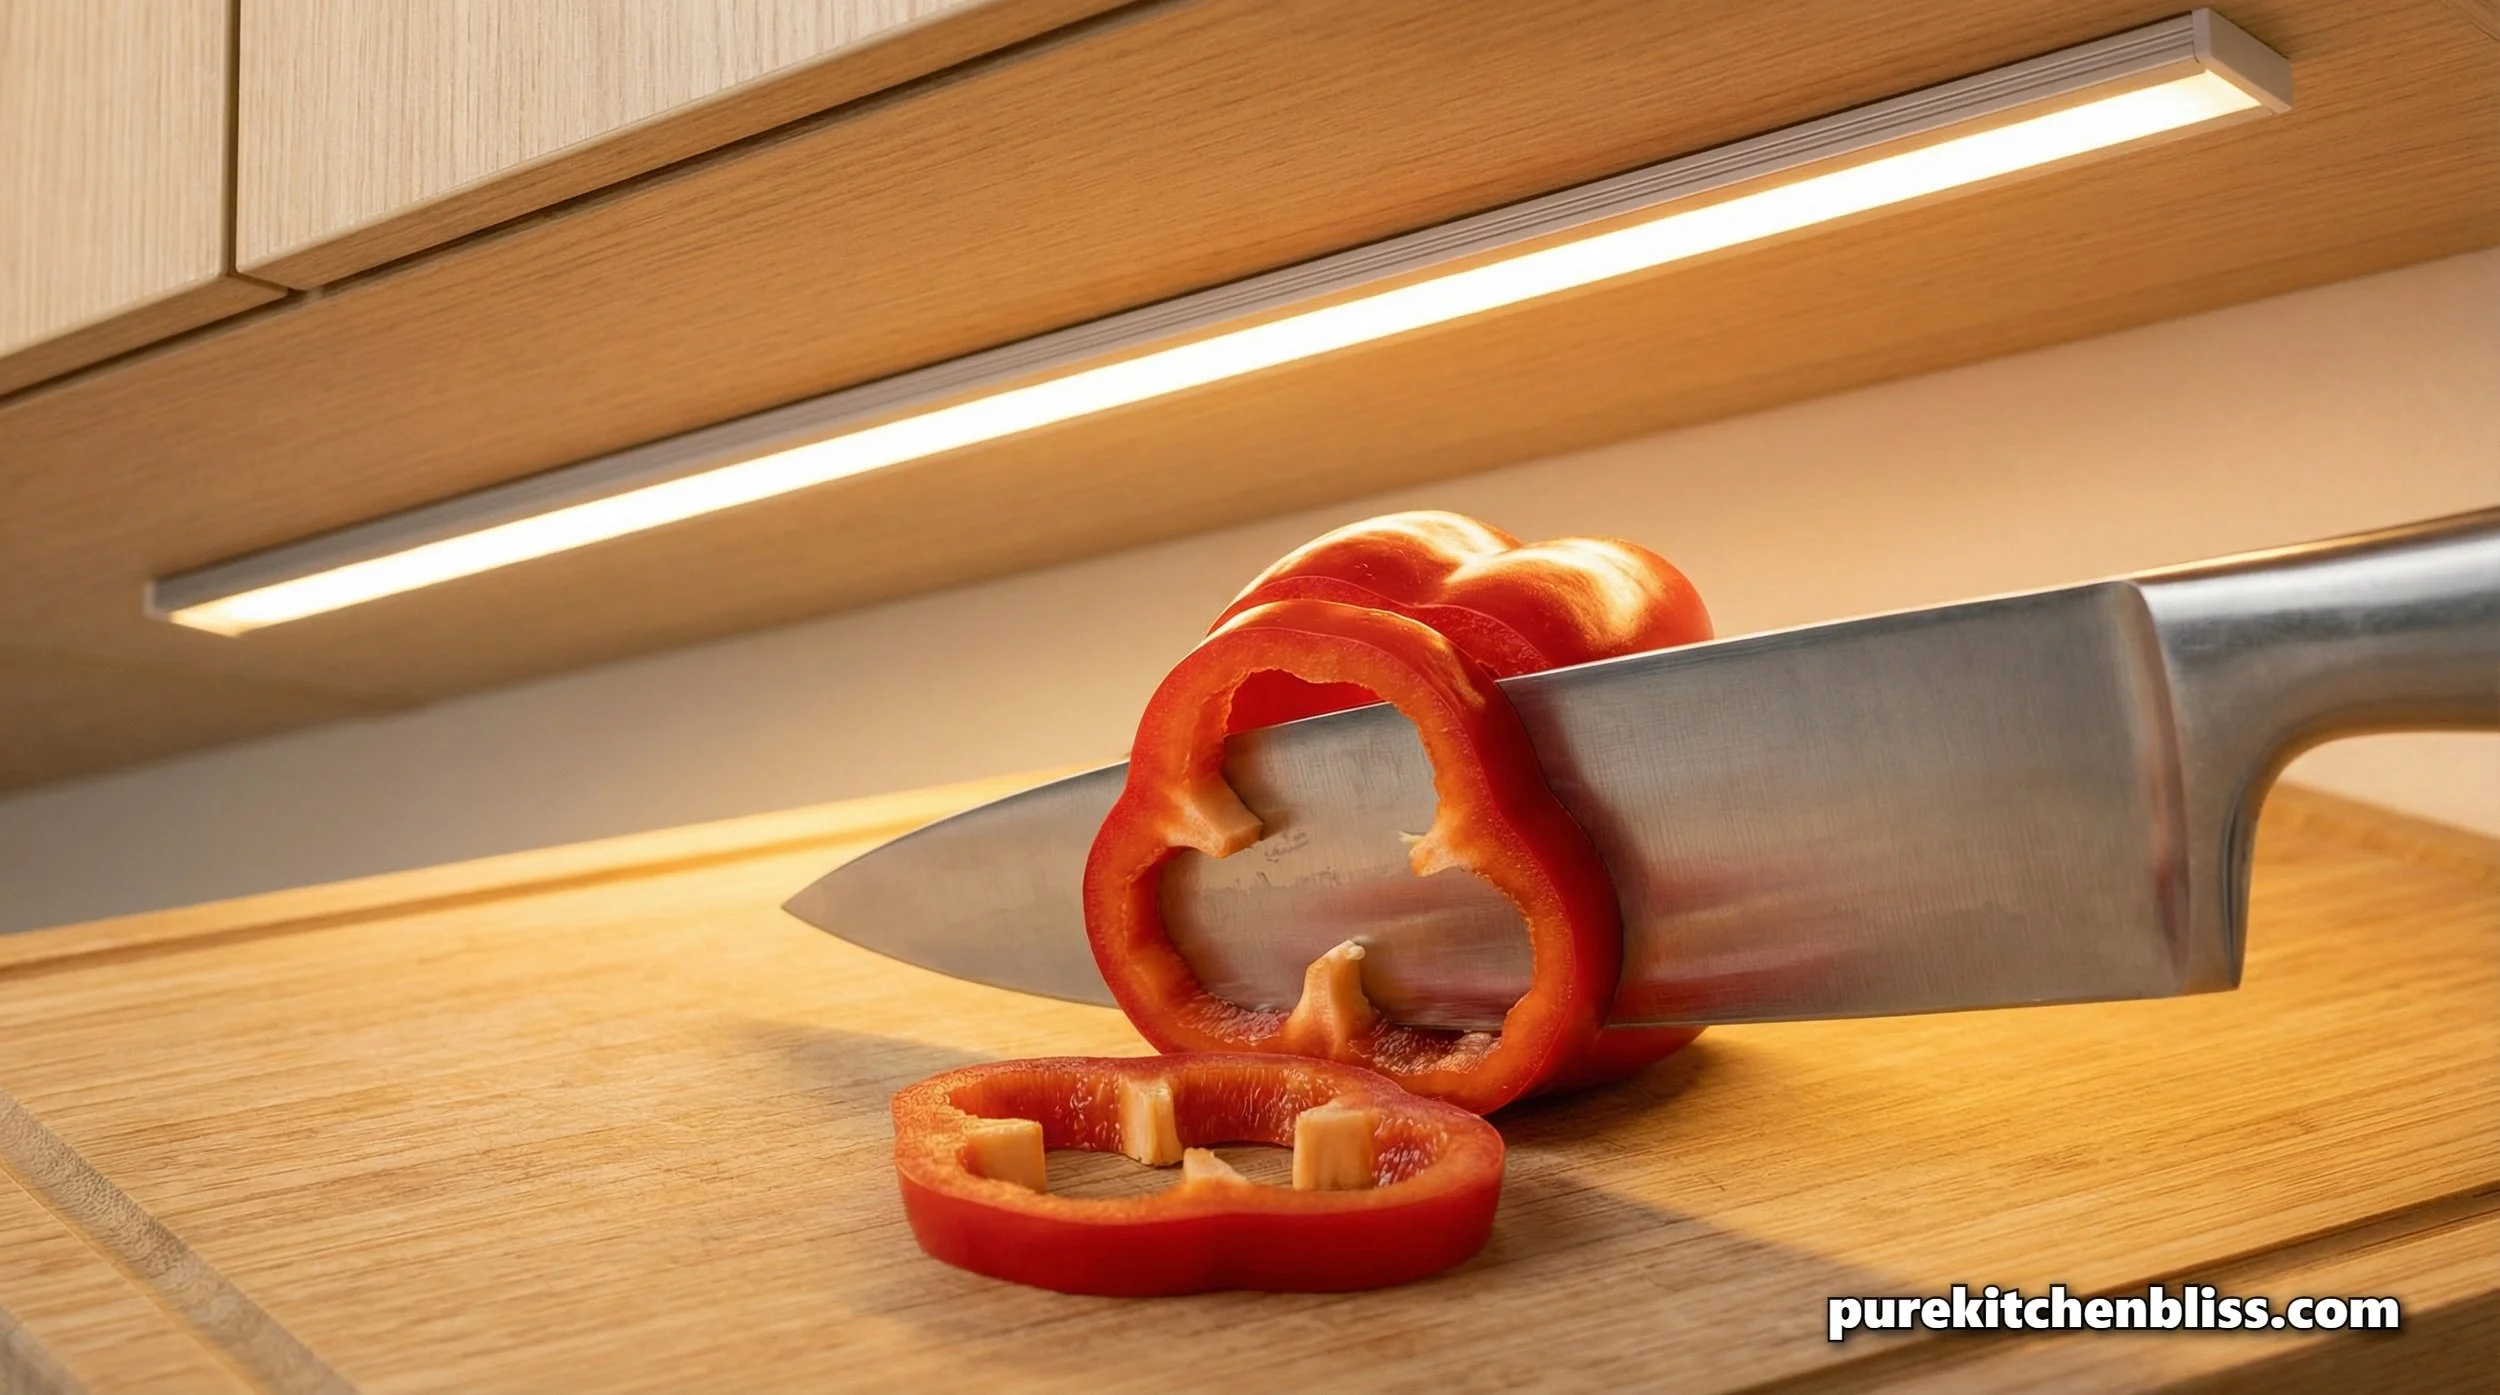
1. The CRI Standard: Seeing Color Correctly
The most critical specification in kitchen lighting is the Color Rendering Index (CRI). This metric measures a light source's ability to reveal the true colors of objects compared to natural light.
The Technical Gap: Standard LEDs often fall into the 80–85 CRI range. At this level, colors are "muddy." Red meats look brownish, and vibrant greens lose their saturation. This is a safety issue; you cannot accurately judge the sear on a steak or the freshness of produce if the lighting is distorting the color spectrum.
The Specification: For a professional grade kitchen, you must prioritize a CRI of 90 or higher. This ensures that the light spectrum is full and accurate. It is the difference between guessing if a dish is properly prepared and knowing it.
2. Thermal Management and Component Failure
LEDs are semiconductors; they generate heat at the diode level. If that heat is not dissipated, the diode will "cook" itself from the inside out, leading to color shifting (where the white light turns blue or yellow) and early failure.
The Driver Problem: Cheap LED strips often fail not because the diodes die, but because the transformer (the "driver") is under-specified. When purchasing, look for systems that separate the driver from the strip, or use high capacity drivers that run at only 70% of their rated load. This "headroom" prevents overheating.
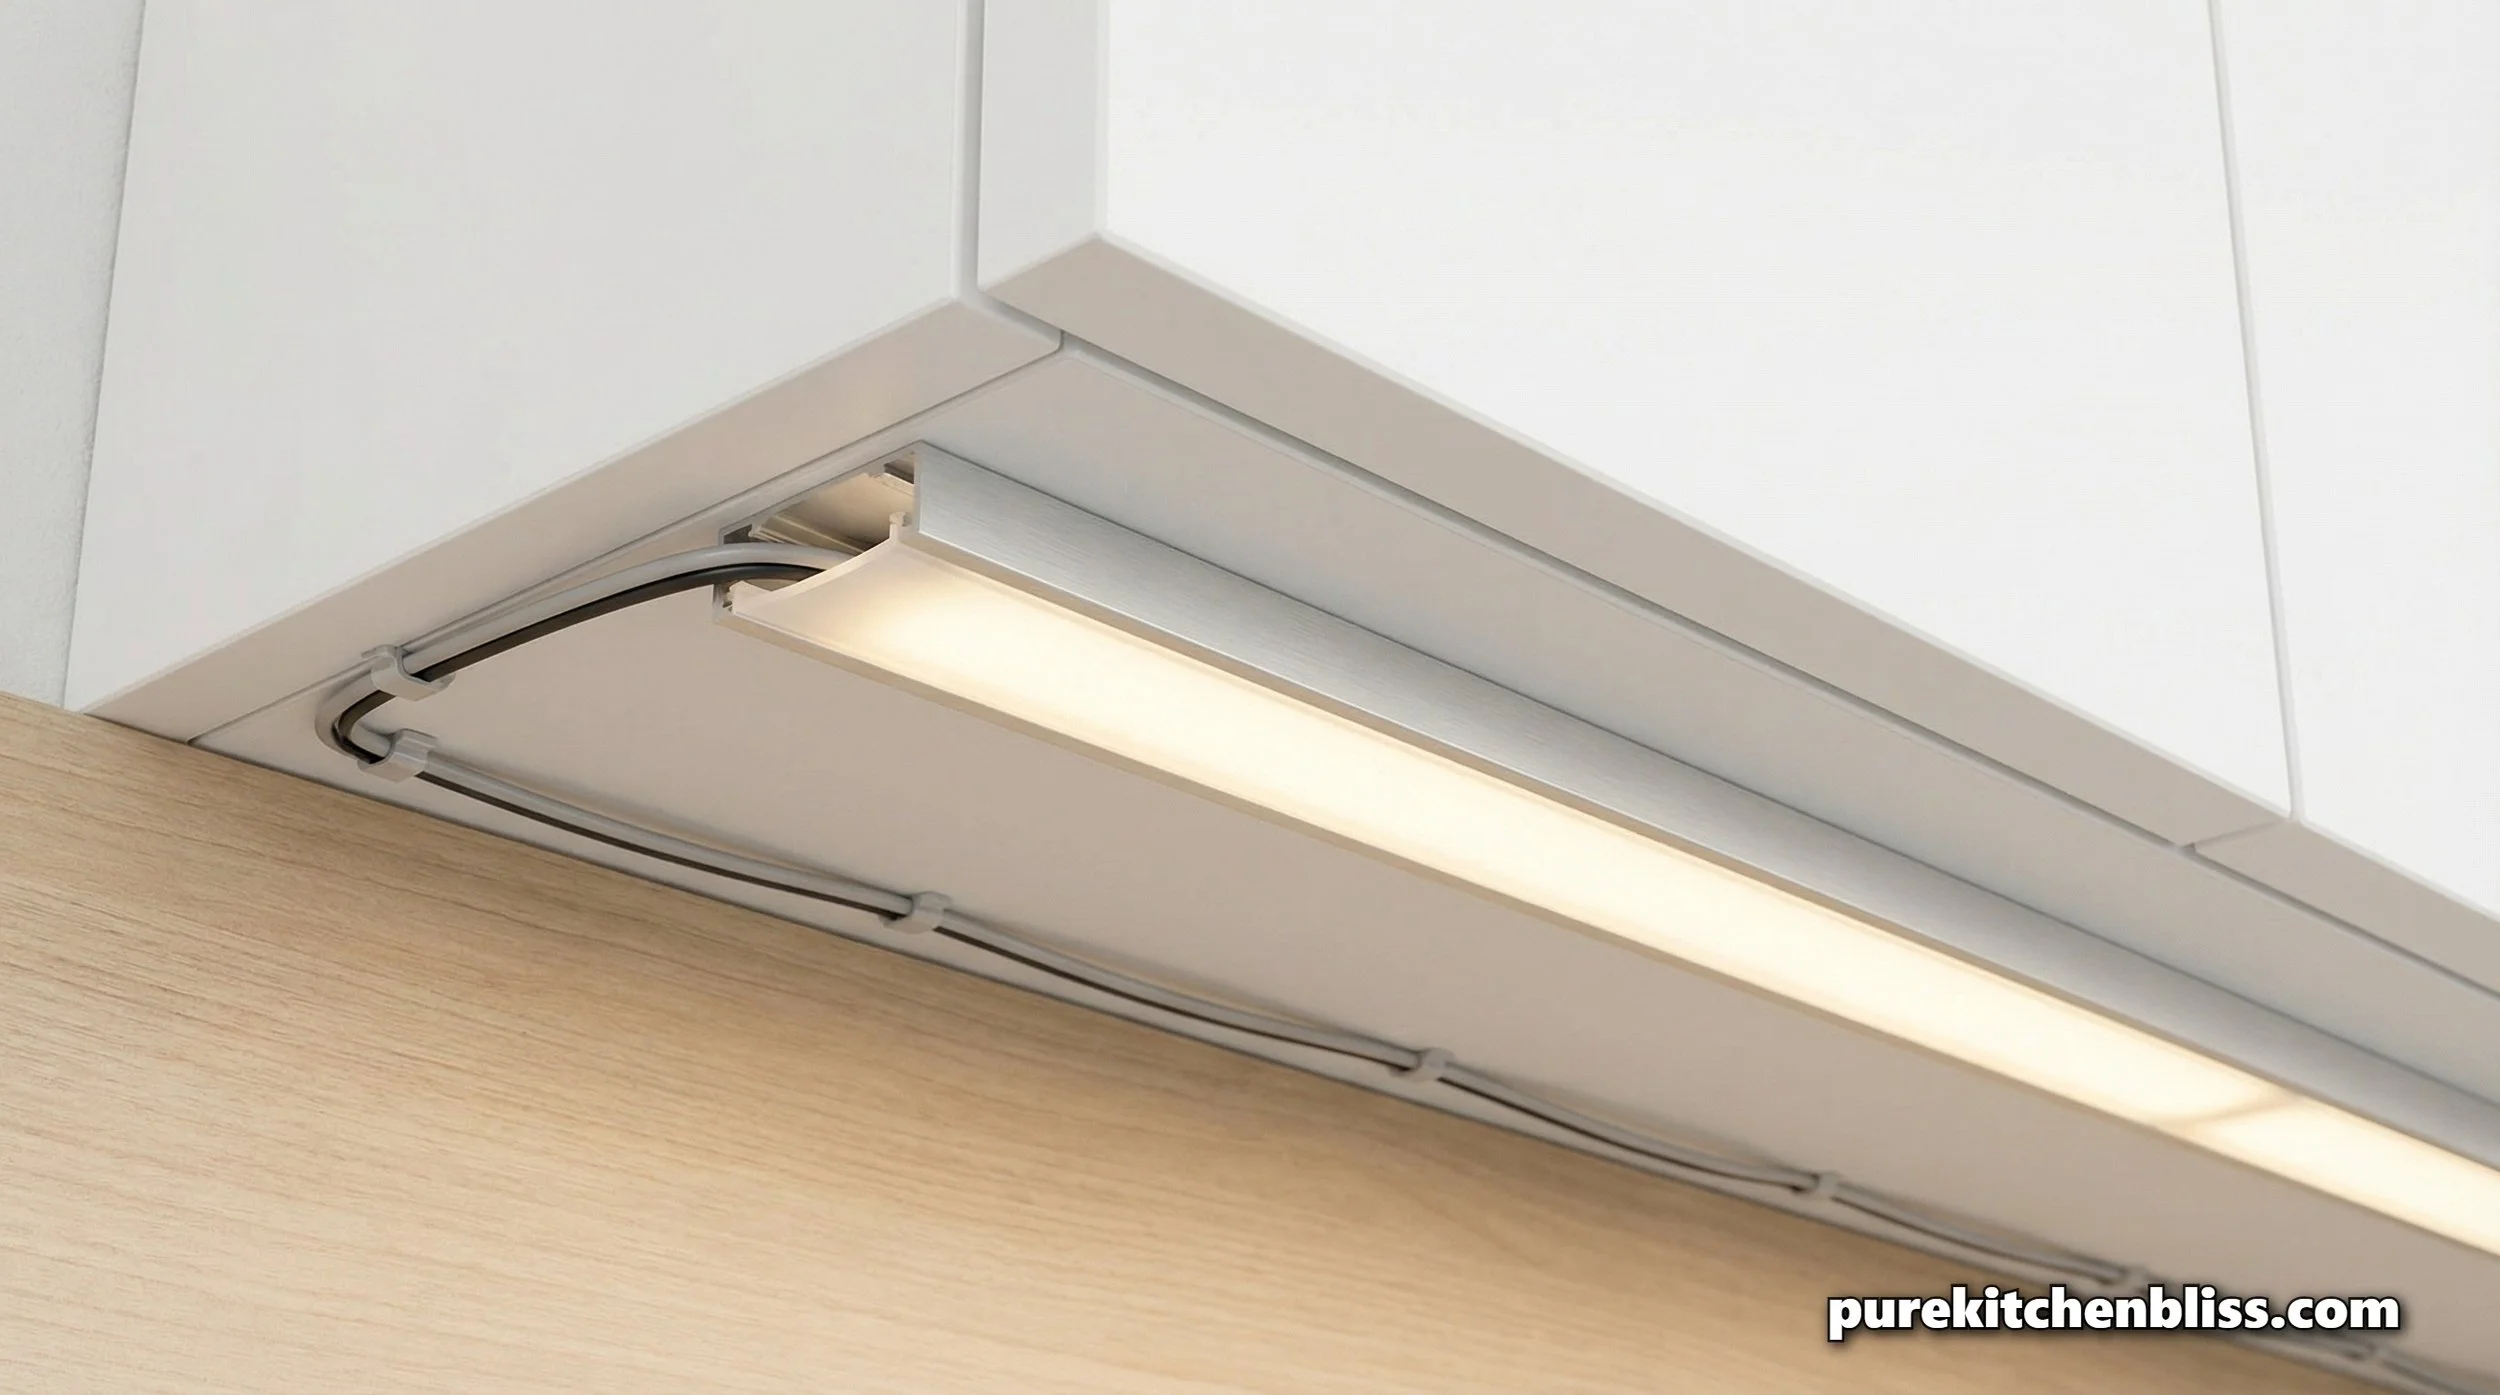
The Heat Sink Requirement: Never mount LED tape light directly to the underside of a wood cabinet. Wood is an insulator; it traps the heat. You must use extruded aluminum channels. These act as a heat sink, pulling the thermal energy away from the diodes and dissipating it into the air. This single addition can triple the lifespan of your installation.
TECHNICAL WARNING: INSTALLATION GEOMETRY
Most installers place the LED channel at the back of the cabinet. This is a geometric error. It creates a "scallop" pattern of light and highlights the texture of the backsplash rather than the workspace. To achieve uniform illumination of the entire counter, install the channel at the front edge of the cabinet, directed downward or slightly inward toward the backsplash. This creates a "wash" of light that covers the entire depth of the workspace.
3. Selecting the Right "Buy It Now" Hardware
We have audited the current market for high CRI, thermally stable LED systems. The following options prioritize the aluminum housing, driver reliability, and 90+ CRI specifications required for a precision kitchen.
The Performance Standard: Modular High-CRI LED Kit
This system is the industry standard for longevity. It includes aluminum channels with frosted diffusers (to eliminate "hot spots" of light) and a high-efficiency driver.
The Spec: 95+ CRI, 3000K (Warm White) color temperature, and modular interconnects that allow for custom lengths without soldering.
The Verdict: The aluminum heat sinks are robust, and the driver is external, meaning it can be easily replaced if it eventually fails, a modular design that respects the "long term infrastructure" ethos.
The Smart-Integration Pick: Dimmable Wi-Fi Controlled Strips
If you require automated control—such as setting the lights to a lower intensity for night-time glass-of-water runs—this system provides high-CRI output with integrated smart-home compatibility.
The Spec: 90+ CRI, integrated heat-dissipating adhesive backing, and a hardened exterior coating for moisture resistance.
The Verdict: The software integration is solid, but remember: even with the best smart features, you must mount these on a metal heat-sink channel to prevent premature diode burnout.
4. Maintenance and Longevity Protocol
Under-cabinet lighting is exposed to the "Aerosolized Grease" and steam generated by your cooking. Over time, this creates a film on the diffuser cover, which reduces light output and causes a hazy, diffused look.
The Extraction Cycle: During your Night Countertop Reset, wipe the light channels with a microfiber cloth and a mild Castile Soap solution.
The Connection Check: Every 6 months, inspect the end connectors. The heat/cool cycles of the kitchen can sometimes cause slight expansion/contraction, which can loosen the contacts. A simple pressure check or reseat of the connectors ensures you maintain a consistent electrical current.
The Diffuser Audit: If you notice the light has become "flickery," it is almost always a contact issue or a failing driver, not a diode issue. In a modular system, you can replace just the driver, keeping the rest of the infrastructure intact.
Conclusion: Engineering Your Visual Workflow
Precision lighting is not about ambiance; it is about visibility, safety, and efficiency. By standardizing on 90+ CRI hardware, utilizing extruded aluminum channels for thermal management, and installing your light sources at the front edge of the cabinet, you convert a dark countertop into a professional grade workspace. This is the final layer of infrastructure required to transform your kitchen into a truly high-output, precision-engineered sanctuary.
Explore More in Your Sanctuary:
To clean your backsplash near the lights: 5 Brilliant Uses for Castile Soap
To protect your counters during the installation: Countertop Stewardship: Granite, Quartz, & Wood
To manage the air quality in your illuminated workspace: Why Is My Fruit Always Molding?