Elevate your Kitchen experience with sustainable tips and expert guidance at PureKitchenBliss.com.
Latest Articles
After sitting down to a big dinner with four kids, the kitchen counters are always piled high with plates, mixing bowls, and pots. In a large household, cleanup is a massive daily operation. For a long time, I assumed that standing at the sink and hand washing everything was the most sustainable, eco-friendly way to handle the chore. It just felt more intentional than running a machine.
But as a builder who looks at utility loops and water infrastructure, I decided to look closely at the actual volume numbers.
The reality is that running a modern, fully loaded Energy Star-certified dishwasher is up to 5 times more water-efficient than washing your dishes by hand.
When you look at the mechanical data, the old-school assumption completely falls apart. If you want to lower your home's environmental footprint, reduce your utility bills, and save time, you need to understand the true math behind your cleanup routine. Today, I'm breaking down the water efficiency mechanics of dishwashing, and sharing the best zero-waste swaps if you do have to scrub a heavy pan by hand.
When we talk about upgrading a kitchen, we usually focus on the tactile elements: the durability of the cabinets, the layout of the island, or how easily we can scratch-test the stone surface. But as a builder, the invisible elements of a room matter just as much as the structural ones.
Data shows that kitchen air can be up to 2 to 5 times more polluted than outdoor air.
Between atomized cooking oils, gas combustion byproducts, and conventional chemical cleaners, the workspace where we feed our families can quickly turn into a stagnant cloud of airborne irritants.
With four kids running around our kitchen island every day, keeping our indoor air clean is a massive priority for me. Fortunately, managing your air footprint doesn't require tearing down your drywall or buying commercial-grade exhaust systems. By establishing a few basic ventilation routines and understanding how your cooking appliances affect your home's air loop, you can breathe much easier. Here is my straightforward guide to tuning your kitchen's air quality.
When people think about starting a home composting routine, they usually love the environmental idea of keeping organic food waste out of landfills. But almost immediately, the practical hesitation sets in: the smell.
Nobody wants a kitchen island that smells like rotting vegetables, and nobody wants a cloud of fruit flies buzzing around their food prep zone, especially when you have a big family running through meals every day.
In a house with four kids, our kitchen produces a massive amount of coffee grounds, apple cores, eggshells, and vegetable scraps. If you just throw those scraps into an open container under the sink, you are setting yourself up for a nightmare.
But as a builder, I look at decomposition as a basic mechanical process. Kitchen composting doesn't smell if you properly balance moisture and airflow, keeping the organic matter from rotting anaerobically (without oxygen).
You donβt need an expensive, loud electric composting machine sitting on your counter to go green. By using a couple of smart containment setups and a zero-dollar layout trick, you can start composting today without a single bad odor. Here is the exact routine we use to keep our kitchen fresh.
When we think about home wellness and renovation, the kitchen gets a lot of attention. We talk about stone surfaces, clean water lines, and ventilation. But from a builder's perspective, there is another room in the house that struggles with a much heavier environmental load: the bathroom.
Indoor air quality is a massive health driver for a family, and our bathrooms are natural breeding grounds for moisture build-up, volatile organic compounds (VOCs), and airborne spores.
In a house with four kids, the family bathroom handles a relentless rotation of steamy showers, damp towels, and daily grooming routines. For a long time, the standard solution for bathroom odors was to grab a bright can of synthetic aerosol air freshener from the grocery store aisle and spray down the room.
But as Iβve learned more about materials and home health, Iβve realized that spraying those aerosols is a major mistake. Most traditional air sprays are packed with synthetic fragrances and hidden chemicals like phthalates, which act as endocrine disruptors. You are essentially trying to mask an odor by loading the air with harsh chemical vapors right where your family brushes their teeth and breathes.
Creating a clean, healthy home environment doesn't require a $10,000 ventilation overhaul. You can clean up your bathroom's air quality on a strict budget. Here is exactly how I ditched the chemical sprays and used a few simple, affordable physics tricks to build a natural bathroom odor eliminator system for under twenty bucks.
When people talk about building a sustainable, eco-friendly kitchen, the conversation usually shifts to big-ticket luxury items. They talk about installing thousands of dollars worth of solar panels, swapping out working appliances for smart-grid versions, or sourcing high-end wheatstraw agrifiber cabinetry boxes.
But in a house with four kids, I look at sustainability through a much more practical lens. You don't need a massive home renovation budget to make a real environmental impact.
The absolute fastest way to go green without spending money is to target your highest recurring waste streams.
By looking at the daily habits, paper consumption, and mechanical efficiency of your existing setup, you can dramatically lower your home's footprint while actually putting money back into your wallet. Today, Iβm sharing the top three budget-friendly, zero-waste kitchen swaps I used to green our family kitchen for under twenty bucks.
A lot of people notice that their nonstick frying pans, baking sheets, or waffle makers start losing their slick surface after just a few months of use. Even if you are incredibly careful, never using sharp metal utensils, always hand-washing them with a soft sponge, and storing them with protectors, food still starts sticking to the center of the pan.
In my shop and kitchen experience, the culprit usually isnβt your cooking temperature or your washing technique. It is that yellow aerosol cooking spray can sitting in your pantry.
With four kids in the house, we go through a lot of quick breakfasts and weeknight stir-fries. For a long time, grabbing a can of commercial nonstick spray seemed like the easiest, fastest way to coat a skillet or a 4-slice Belgian waffle grid before throwing down batter.
But as a builder, I tend to look at the chemistry of how different coatings interact under heat. Once you realize what is actually inside an aerosol canister, youβll understand why it is slowly destroying your expensive cookware.
Today, Iβm breaking down the basic chemistry of why aerosol sprays ruin nonstick finishes, and the simple, refillable tool I switched to instead to keep our pans perfectly slick for years.
If you spend any time scrolling through social media lately, youβve probably noticed a massive shift in how people film their cooking videos. There is a whole movement built around "aesthetic prep."
People are completely moving away from mismatched plastic tools and cluttered countertops. Instead, everything is about matching textures, satisfying sounds, and gadgets that make the actual process of cooking look seamless and beautiful.
Lately, my kids have shown me one specific tool that seems to be in every single viral recipe clip: Gravity Electric Salt and Pepper Grinders.
Youβve definitely seen them. They are sleek, modern-looking canisters that sit on the counter. Instead of twisting them with two hands, you just tip them upside down over a pot, a blue LED light turns on, and they automatically start grinding fresh spices using internal tilt sensors.
Because we run a busy family kitchen and a coffee shop, my kitchen island is always a hub for food prep. Iβm always skeptical of gadgets that trend just because they look pretty in a 15-second video clip. I wanted to see if these automatic grinders were just aesthetic hype or if they actually solved a real problem for a busy home cook.
I picked up a set to test out on our main island, and after a month of daily family use, here is my honest, first-person review.
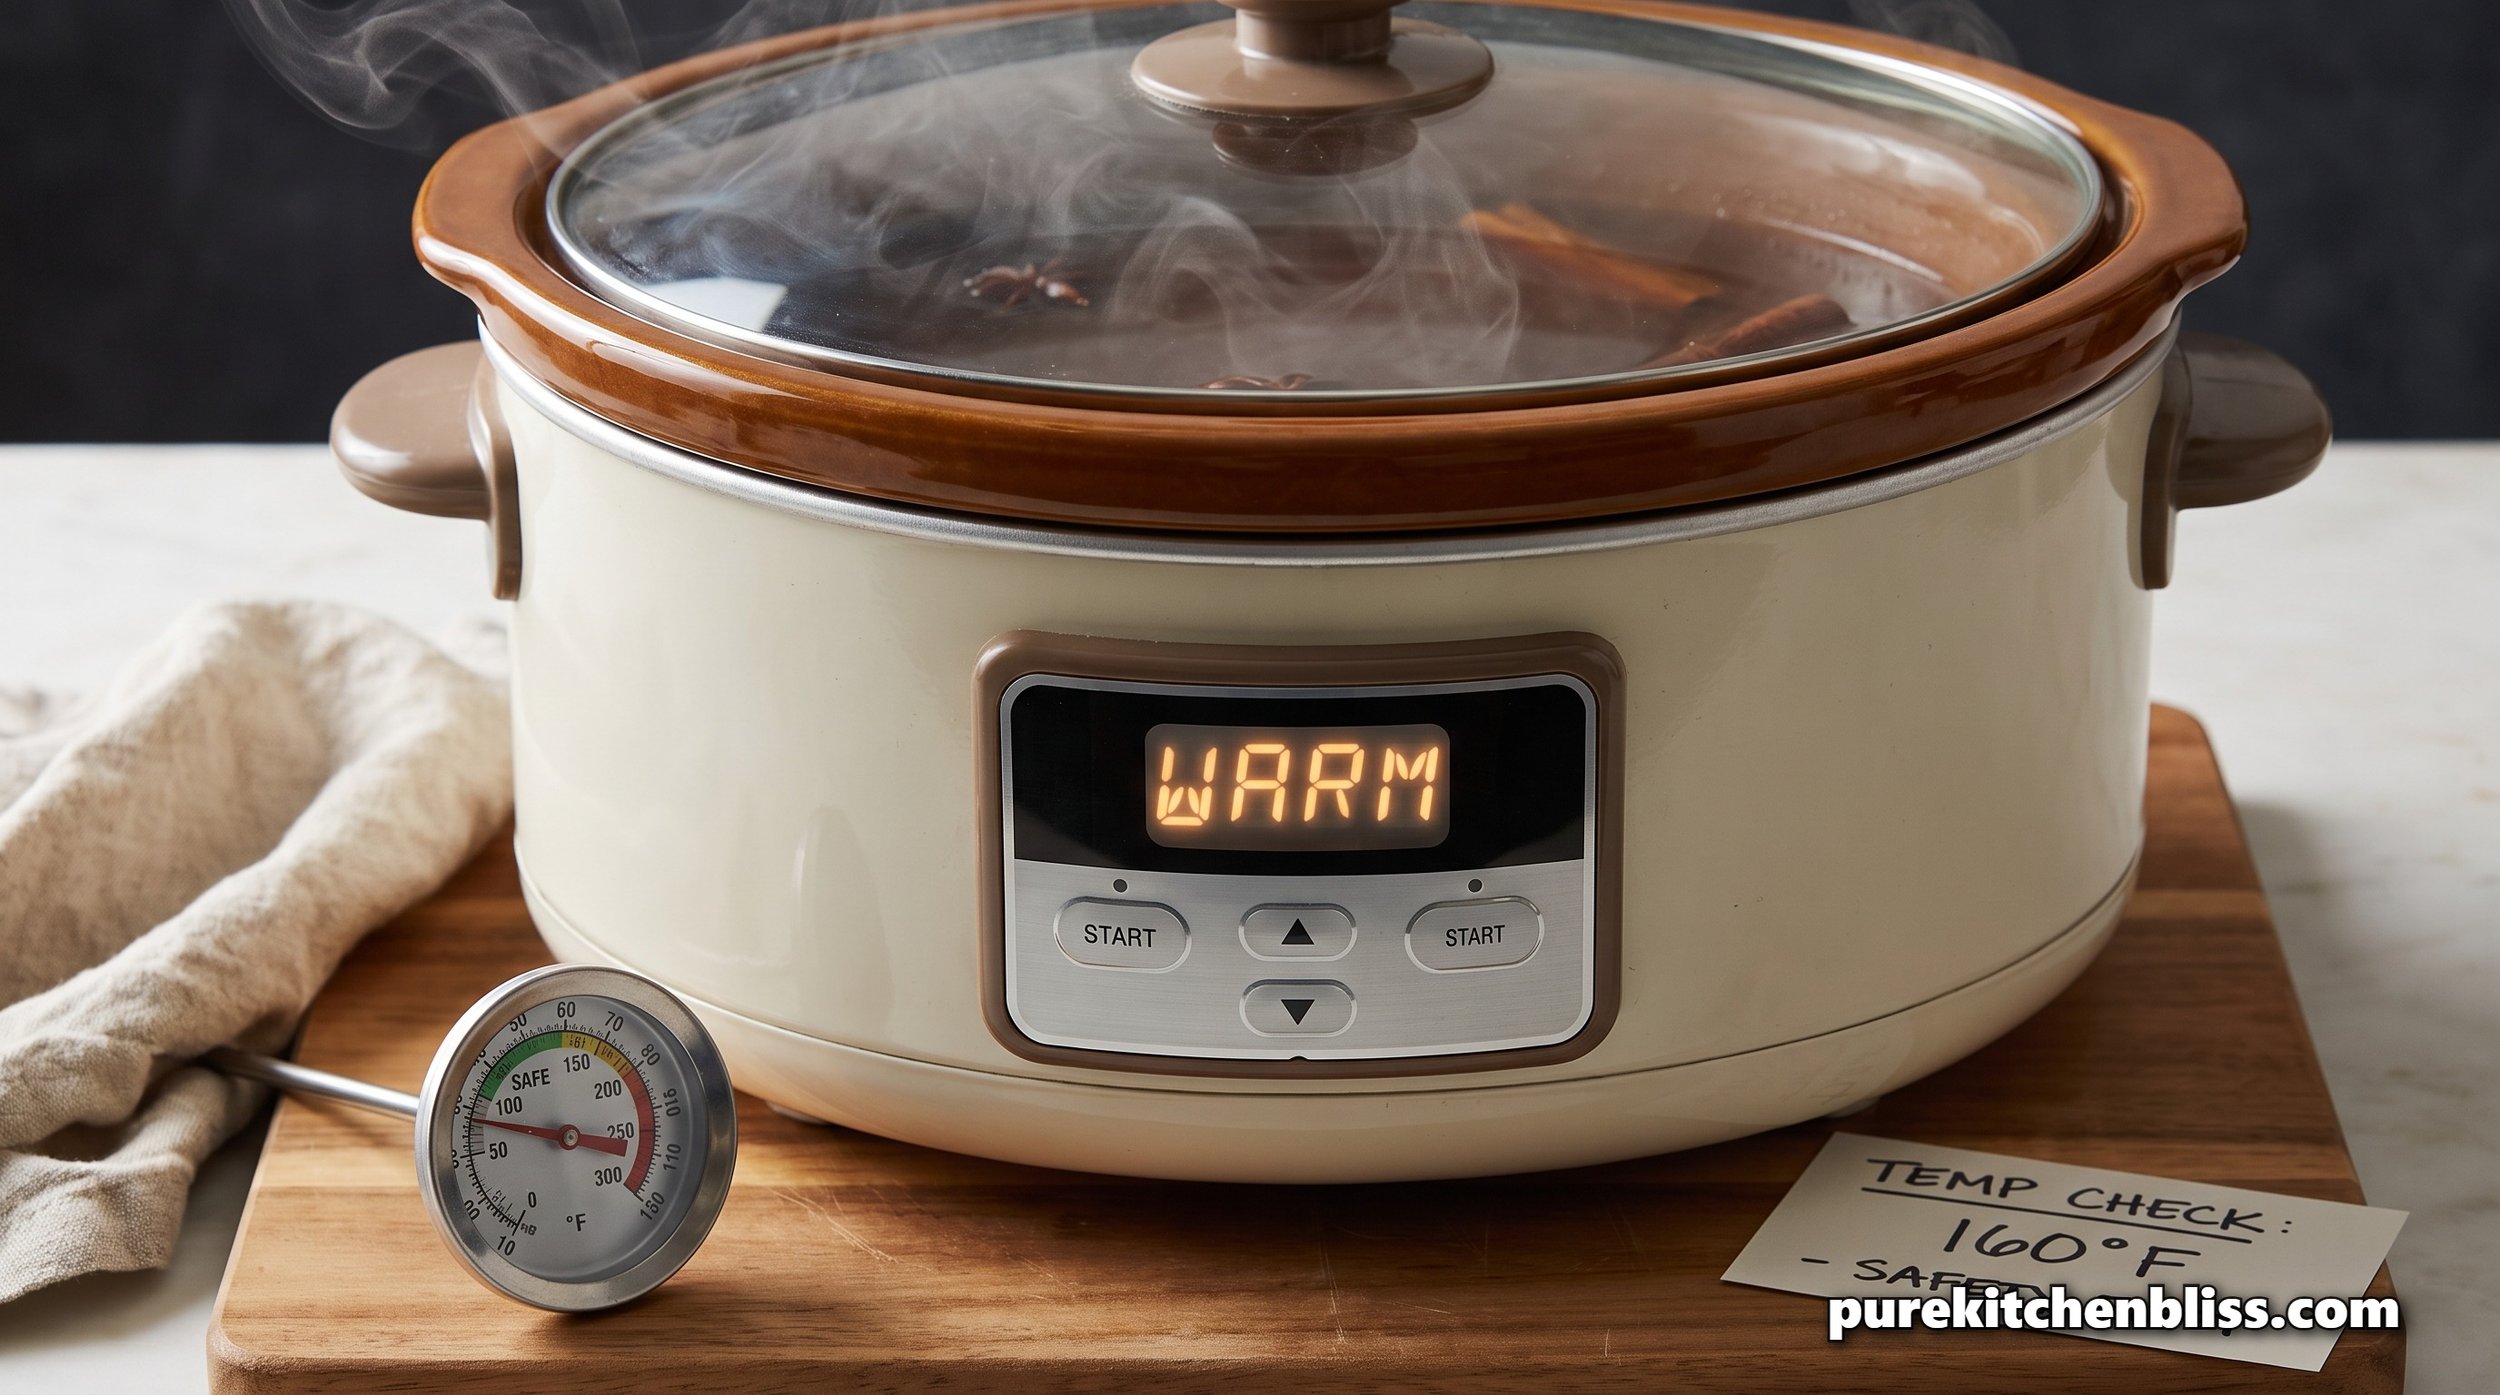
Warm thermos lunches are everywhere in back-to-school content this year, and most of it treats "it's in a thermos" as a safety guarantee. A University of Texas study found the opposite, over 90 percent of perishable items in packed lunches were sitting at unsafe temperatures by the time kids actually ate them. Here's what the research actually shows, and the one step that changes the outcome.
With having four kids, I always seem to have someone working on some sort of project at the kitchen island. Whether it's fixing a broken plastic toy, working on a school model, or doing crafts, our counters get a lot of action. And honestly, as the kids get older, the more glue it seems they want to use.
I feel like I am constantly cleaning dried glue, paint, and tape residue off our countertops.
Last week, my oldest one was working on a project and accidentally left me a nice, rock-hard puddle of super glue right on our main work surface. If youβve ever dealt with cyanoacrylate (the chemical name for super glue), you know that once it cures, it bonds instantly and feels like plastic armor welded to your counter.
If you look up a quick solution online, a lot of generic advice will tell you to just grab a metal razor blade and scrape it off, or dump heavy acetone everywhere. But as a woodworker and builder, my immediate thought is always about protecting the surface finish. If you have a premium honed stone or wood counter, aggressive scraping or using the wrong chemicals can permanently scratch the material or strip away the protective sealer.
You have to be patient and let chemistry do the work. Here is exactly what I did last week to clean that super glue puddle off our countertop without leaving a single scratch behind.