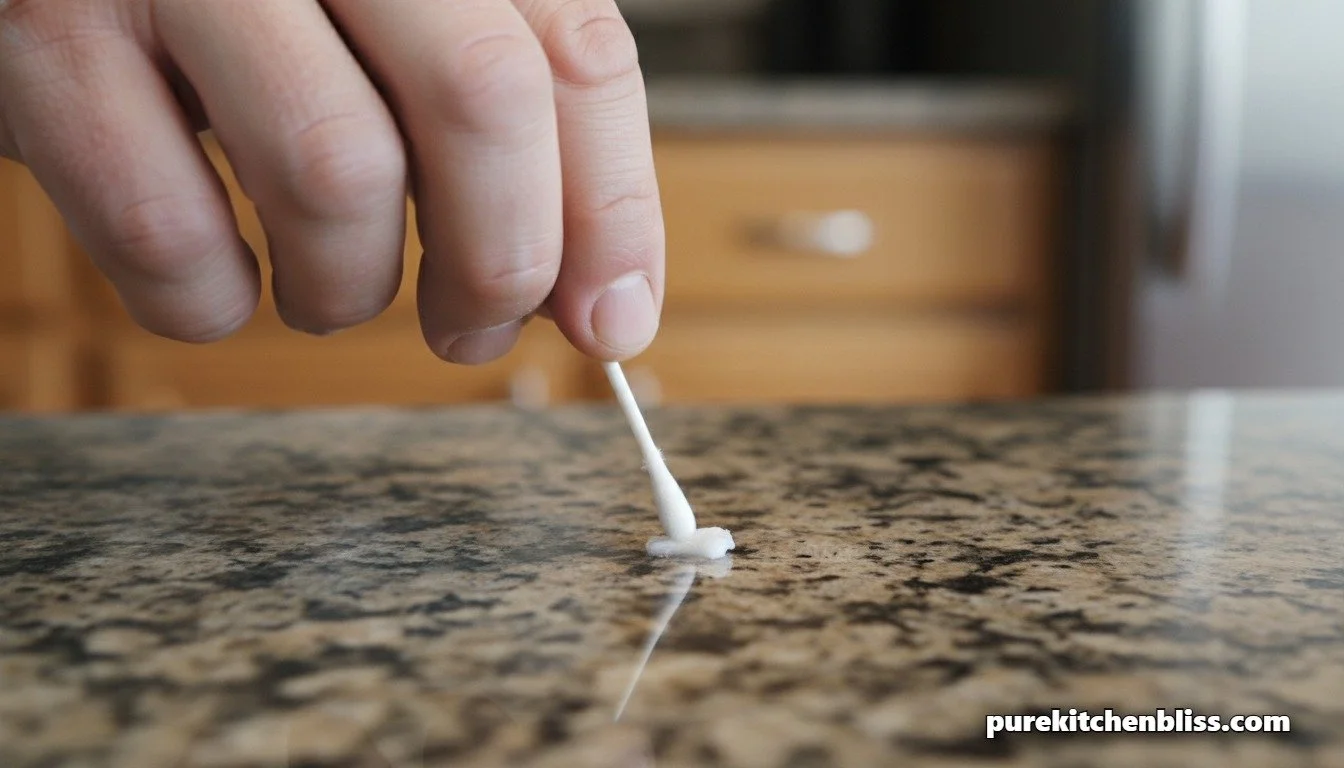
How I Get Super Glue Off My Countertop 🛠️💧
With having four kids, I always seem to have someone working on some sort of project at the kitchen island. Whether it's fixing a broken plastic toy, working on a school model, or doing crafts, our counters get a lot of action. And honestly, as the kids get older, the more glue it seems they want to use.
I feel like I am constantly cleaning dried glue, paint, and tape residue off our countertops.
Last week, my oldest one was working on a project and accidentally left me a nice, rock-hard puddle of super glue right on our main work surface. If you’ve ever dealt with cyanoacrylate (the chemical name for super glue), you know that once it cures, it bonds instantly and feels like plastic armor welded to your counter.
If you look up a quick solution online, a lot of generic advice will tell you to just grab a metal razor blade and scrape it off, or dump heavy acetone everywhere. But as a woodworker and builder, my immediate thought is always about protecting the surface finish. If you have a premium honed stone or wood counter, aggressive scraping or using the wrong chemicals can permanently scratch the material or strip away the protective sealer.
You have to be patient and let chemistry do the work. Here is exactly what I did last week to clean that super glue puddle off our countertop without leaving a single scratch behind.
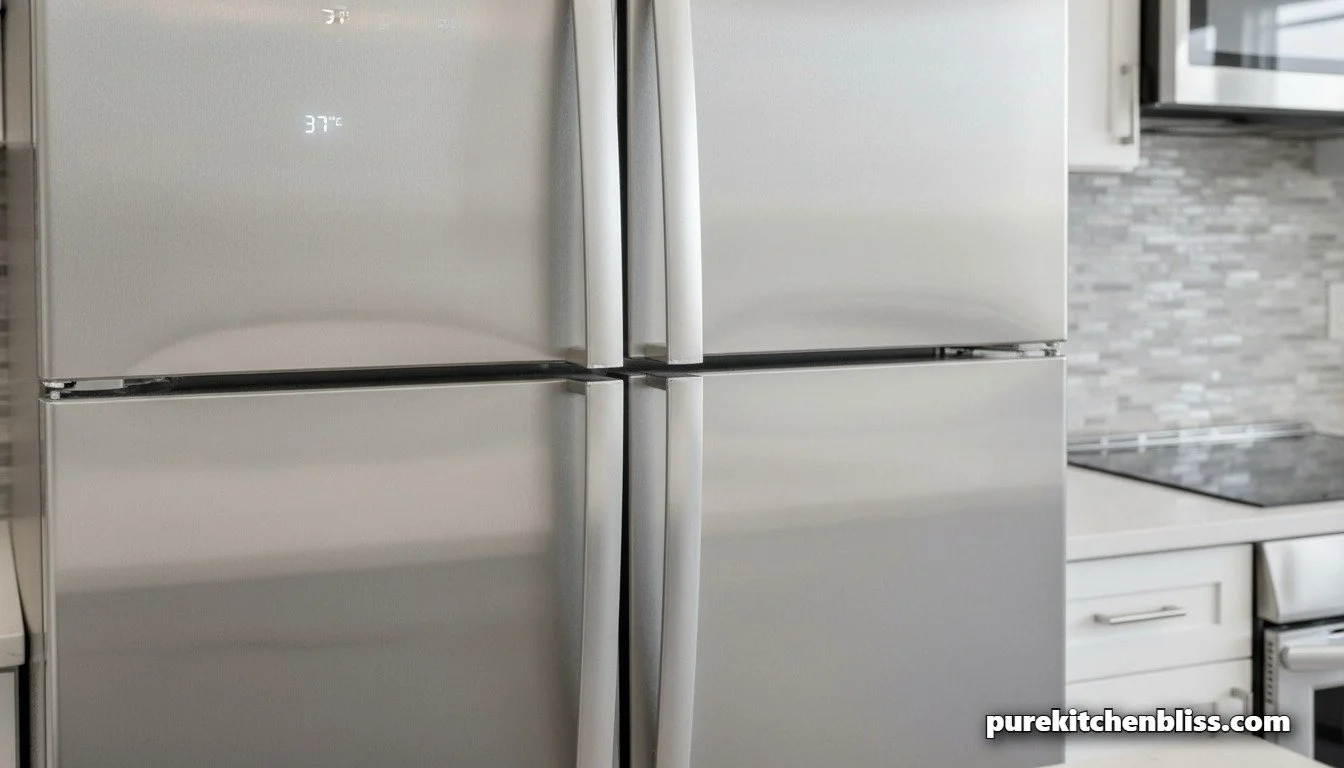
How I Tuned My Refrigerator Doors to Save Money on My Monthly Power Bill 🛠️💸
In my coffee shop, running refrigeration equipment with a failing door seal is a massive operational liability. If a walk-in cooler door sags by even a quarter of an inch, cold air constantly dumps out onto the floor, causing the heavy compressor engine to run around the clock. Your electricity bill spikes, the compressor prematurely burns out, and you risk ruining thousands of dollars in commercial dairy inventory.
Last weekend, I noticed a similar warning sign inside my own kitchen. As I sat at the island, the house was quiet, but our panel-ready refrigerator was emitting a constant, low, aggressive hum that wouldn't shut off.
In a home with four kids, our refrigerator doors get wrenched open and slammed shut dozens of times a day. Over time, that constant physical impact, combined with the heavy weight of milk jugs and juice bottles loaded into the door bins, will cause the factory hinges to sag.
If you ask a generic AI chat tool why your fridge is running constantly, it will instantly tell you to replace the compressor or call an appliance repair tech. But as a carpenter, I look at the physical geometry of the appliance first. Most of the time, the compressor is fine, the doors are just sagging out of alignment, breaking the magnetic seal. Here is my exact, first-person diagnostic routine to level your refrigerator doors and restore a watertight thermal barrier in 10 minutes flat using a basic wrench and a single dollar bill.
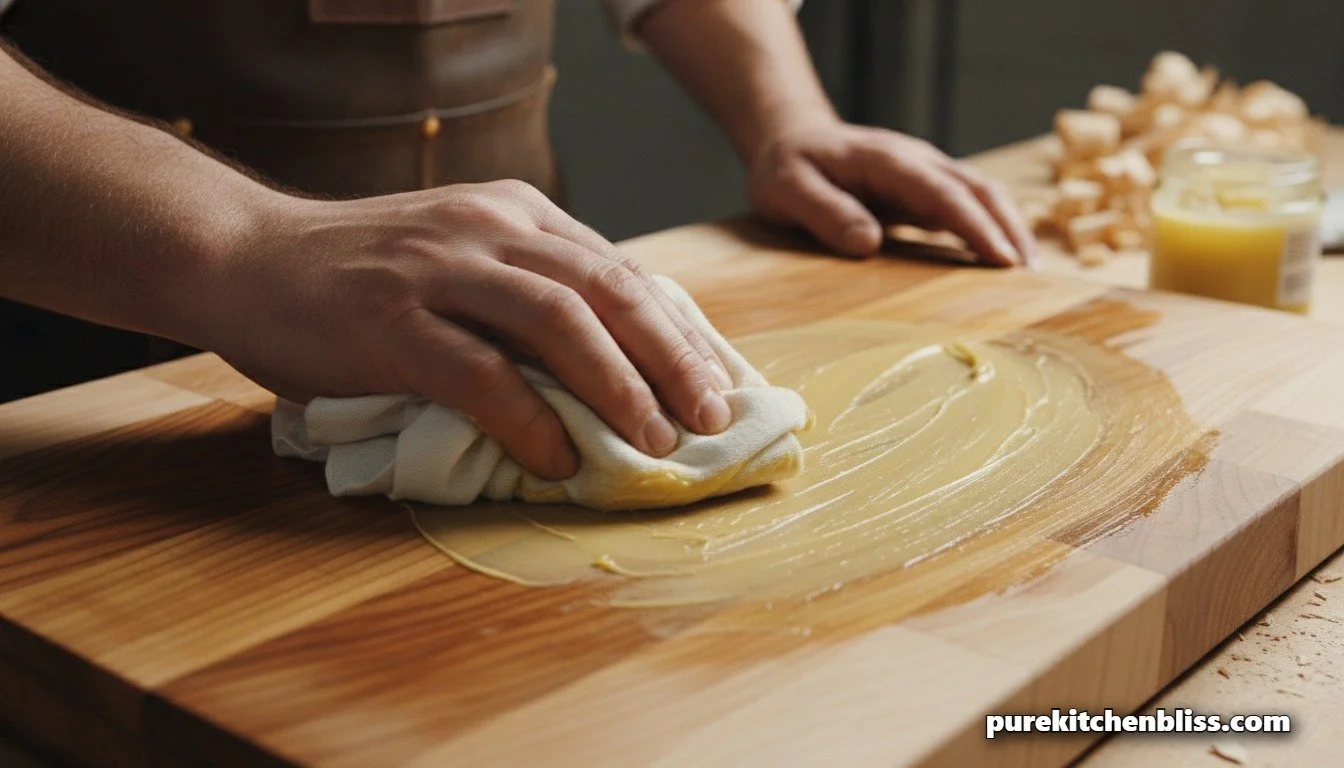
How I Re-Oil My Wood Cutting Boards to Stop Them from Splitting and Warping 🪵🛠️
In my carpentry shop, a premium slab of white oak, walnut, or rock maple is handled with absolute precision. We measure to the millimeter, control the ambient humidity, and apply beautiful protective finishes. But in my kitchen, my wood cutting boards are subjected to a daily, violent onslaught of water, acidic meat juices, heavy cleavers, and scrubby sponges.
With four kids running around a high-contact kitchen sanctuary, our prep boards face constant abuse. A few months ago, I walked into the kitchen and noticed my favorite heavy-duty walnut block was starting to look dull, dry, and gray. Even worse, it had developed a slight cup, meaning the edges were warping upward off the flat countertop.
If you jump onto a generic internet summary, it might tell you to rub olive oil or vegetable oil from your pantry onto dry wood. As a professional woodworker, I am telling you that is the fastest way to ruin a board. Cooking oils are unstable fats; they will oxidize, turn rancid, and leave your prep surfaces smelling like stale grease.
Twice a year, I round up every cutting board, wooden spoon, and rolling pin in the house and take them out to my workbench for a deep conditioning treatment. Here is my exact, first-person shop routine to clean, hydrate, and seal wood grains so they never split, warp, or trap bacteria again.
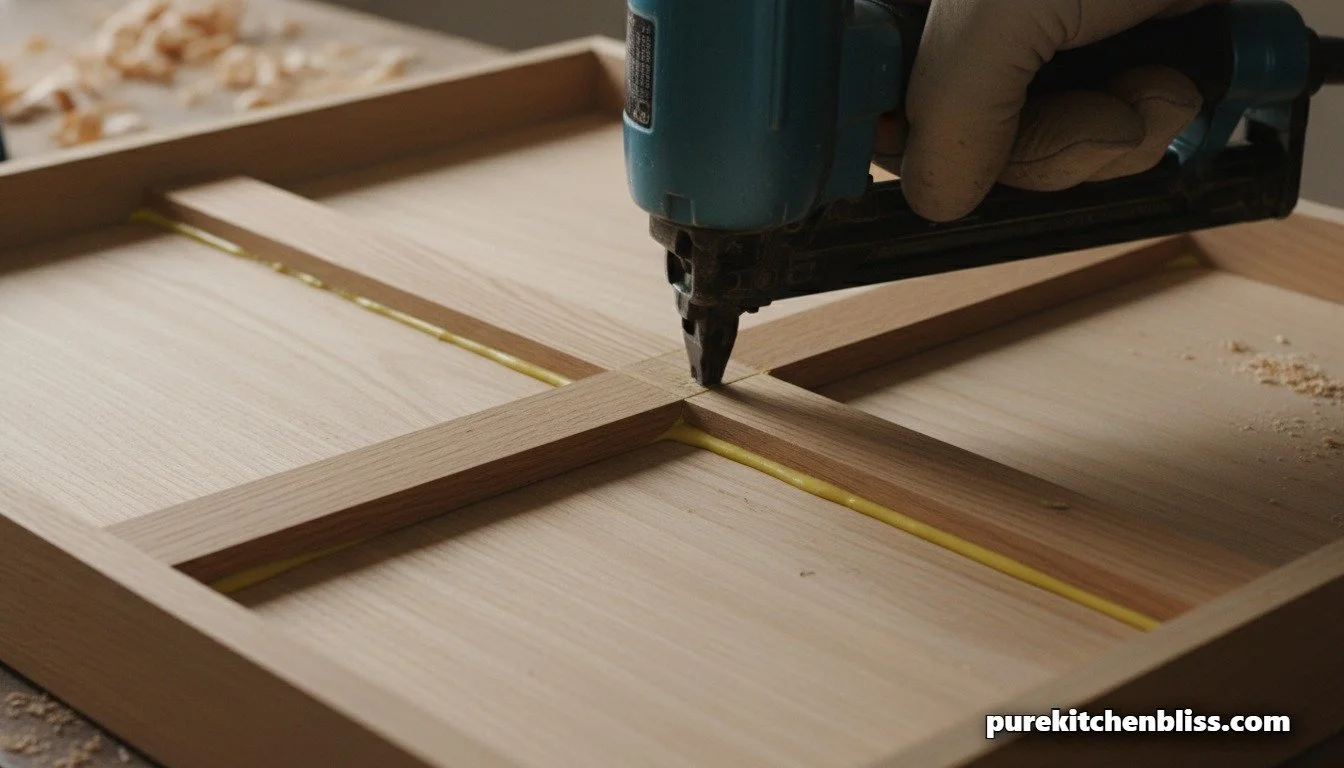
How I Fix a Sagging Kitchen Drawer That Was Built with Cheap Hardware 🛠️🧰
In a house with four kids, my kitchen cabinetry doesn't get treated with gentle, showroom respect. Drawers don't get smoothly slid open, they get yanked by toddlers using the handles as climbing steps, leaned on by teenagers looking for snacks, and routinely overloaded with heavy cast-iron pans and baking gear.
Last week, my family finally hit the breaking point with our main baking drawer. Every time we tried to pull it open, it shuddered, screeched, and got stuck halfway on its tracks. When I pulled the drawer box completely out of the cabinet frame to look at it on my workshop bench, the problem was instantly obvious: the thin, 1/4-inch particleboard bottom panel had completely bowed downward under the weight of the flour bins, pulling out of its side grooves and bending the cheap, factory-installed side slides out of alignment.
If you search online for "how to fix a stuck drawer," a generic AI search result will tell you to spray WD-40 on the tracks or rub a candle along the wood. As a professional carpenter, I am telling you that advice is useless nonsense. If the structural integrity of the box is compromised, no amount of lubricant will fix it. You need to reinforce the load-bearing bones of the drawer.
Today, I’m walking you through my exact, first-person workshop blueprint to rebuild and reinforce a sagging kitchen drawer box so it handles heavy daily abuse without ever catching or sticking again.
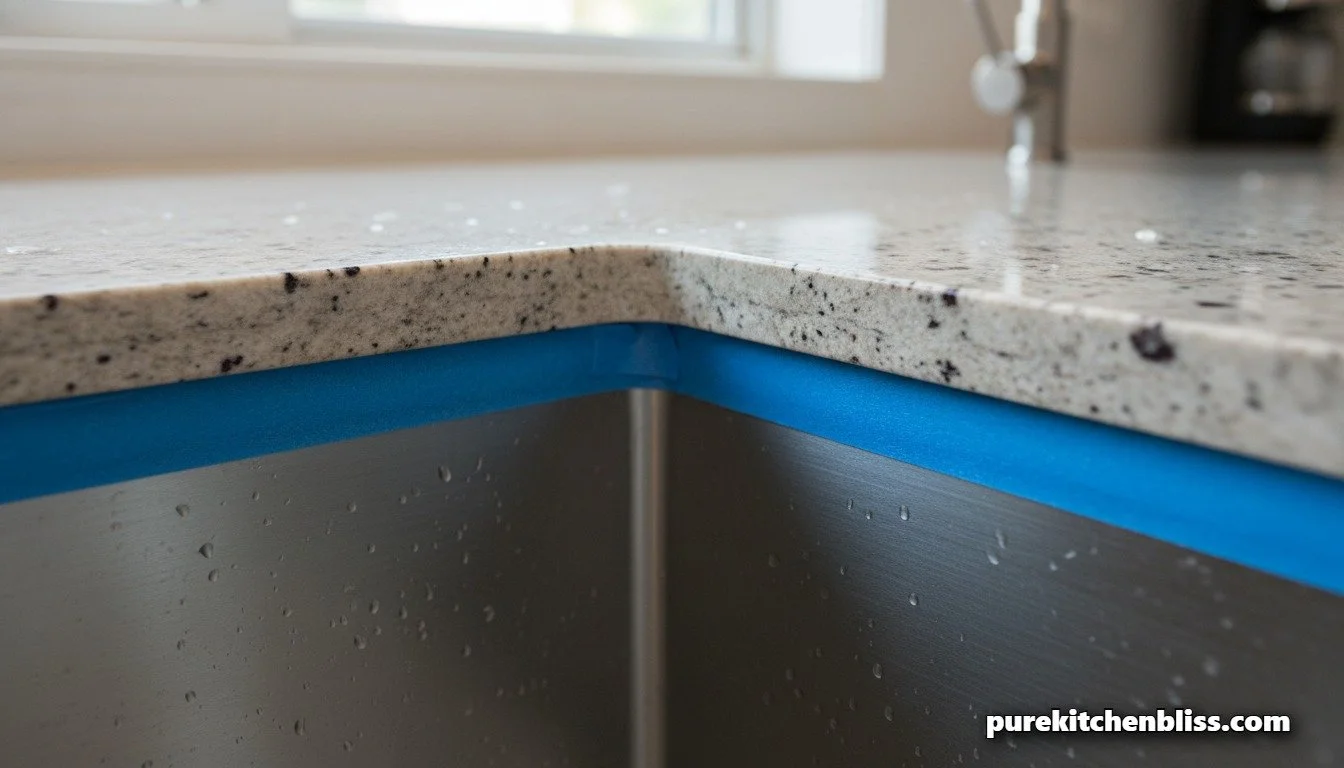
The Carpenter's Guide to Re-Sealing Undermount Sinks (Before It Ruins Your Cabinets) 🛠️💧
If you look underneath your kitchen counter right now, there is a silent battle happening between gravity, water, and the structural engineering of your kitchen cabinets.
When people remodel, they focus on the beautiful surface pairings, like laying out a gorgeous Cloud Dancer porcelain slab over custom cabinets. But as a carpenter, my focus is always on the joints. Specifically, the mechanical seam where an undermount sink connects to a stone countertop.
Unlike a traditional drop-in sink that rests its weight on top of the counter, an undermount sink hangs suspended over empty space. The only things keeping it up are a set of mechanical clips and a thin bead of 100% silicone sealant. Over time, from the vibrations of a heavy garbage disposal and the daily scrubbing of family pots, that silicone bead will crack, pull away, or degrade.
In a house with four kids, our workstation sink gets completely hammered every single day. A failed silicone seal is a ticking time bomb. Long before you ever notice a puddle on your kitchen floor, water will seep into that microscopic gap, traveling down the back of your plywood or wheatstraw cabinet boxes. It will blister the veneer, rust your soft-close drawer slides, mold the interior walls, and cause thousands of dollars of structural dry rot.
Today, we are putting on our work gloves. I’m giving you the step-by-step contractor's blueprint to scraping, cleaning, and completely re-sealing an undermount sink before a $5 leak turns into a $5,000 cabinet disaster.

DIY Lavender Reed Diffuser: The Perfect 2026 Spa Secret 🌿🧴
If you’ve been following our every-other-day posting schedule, you know we just unlocked the secret to passive air diffusers using shop scraps. But today, we are scaling things up to target the ultimate relaxation zone. We are building a custom, artisan DIY Lavender Reed Diffuser.
Walk into any high-end boutique in 2026, and you’ll see reed diffusers retailing for $60 a pop. But as a builder, I look at those bottles and see about $5 worth of raw materials. Most commercial brands use synthetic fragrance oils loaded with phthalates. When you have four kids running around a high-traffic kitchen sanctuary, the last thing you want to do is pump synthetic chemicals into the air.
Today, we’re using pure "Shop Logic" to mix an all-natural, highly potent lavender diffuser that matches the exact quality of the blends I run in my coffee shop. Here is the blueprint for crafting your own piece of spa-level bliss.
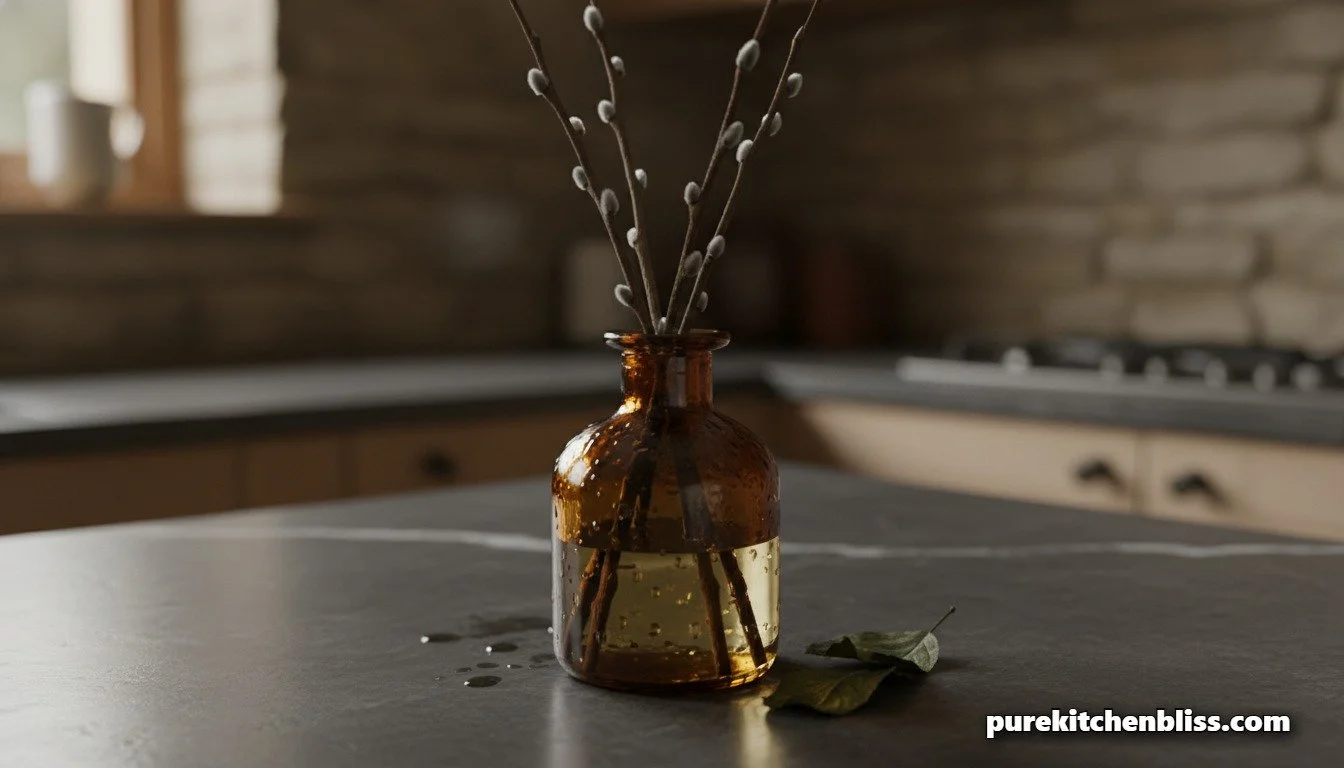
DIY Sanctuary: 3 Ways to Build Your Own Passive Air Diffuser 🌿🛠️
We’ve spent the last few articles talking about the high-tech side of aromatic zoning. But as a builder, I know that sometimes the best solutions aren't the ones you plug in—they're the ones you build with your own two hands using natural materials.
If you aren't ready to drop $200 on a high-end diffuser, or if you just want a more organic way to keep your pantry and cabinets smelling fresh, this is for you. In a house with four kids, I’m always looking for ways to eliminate "stink zones" without using synthetic sprays.
Today, we’re getting back to basics. I’m showing you how to use shop-scraps and kitchen staples to create "Passive Diffusers." These don't use electricity; they use the natural science of evaporation to keep your kitchen sanctuary smelling like a 5-star hotel.
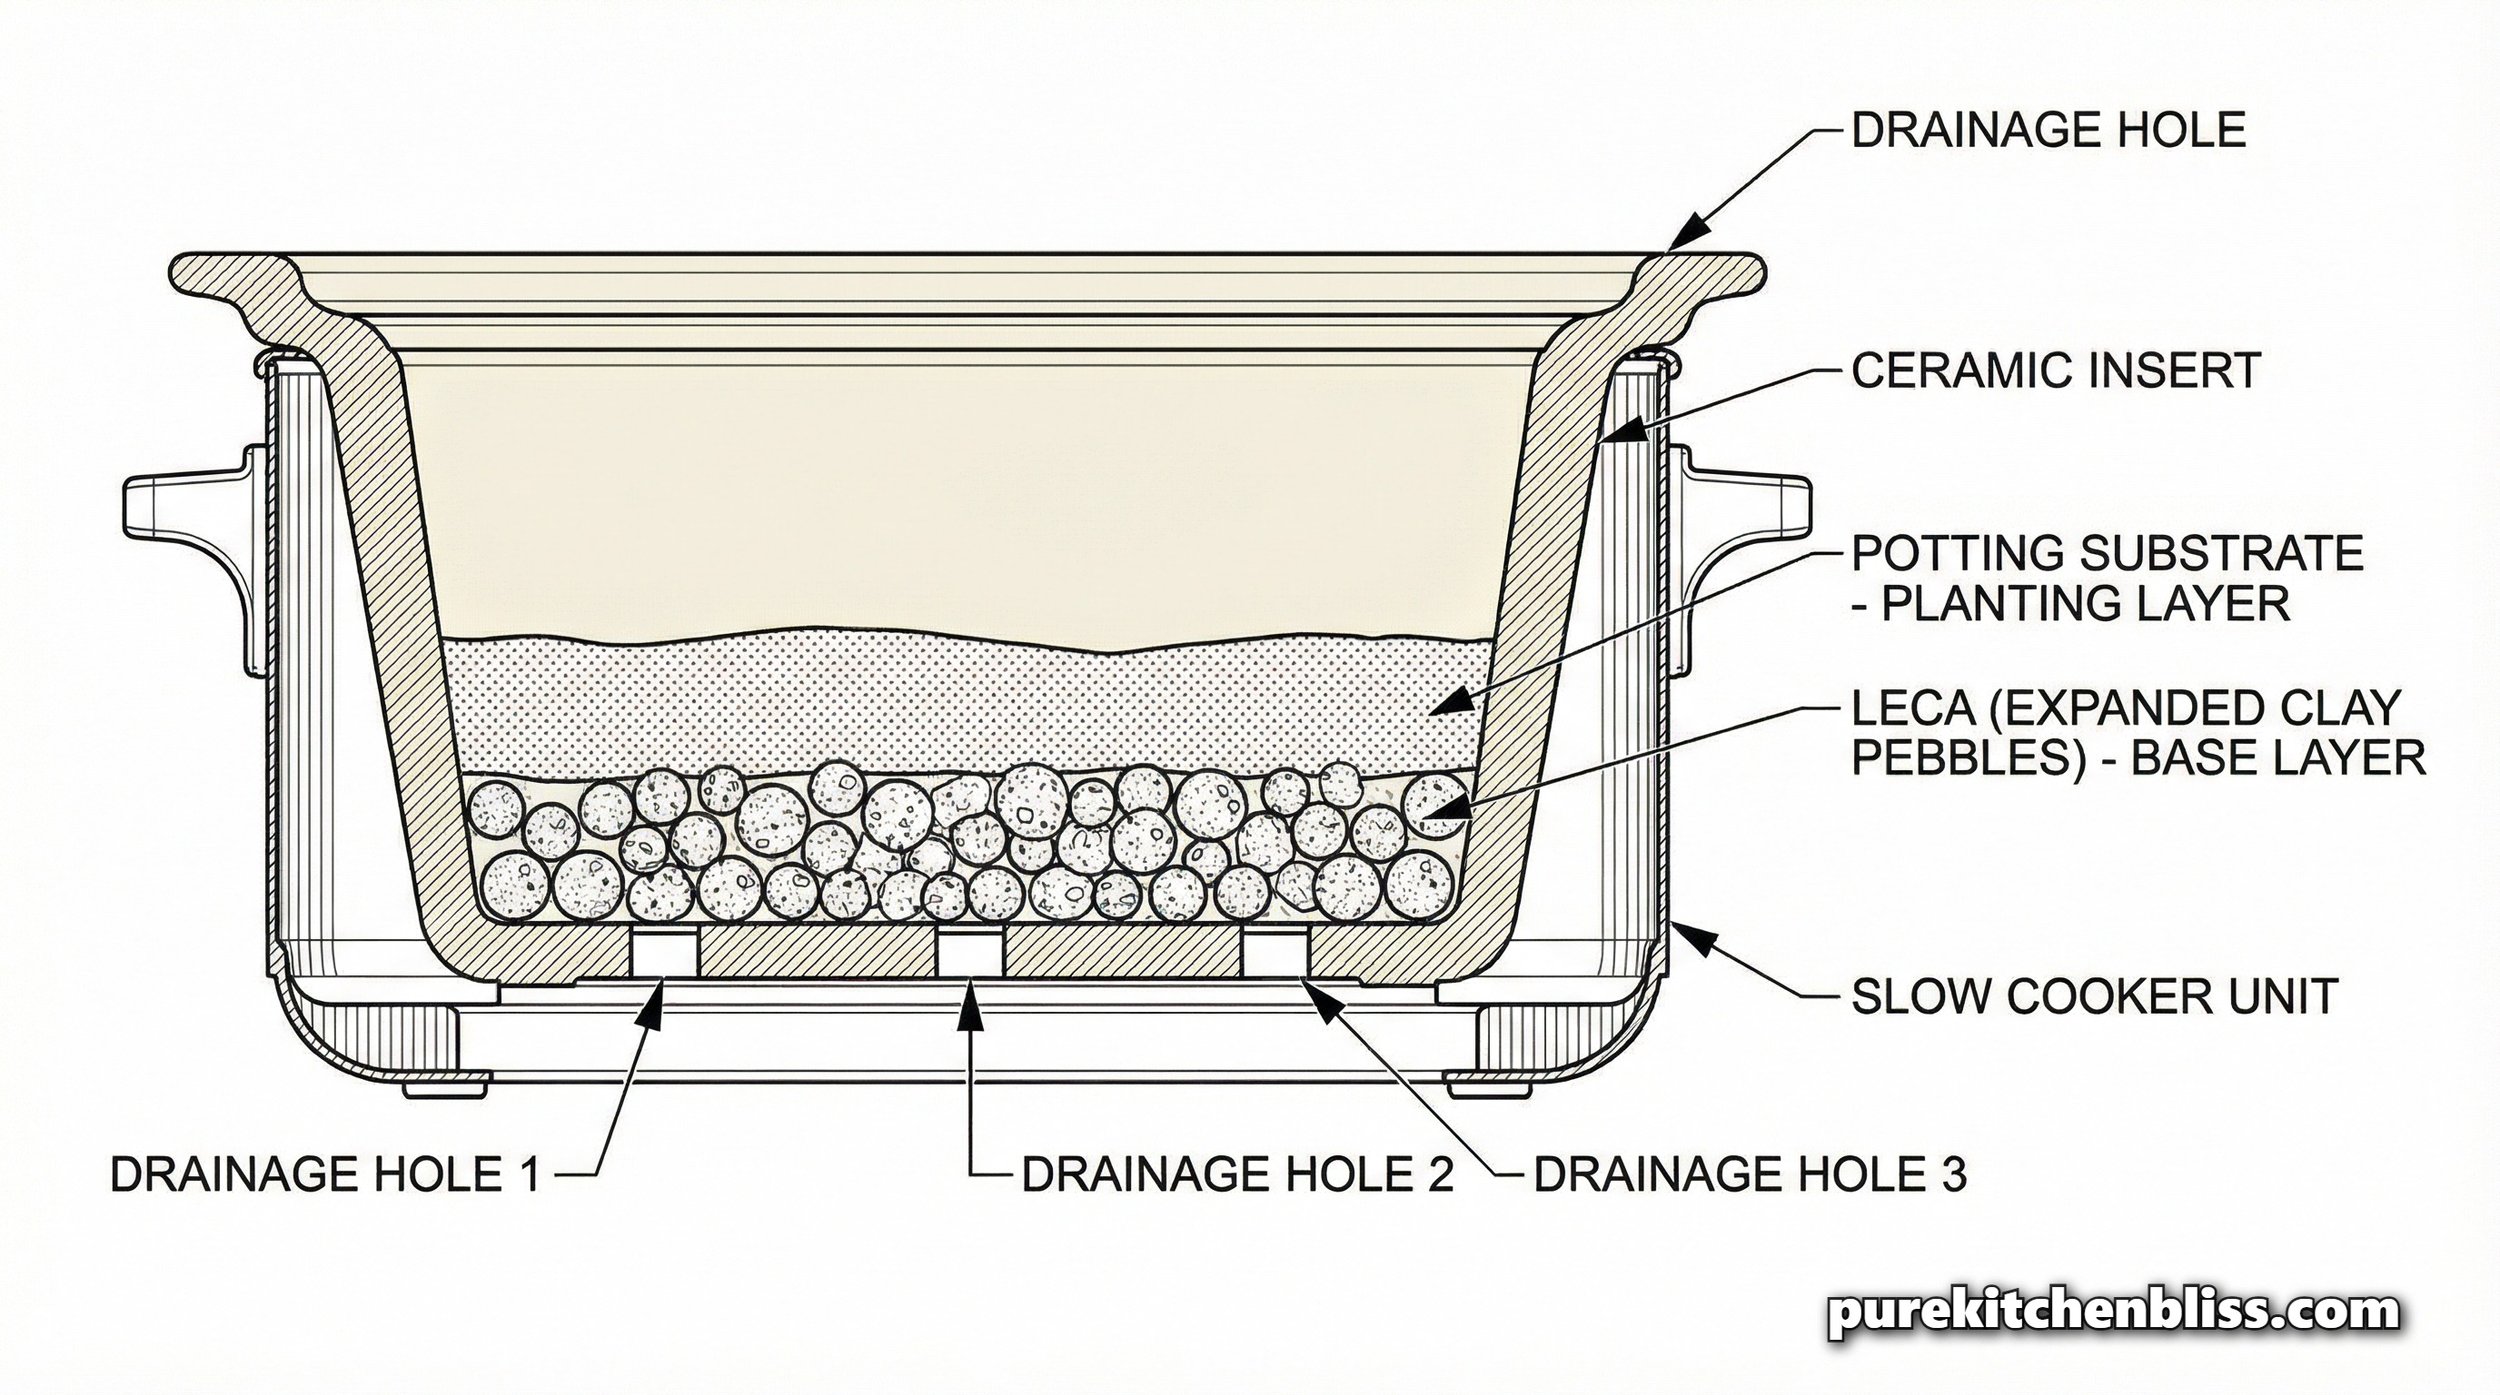
How to Turn an Old Slow Cooker into a Perfect Planter
Material efficiency is the hallmark of a functional kitchen. A ceramic slow cooker insert is often overlooked as a piece of equipment, but it is an ideal candidate for home infrastructure. It is heavy, non-reactive, and possesses excellent thermal mass, meaning it resists rapid temperature swings. These thermal properties are vital for stabilizing a plant’s root system, which is arguably the most sensitive part of any living organism in your kitchen.
Many standard upcycling guides suggest using these inserts as "cachepots”, hiding a plastic nursery pot inside. While this is simple, it creates a "dead zone" between the two vessels. This space acts as an incubator for trapped moisture, mold, and stagnant air, which can compromise the air quality of your sanctuary. Instead, this protocol builds a permanent extraction system directly into the vessel itself, turning it into a dedicated, high-performance home for your Unkillable Plants.
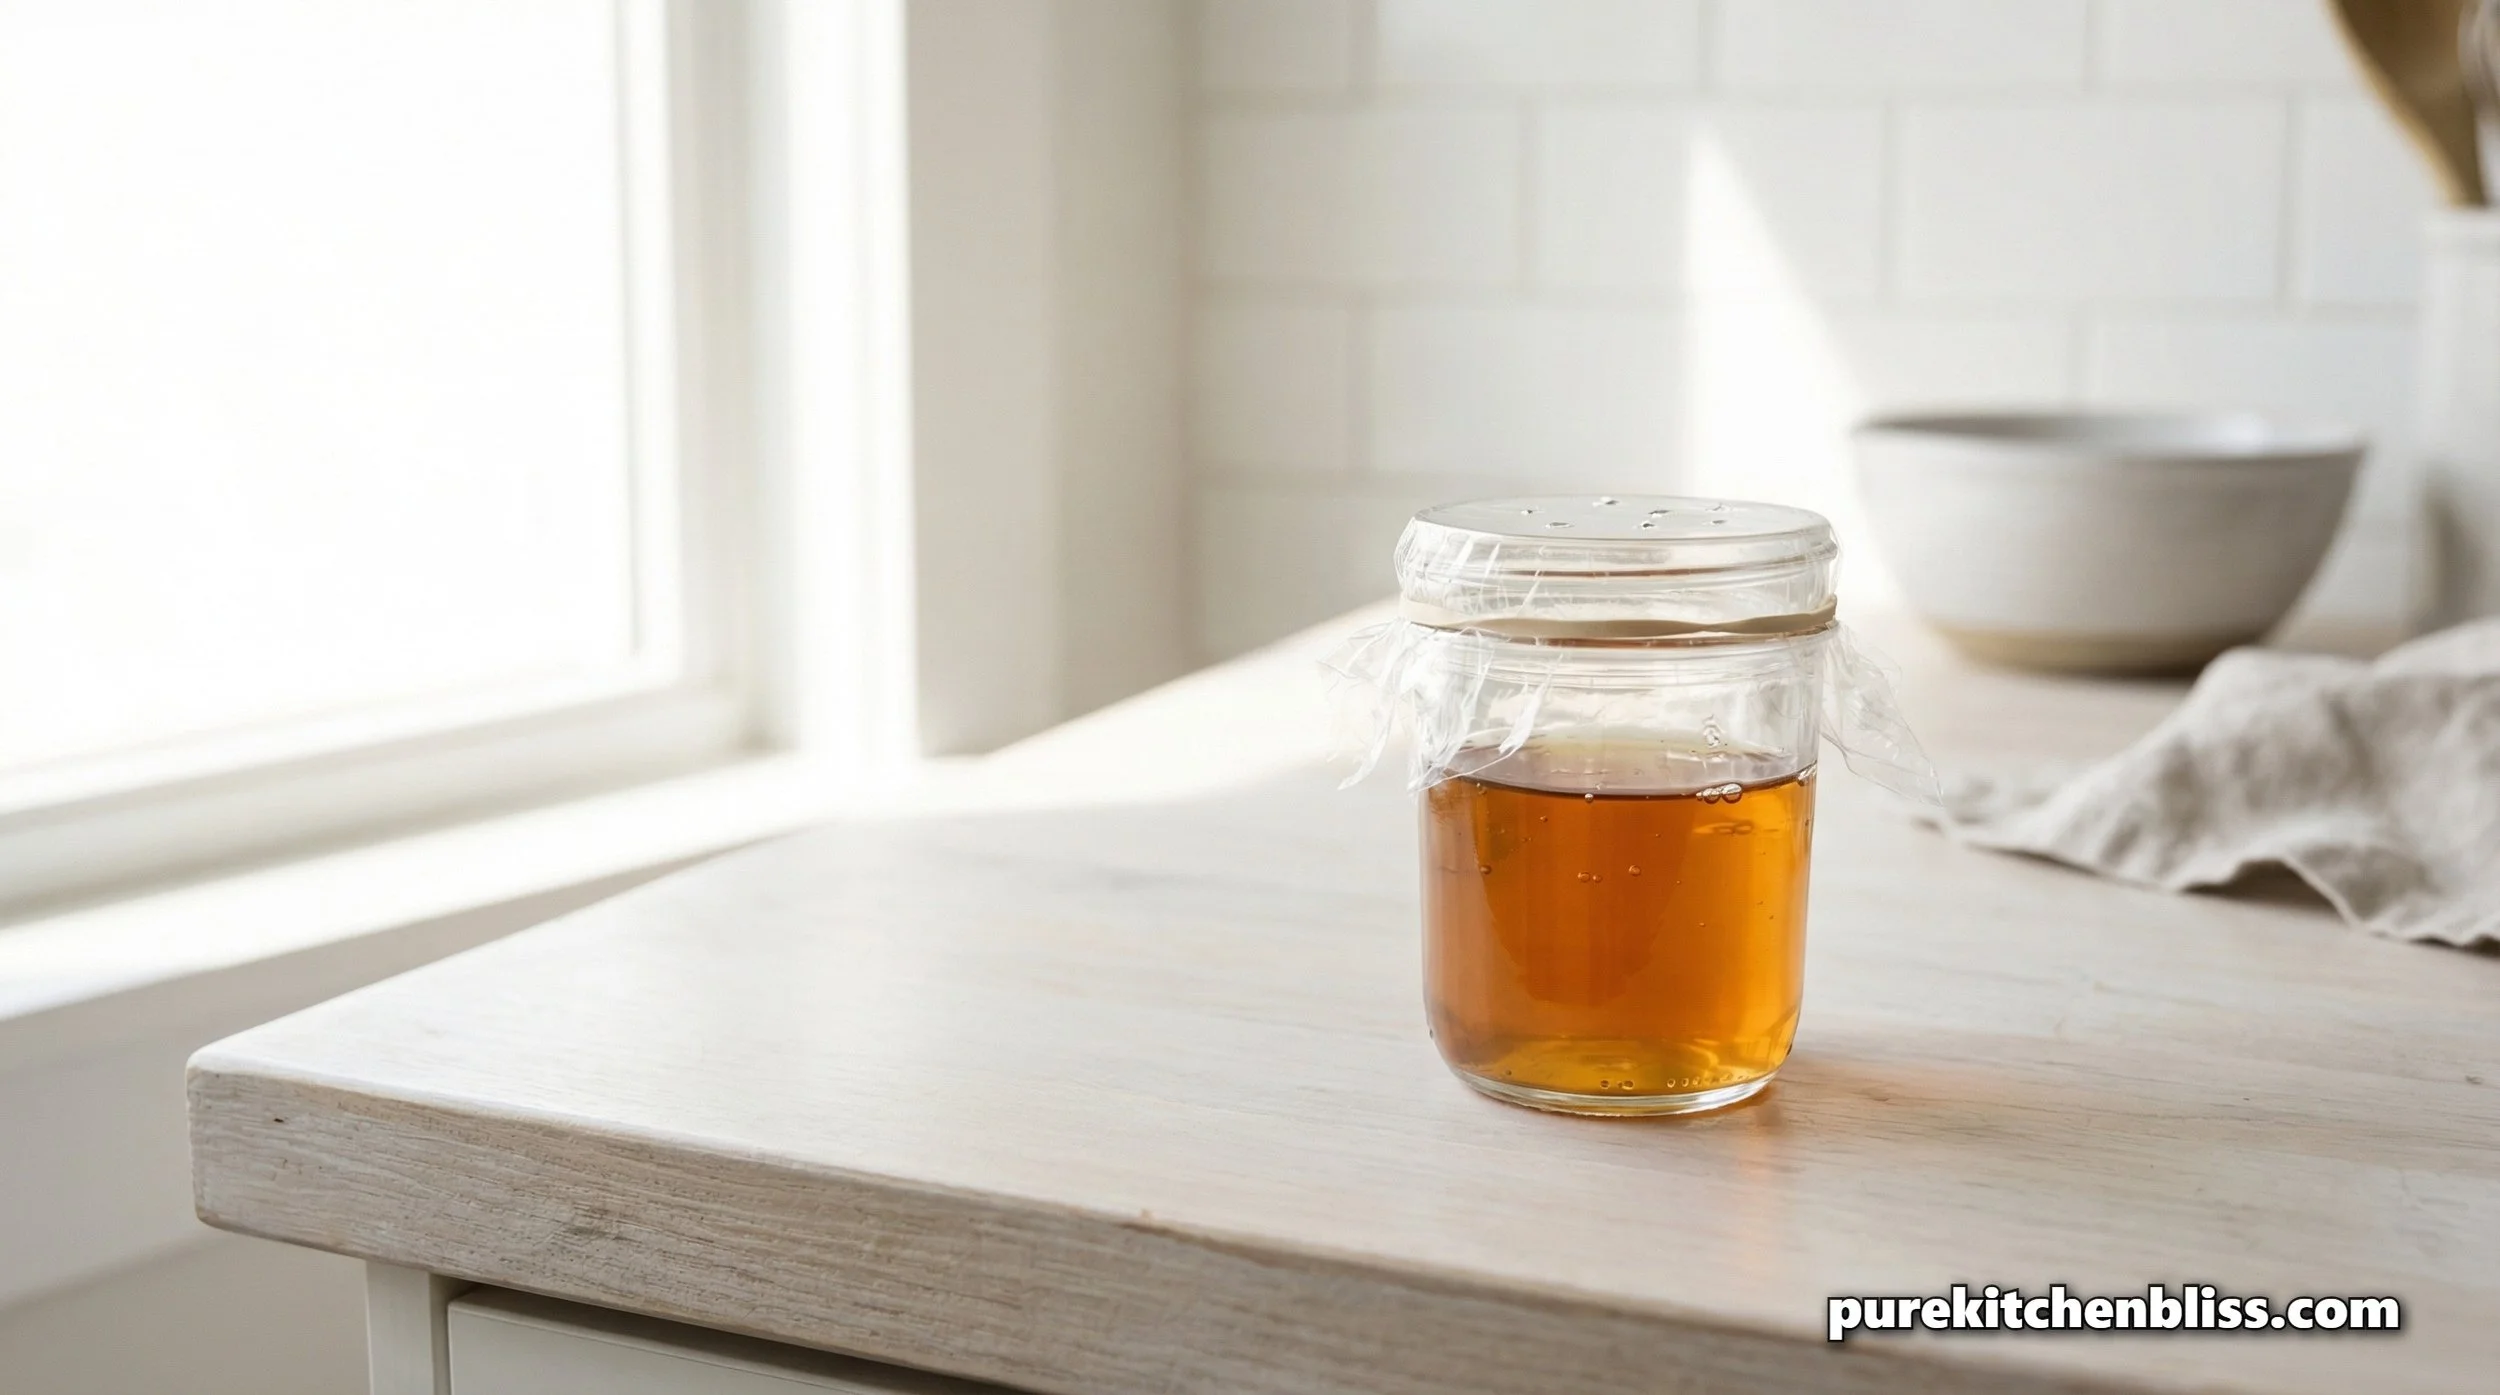
DIY Fruit Fly Trap: The Non-Toxic Apple Cider Vinegar Solution
When a fruit fly swarm hits your kitchen, the "beautiful chaos" of family life can quickly feel a bit less blissful. My first instinct as a builder is always to look for the most efficient, non-toxic tool to solve the problem. You don't need industrial-strength aerosols to clear your air; you just need to understand the biology of the pest and a few basic pantry staples.
This DIY trap is a specialized tool for the "Extraction Phase" of our cleaning protocol. It targets the active adults using the scent of fermentation and a simple trick of physics to ensure they can’t escape. In this guide, we will break down the material science of the bait, the engineering of the vessel, and provide a "Pure Recipe Card" for your home records.

The DIY Vodka Fabric Spray: How to Remove Kitchen Odors Without Chemicals
As a Red Seal Carpenter, I spent years dealing with "site smells"—sawdust, sweat, and heavy machinery. But nothing sticks quite like kitchen grease. If you’ve ever noticed that your kids' backpacks or your favorite winter coat smells like last night’s How to Get Rid of Fried Food Smell, you’ve experienced the "Sponge Effect."
Fabric is a porous material that captures aerosolized lipids and odors. While you can't throw your couch or the kids' school bags in the wash every day, you can reset their scent profile using a professional theater trick: The Vodka Spray.
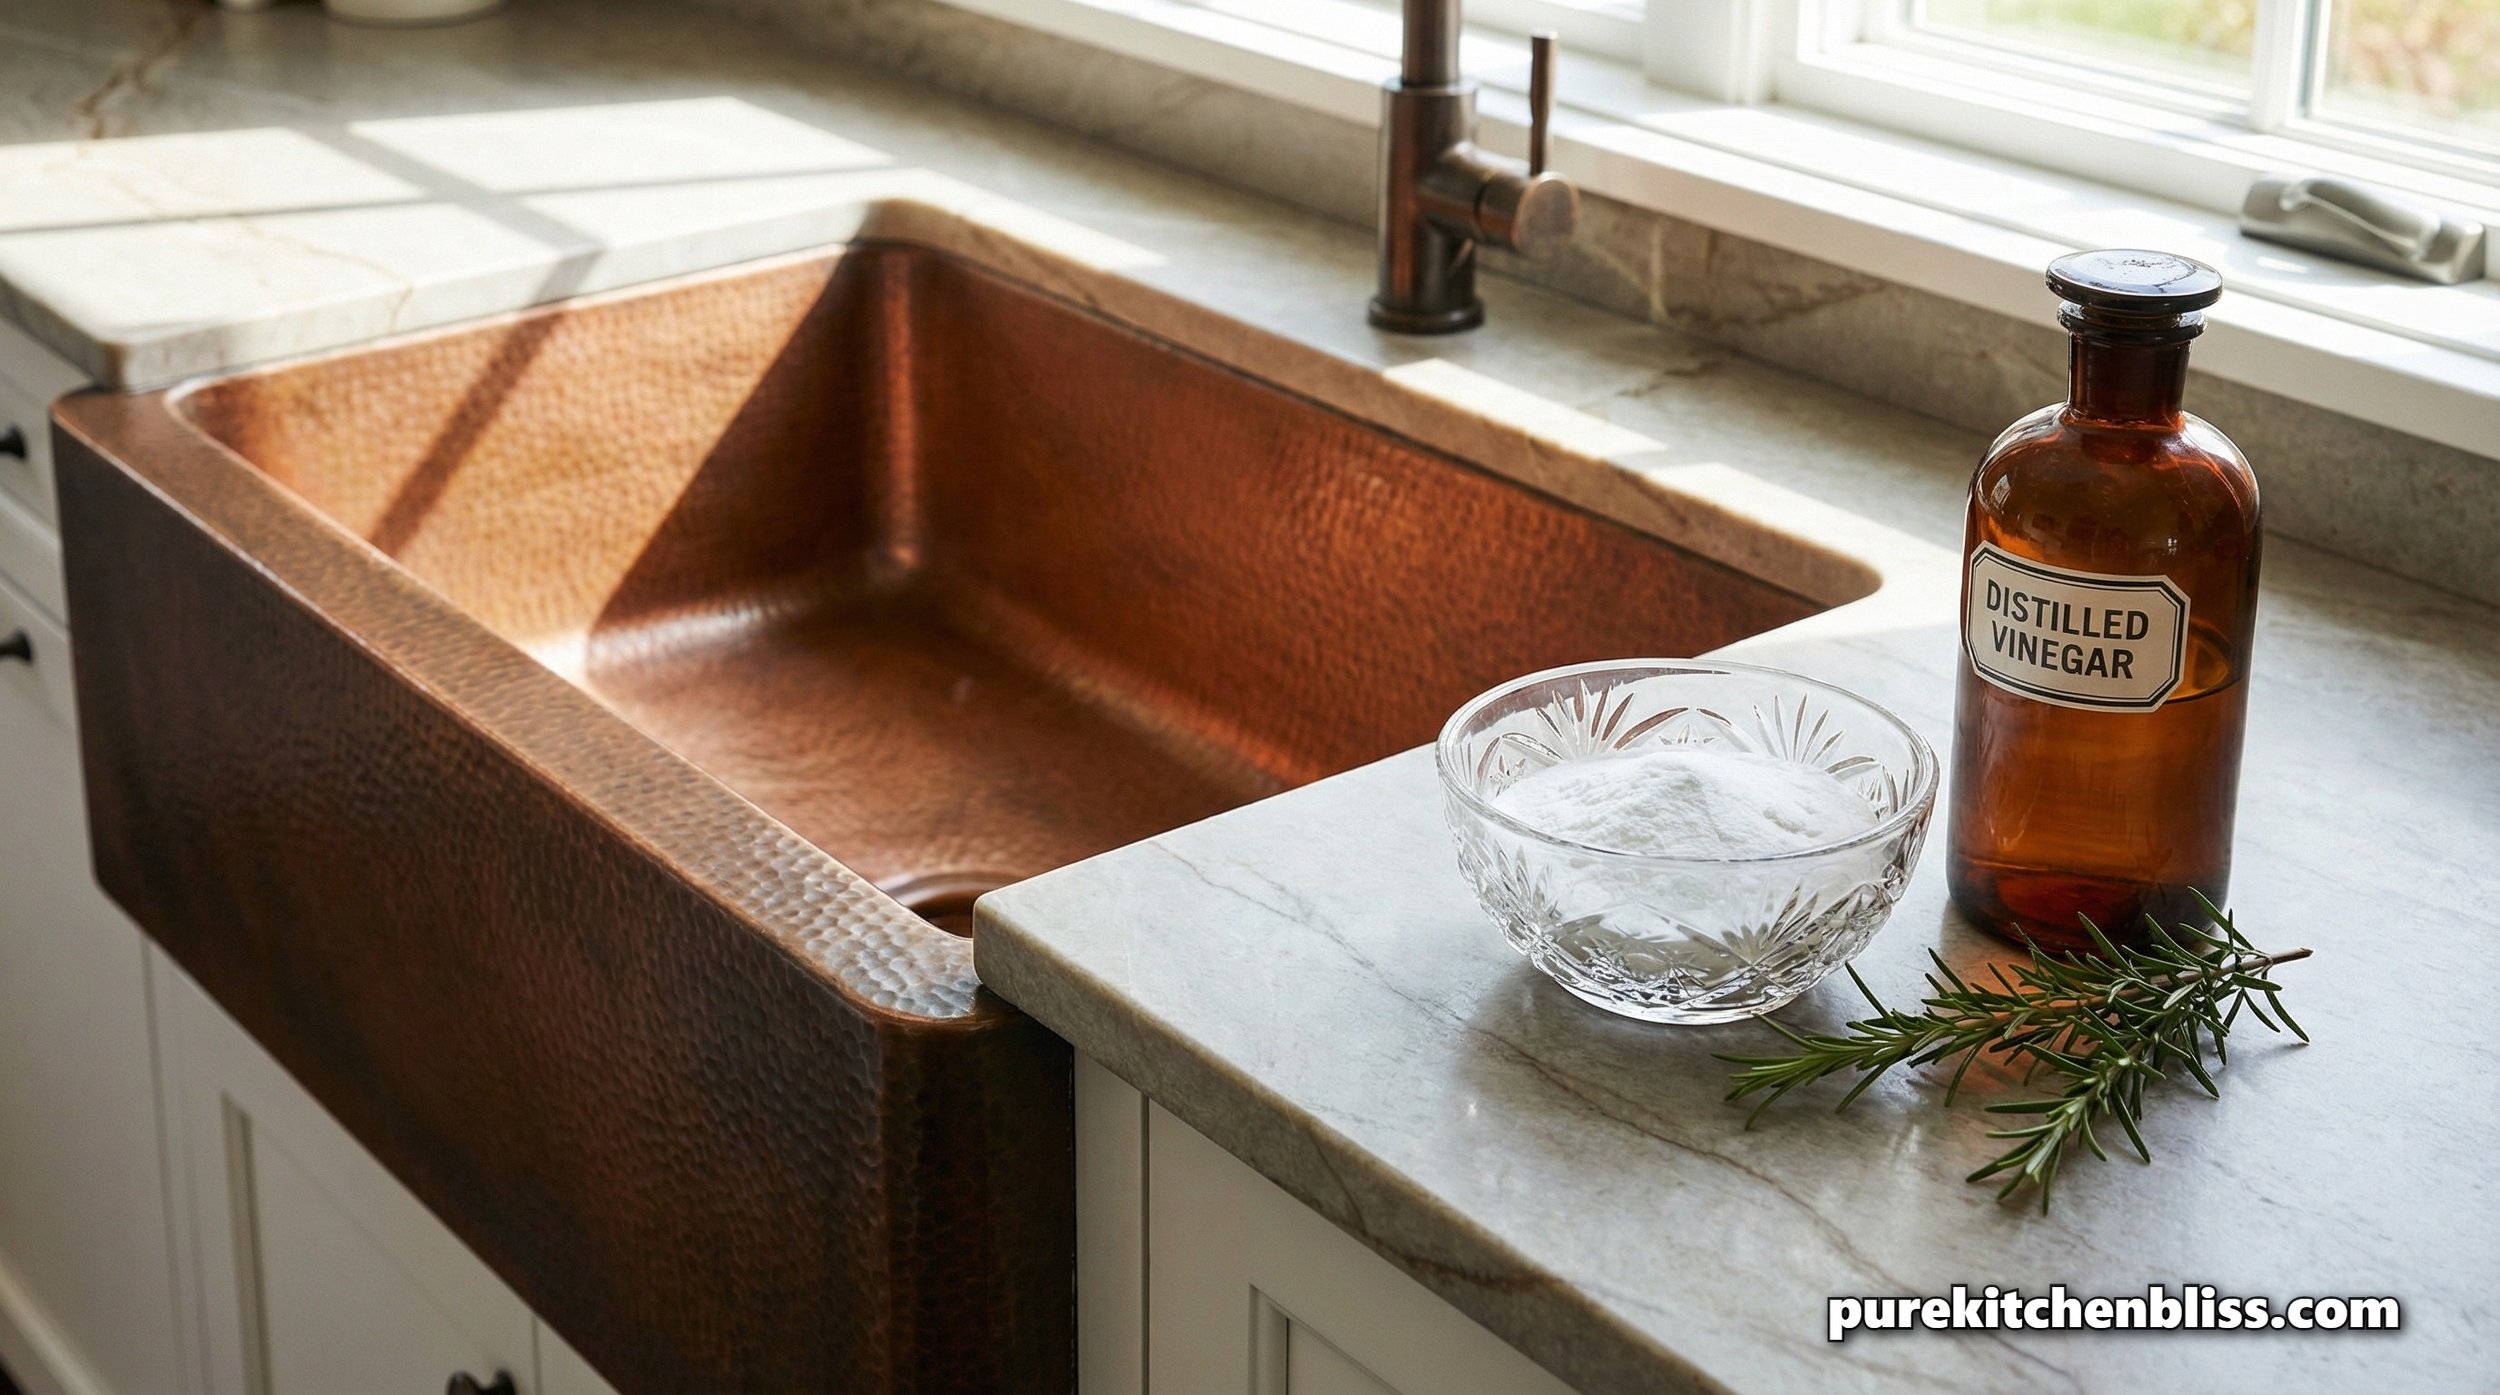
How to Unclog a Kitchen Drain With Baking Soda and Vinegar
Caustic drain cleaner works, but it also eats away at pipe seals and kills the bacteria your septic system depends on. A baking soda and vinegar flush is a genuine alternative, not a myth, but only if you understand the actual chemistry, check your pipe material first, and know when the clog is something baking soda was never going to touch.