How I Tuned My Refrigerator Doors to Save Money on My Monthly Power Bill 🛠️💸
In my coffee shop, running refrigeration equipment with a failing door seal is a massive operational liability. If a walk-in cooler door sags by even a quarter of an inch, cold air constantly dumps out onto the floor, causing the heavy compressor engine to run around the clock. Your electricity bill spikes, the compressor prematurely burns out, and you risk ruining thousands of dollars in commercial dairy inventory.
Last weekend, I noticed a similar warning sign inside my own kitchen. As I sat at the island, the house was quiet, but our panel-ready refrigerator was emitting a constant, low, aggressive hum that wouldn't shut off.
In a home with four kids, our refrigerator doors get wrenched open and slammed shut dozens of times a day. Over time, that constant physical impact, combined with the heavy weight of milk jugs and juice bottles loaded into the door bins, will cause the factory hinges to sag.
If you ask a generic AI chat tool why your fridge is running constantly, it will instantly tell you to replace the compressor or call an appliance repair tech. But as a carpenter, I look at the physical geometry of the appliance first. Most of the time, the compressor is fine, the doors are just sagging out of alignment, breaking the magnetic seal. Here is my exact, first-person diagnostic routine to level your refrigerator doors and restore a watertight thermal barrier in 10 minutes flat using a basic wrench and a single dollar bill.
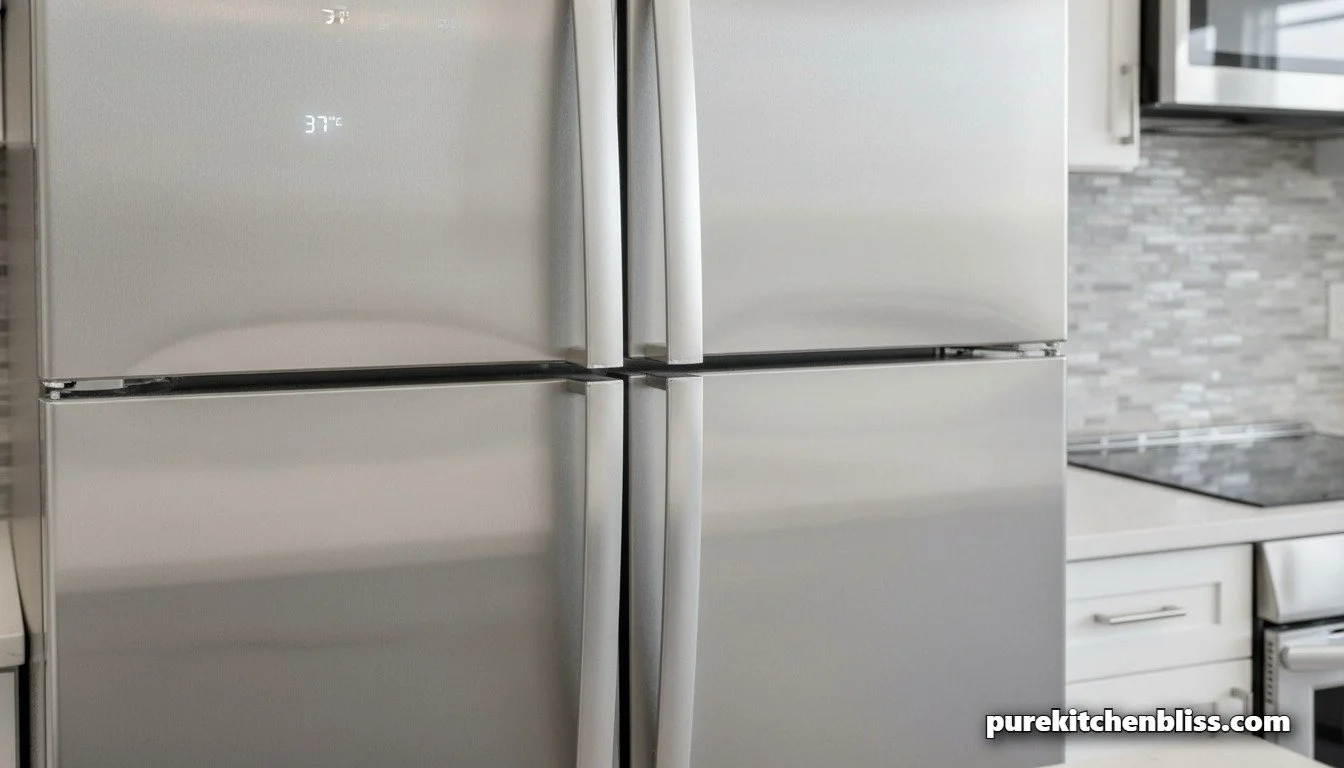
Step 1: The Dollar Bill Gasket Test 💵
Before you pull out your tools, you need to verify exactly where your thermal barrier is leaking. This is an old tradesman trick that is far more accurate than trying to feel for cold air with your bare hand.
The Test: Take a crisp, flat one-dollar bill. Open your refrigerator door, place the dollar bill flat across the rubber magnetic gasket, and close the door tightly on top of it.
The Resistance Check: Give the dollar bill a smooth, gentle tug. If the gasket is sealing correctly, the magnets inside the rubber should grip the paper firmly, creating noticeable structural resistance as you pull.
The Diagnosis: Repeat this test every six inches all the way around the perimeter of both doors. If the bill drops to the floor on its own, slides out with zero resistance, or if you can see a visible gap, your seal is compromised. On my fridge, the bill slid out effortlessly along the bottom right quadrant—exactly where the door had begun to sag under the weight of the kids' beverage bins.
Step 2: Cleaning the Gasket Core 🧼
Before adjusting the mechanical hinges, you need to ensure the rubber gasket itself isn't being physically blocked by kitchen grime.
The Grime Build-up: In a family kitchen, sticky spills like maple syrup, juice, and milk drips run down the door and pool inside the accordion folds of the rubber seal. Once that syrup dries, it hardens, preventing the rubber from compressing flat against the steel fridge frame.
The Wash: Do not use harsh, abrasive household cleaners on refrigerator rubber; chemical solvents will degrade the vinyl, causing it to turn brittle and crack. Instead, mix a simple bucket of warm water and a splash of natural plant-based dish soap. Dip a soft cloth into the mix and thoroughly wipe out the deep crevices of the gasket, removing every trace of food residue. If the rubber feels dry or stiff, rubbing a tiny, paper-thin layer of petroleum jelly along the face of the seal is a classic pro trick to bring back its supple, flexible grip. This safe, chemical-free step matches the ethos of a non-toxic kitchen cleaning inventory.
My First-Person Maintenance Matrix: The 10-Minute Fridge Tune-up
| Maintenance Step | My Exact Workshop Action | The Mechanical Logic | Tool Required |
|---|---|---|---|
| 1. Gasket Audit | Perform a perimeter clamp test using a crisp dollar bill | Identifies exact locations of magnetic seal failure | Standard Currency |
| 2. Base Stabilization | Adjust front leveling legs to tilt the fridge body slightly back | Uses gravity to ensure doors close automatically | Open-Ended Wrench |
| 3. Hinge Realignment | Turn the alignment pin screw beneath the sagging bottom hinge | Elevates the door plane to seal the top horizontal reveal | Hex Key / Spanner |
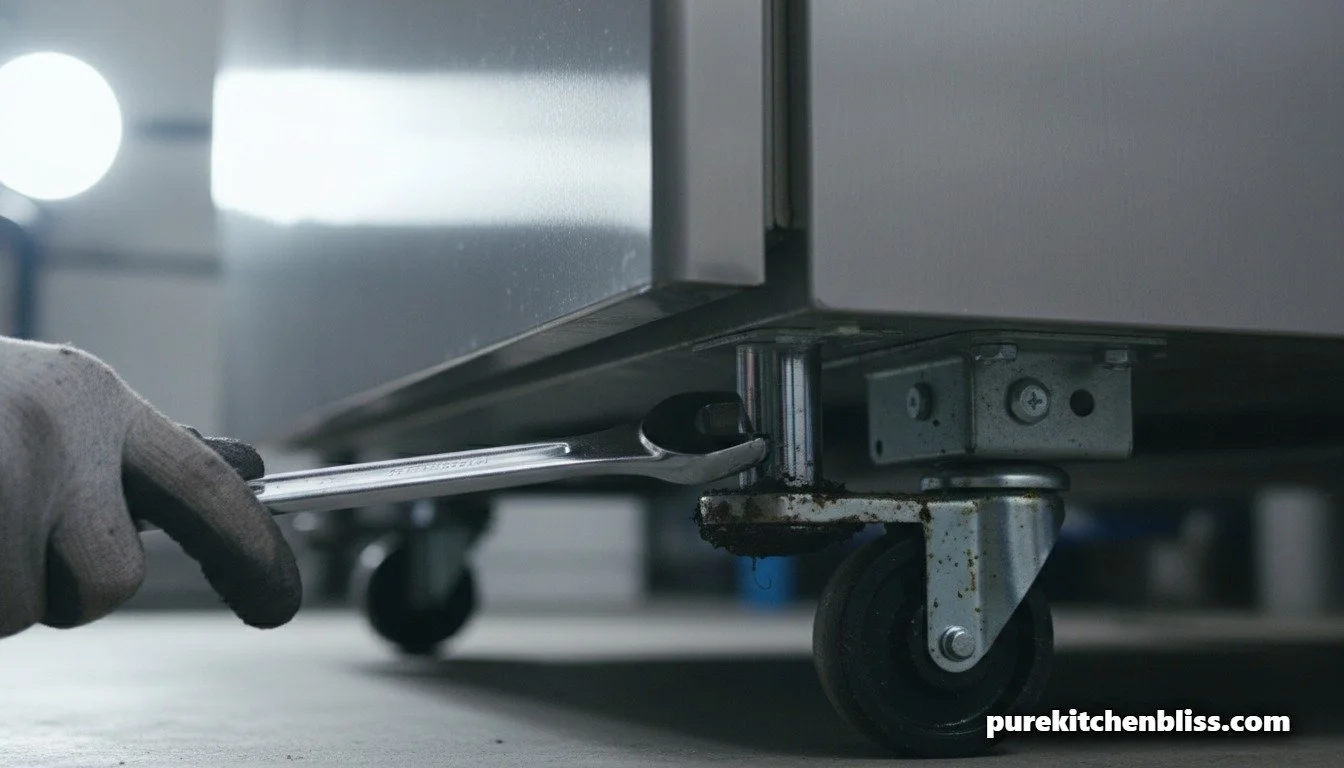
Step 3: Setting the "Gravity Tilt" at the Base 🏗️
Before we adjust the door hinges individually, we need to ensure the entire chassis of the refrigerator is resting at the proper structural pitch.
The Rule of Leveling: A refrigerator should never be perfectly level from front to back. If it is, the doors will hang dead in space when open, requiring you to manually push them shut every time.
The Tilt Solution: Snap off the plastic grill at the absolute bottom floor of your unit to expose the front leveling legs or adjustable rollers. Using an open-ended wrench, turn the leveling screws clockwise to raise the front legs.
The Target: Raise the front of the appliance until the entire unit tilts back slightly at a gentle, 5-degree angle. Place a spirit level on top of the case to verify. This subtle rearward pitch utilizes gravity to ensure that if a kid walks away and leaves the door swinging open, it will swing shut and latch completely on its own, instantly complementing your home's silent acoustic framework.
Step 4: Dialing in the Hinge Alignment Pin ⚙️
If your front-to-back tilt is set but your French doors are still uneven at the top centerline reveal, you need to adjust the height of the individual sagging door.
The Mechanics: Open your freezer drawer completely and look directly underneath the bottom hinge pin of the sagging refrigerator door. Most modern appliances (like Samsung, LG, or Electrolux models) feature an integrated alignment screw inside the lower hinge assembly.
The Adjustment: Insert a 1/8-inch hex key (Allen wrench) or use the stamped metal spanner wrench that came with your owner's manual directly into the adjustment socket.
The Turn: To raise the door plane, turn the adjustment screw clockwise. If you need to lower a door, turn it counterclockwise. Turn it a quarter-inch at a time, close the doors, and check the top horizontal alignment line against your surrounding cabinetry or your matte Cloud Dancer porcelain finishes. Once the top reveal line is perfectly straight, your doors are perfectly square.
The Financial Payoff 💸
Once I completed these mechanical adjustments, I ran the dollar bill test one final time. The magnetic gaskets gripped the paper tightly all the way around the seal. Within twenty minutes, the constant, draining compressor hum stopped completely, and the kitchen returned to a quiet, peaceful space.
Tuning your refrigeration infrastructure takes less than ten minutes on a weekend, but it stops energy leakage at the source, stretches the operational lifespan of a $3,000 appliance, and keeps your family's food supply perfectly preserved. Take a dollar bill out of your pocket tonight, run the check, and square up your system!
Next Up: Want to see how to pair your high-efficiency appliances with a sustainably built, formaldehyde-free cabinet architecture? Check out our Plywood vs. Wheatstraw: The Truth About Toxic Cabinet Off-Gassing!.