How I Fix a Sagging Kitchen Drawer That Was Built with Cheap Hardware 🛠️🧰
In a house with four kids, my kitchen cabinetry doesn't get treated with gentle, showroom respect. Drawers don't get smoothly slid open, they get yanked by toddlers using the handles as climbing steps, leaned on by teenagers looking for snacks, and routinely overloaded with heavy cast-iron pans and baking gear.
Last week, my family finally hit the breaking point with our main baking drawer. Every time we tried to pull it open, it shuddered, screeched, and got stuck halfway on its tracks. When I pulled the drawer box completely out of the cabinet frame to look at it on my workshop bench, the problem was instantly obvious: the thin, 1/4-inch particleboard bottom panel had completely bowed downward under the weight of the flour bins, pulling out of its side grooves and bending the cheap, factory-installed side slides out of alignment.
If you search online for "how to fix a stuck drawer," a generic AI search result will tell you to spray WD-40 on the tracks or rub a candle along the wood. As a professional carpenter, I am telling you that advice is useless nonsense. If the structural integrity of the box is compromised, no amount of lubricant will fix it. You need to reinforce the load-bearing bones of the drawer.
Today, I’m walking you through my exact, first-person workshop blueprint to rebuild and reinforce a sagging kitchen drawer box so it handles heavy daily abuse without ever catching or sticking again.
Step 1: Diagnosing the Joint Failure 🔍
Before you grab your tools, you need to understand exactly why the box failed. Most mass-market kitchen cabinets save money by utilizing a thin, floating bottom panel held in place by a tiny 1/4-inch groove (called a dado) cut into the solid wood drawer sides.
The Structural Limit: This design works fine for lightweight items like dish towels, but the moment you load it up with heavy bags of flour, sugar, or canned goods, the center of that thin panel flexes downward under gravity.
The Failure Point: As the panel bows down, it physically pulls the bottom edges of the drawer sides inward. This narrows the overall footprint of your drawer box, causing the metal side slides to lose their tight mechanical alignment with the cabinet rails. That is why your drawer sags, derails, and jams.
Step 2: Squaring the Box and Pop-Purging the Panel 🔨
To fix this permanently, we have to force that bowed bottom panel back into its tracks and lock it there so it can never flex again.
The Realignment: I start by clamping the drawer box upside down to my workbench. I use a pair of adjustable bar clamps running from side to side across the box.
The Pressure: Gently tighten the clamps until the squeezed drawer sides pop the edges of the bottom panel perfectly back into their original routed grooves. Check the box with a framing square from corner to corner to guarantee the assembly is perfectly true at 90 degrees. If your drawer box is twisted or out of square, it will never glide smoothly, no matter how expensive your replacement tracks are.
M Blueprint for Heavy-Duty Drawer Reinforcement
| Repair Stage | My Exact Workshop Action | The Structural Logic | Durability Rating |
|---|---|---|---|
| 1. Structural Squeeze | Clamp side walls to pop bottom back into dado grooves | Restores original factory tracking width | Mandatory Baseline |
| 2. Spine Reinforcement | Glue and brad-nail solid wood support cleats beneath panel | Acts as an external bridge to stop downward bowing | Family-Proof ⭐⭐⭐⭐⭐ |
| 3. Slide Infrastructure | Ditch epoxy side tracks; install 100lb undermount slides | Shifts load path to the floor of the cabinet box | Commercial Grade ⭐⭐⭐⭐⭐ |
Step 3: Installing the External Support Cleats 🪵
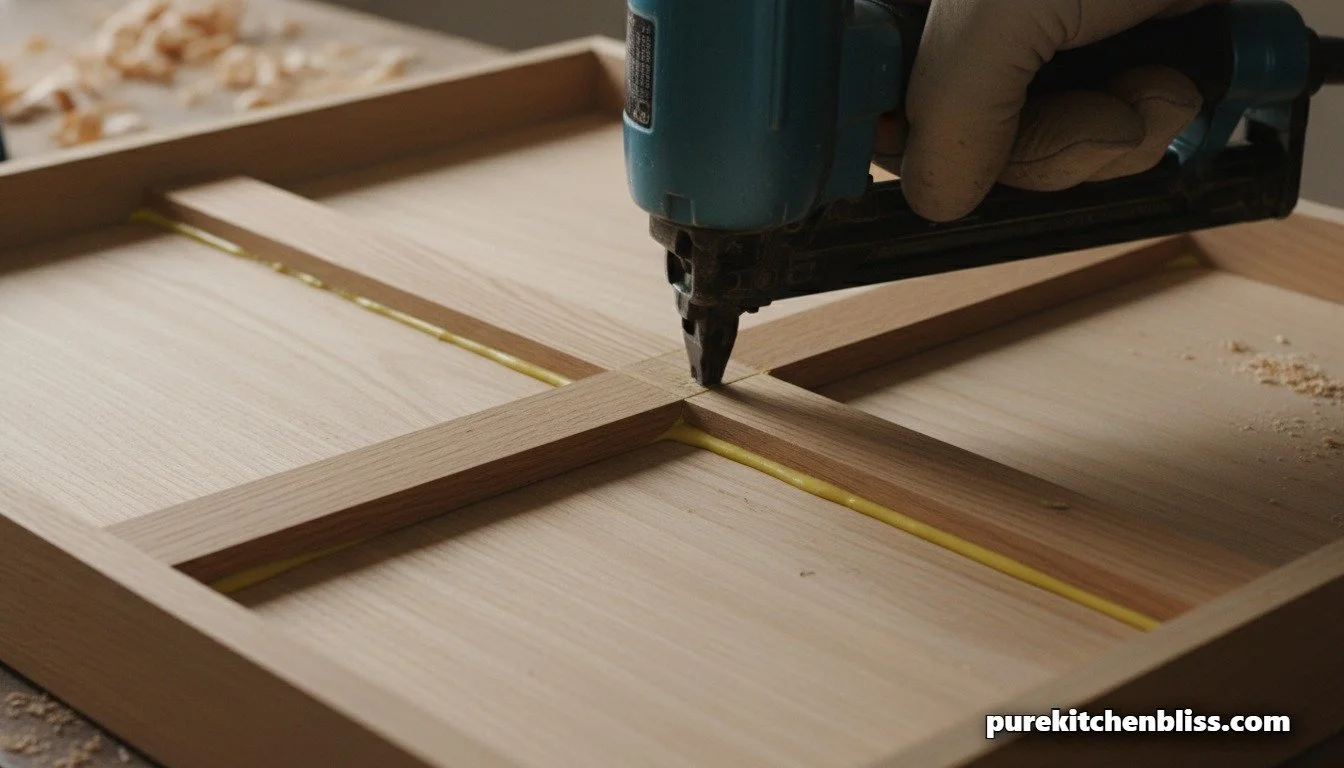
Here is the simple trade trick I use to reinforce the bottom panel without having to build a completely new drawer box from scratch. We are going to build an external "spine."
The Material: I cut a few slim strips of solid hardwood scrap (oak or maple work best) measuring roughly 3/4-inch wide by 1/4-inch thick, sized to match the exact distance between the inside edges of the drawer's lower frame.
The Bonding: Run a generous bead of high-performance PVA wood glue (like Titebond II) along the face of the strip, and press it flat across the exterior underside of the bowed bottom panel, right down the center center-line.
The Fasteners: Using my pneumatic brad nailer, I fire 5/8-inch brad nails through the support cleat directly into the bottom panel and angled into the solid side walls. The wood glue forms a chemical bond that is structurally stronger than the wood itself, creating an immutable bridge that prevents the thin panel from ever flexing downward again. This rigid setup mimics the rock-solid durability of high-end wheatstraw agrifiber cabinet framing.
Step 4: Upgrading to Heavy-Duty Undermount Slides ⚙️
If your drawer handles serious weight, do not re-install those cheap, epoxy-coated white metal side rollers. They are only rated for 35 to 50 pounds, and their plastic wheels crack under impact over time.
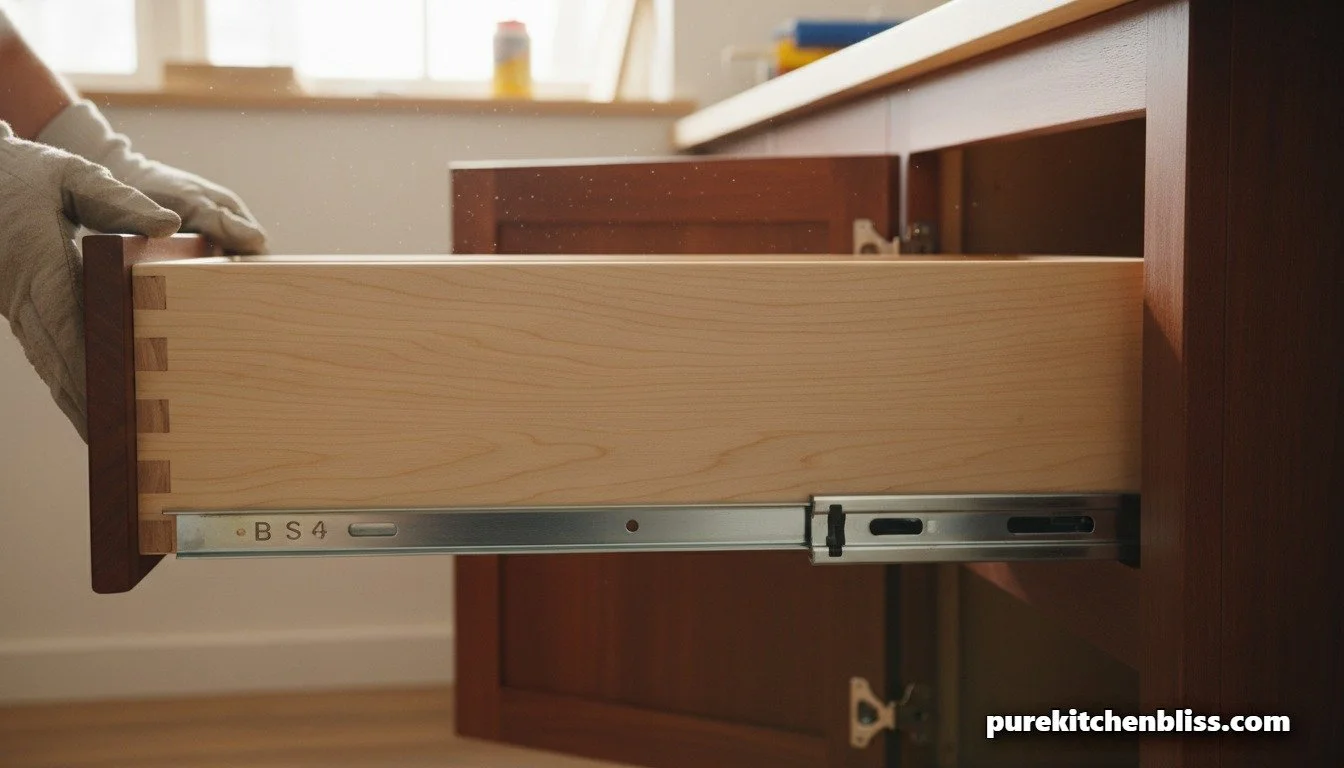
The Upgrade: Whenever I perform a kitchen hardware repair, I completely swap out the tracking system for Heavy-Duty Full-Extension Undermount Slides (like Blum Movento or standard 100-pound rated runners).
The Advantage: Undermount slides don't mount to the side walls of your drawer; they clip onto the absolute bottom floor of the box. This completely shifts the load path away from those fragile side grooves, transferring the weight of your heavy pots directly to the thick floor of the cabinet frame.
The Workflow Bonus: These premium slides feature integrated fluid-dampeners. This means no matter how hard my kids slam the baking drawer shut, the hydraulic valves catch the weight and pull it in silently, matching the peaceful cadence of your home's acoustic soundproofing design.
The Maintenance Rule 🛠️
Once your drawer infrastructure is structurally solid, maintain the mechanical components. Every six months, I check the interior mounting screws using a handheld screwdriver to ensure the vibrations from our heavy under-counter garbage disposal systems haven't slowly backed the screws out of the wood grain.
Fixing a sagging drawer right the first time takes less than an hour on the workbench, but it completely changes how your kitchen functions. It eliminates daily friction, saves your custom cabinet faces from getting scratched, and builds a durable, high-efficiency kitchen workplace that effortlessly survives the chaotic pace of big family life.
Next Up: Want to see the ultimate, multi-tiered prep engine I paired with my reinforced cabinetry? Check out our The 2026 Workstation Sink Showdown: Kohler Prolific vs. Ruvati Roma!.