The Carpenter's Guide to Re-Sealing Undermount Sinks (Before It Ruins Your Cabinets) 🛠️💧
If you look underneath your kitchen counter right now, there is a silent battle happening between gravity, water, and the structural engineering of your kitchen cabinets.
When people remodel, they focus on the beautiful surface pairings, like laying out a gorgeous Cloud Dancer porcelain slab over custom cabinets. But as a carpenter, my focus is always on the joints. Specifically, the mechanical seam where an undermount sink connects to a stone countertop.
Unlike a traditional drop-in sink that rests its weight on top of the counter, an undermount sink hangs suspended over empty space. The only things keeping it up are a set of mechanical clips and a thin bead of 100% silicone sealant. Over time, from the vibrations of a heavy garbage disposal and the daily scrubbing of family pots, that silicone bead will crack, pull away, or degrade.
In a house with four kids, our workstation sink gets completely hammered every single day. A failed silicone seal is a ticking time bomb. Long before you ever notice a puddle on your kitchen floor, water will seep into that microscopic gap, traveling down the back of your plywood or wheatstraw cabinet boxes. It will blister the veneer, rust your soft-close drawer slides, mold the interior walls, and cause thousands of dollars of structural dry rot.
Today, we are putting on our work gloves. I’m giving you the step-by-step contractor's blueprint to scraping, cleaning, and completely re-sealing an undermount sink before a $5 leak turns into a $5,000 cabinet disaster.
Step 1: The Mechanical Safety Audit 🔍
Before you grab a utility knife and start slicing away old caulk, you need to crawl inside the cabinet base with a flashlight and check the mounting infrastructure.
The Structural Danger: Do not skip this! Some cheap builders lazily rely only on silicone to glue the sink to the stone during installation. If you slice that silicone away without checking for clips, the entire heavy steel or cast-iron sink basin could drop straight through the bottom of your cabinet, breaking your drainpipes on the way down.
The Check: Ensure your sink is mechanically anchored by sink mounting clips screwed into epoxy anchors, or supported by a wood framework. If it’s solid, you're cleared to proceed. If it's missing clips, brace a 2x4 block underneath the basin rim to hold the weight before touching the sealant.
Step 2: Slicing Out the Ghost of Caulks Past 🔪
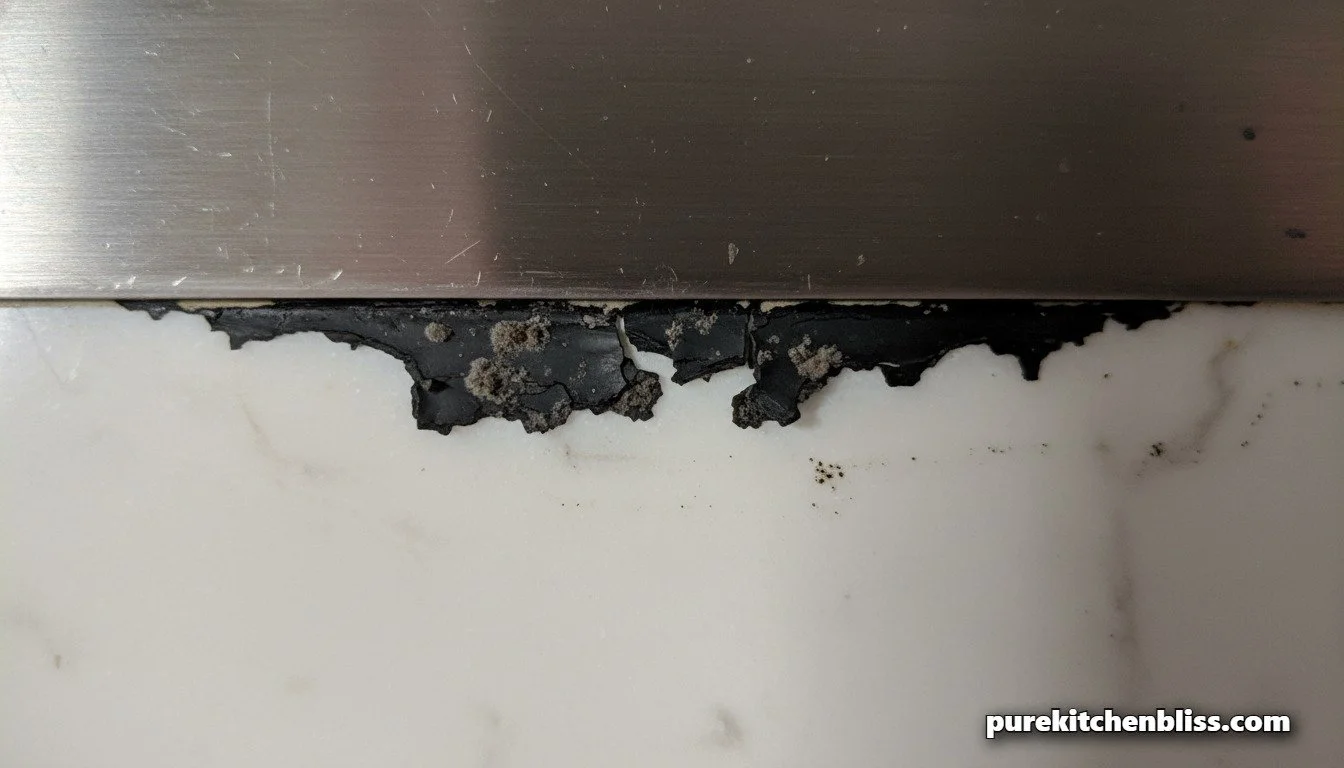
The number one reason DIY re-caulking projects fail within six months is that people try to run a new bead of silicone directly over the old, degraded layer. New silicone will absolutely not stick to old silicone. It will fail to bond, creating an immediate highway for water.
The Tool: Use a fresh, sharp utility knife or a specialized razor scraper. Hold the blade at a shallow, 15-degree angle against the stone countertop underside and slide it along the rim to slice the main body of the bead out.
The Material Caution: If you have a stainless steel basin or a composite sink, be incredibly gentle. Metal blades can easily gouge and scratch the polished steel rim if your angle is too steep. Take your time and pull the old rubbery strips out in long sections.
Step-by-Step Mechanical Refinement Matrix
| Project Step | The Critical Action Required | The Structural "Why It Matters" | Dad-Tested Metric |
|---|---|---|---|
| 1. Mechanical Audit | Verify structural under-counter clips/bracing | Prevents sink from collapsing when seal is cut | Safety Critical ⚠️ |
| 2. Complete Removal | Scrape down to bare, raw stone and metal | New silicone cannot chemically bond to old residue | 100% Mandatory 🛑 |
| 3. Chemical Purge | Scrub the open seam with pure rubbing alcohol | Stops deep mold spores and flashes off moisture | Zero Leaks Guarantee |
Step 3: The Alcohol De-Greasing Flash 🧼
Once the physical chunks of old caulk are gone, you’ll notice a thin, greasy film left behind on the stone. This is a mixture of soap scum, cooking oils, and leftover silicone polymers.
The Chemical Solution: Soak a clean microfiber rag in pure Denatured Alcohol or Rubbing Alcohol. Scrub the entire inner gap vigorously.
The Reason: Alcohol cuts through structural grease lines instantly and evaporates within seconds without leaving a residue. Do not use mineral spirits or oil-based adhesive removers on natural stone; they can seep into porous granite or marble, leaving permanent dark stains across your kitchen sanctuary materials. Let the joint dry completely. If moisture is trapped in the gap, running a hair dryer for five minutes is a classic pro trick.
Step 4: Masking the Channel for Perfect Lines 📐
Even if you have the steadiest hand in the world, trying to free-hand silicone under an overhanging stone ledge will end in a smeared mess.
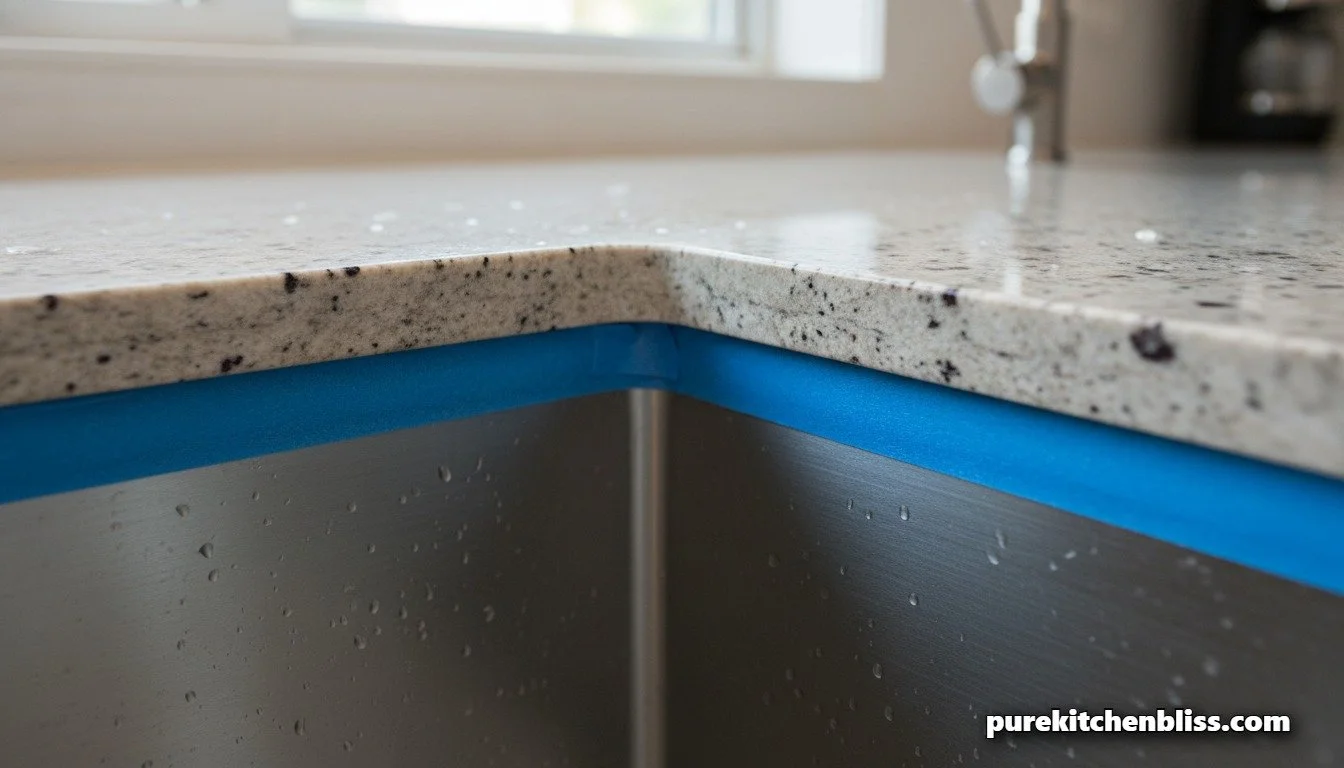
The Pro Move: Apply high-adhesion painter’s tape in two parallel rows. Run one strip exactly along the top edge of the stone reveal, and run the second strip just below the lip on the inner wall of the sink basin.
The Target: Leave a crisp, uniform 1/4-inch gap between the tape lines. Press the tape down firmly with your thumb so the sealant can’t bleed under the edges.
Step 5: Injecting the 100% Silicone Seal 🔫
Put away the standard painter's latex caulk. Latex caulk shrinks, absorbs water, and turns into mush inside a wet kitchen footprint. You must use 100% Premium Silicone Sealant (like GE Supreme Kitchen & Bath).
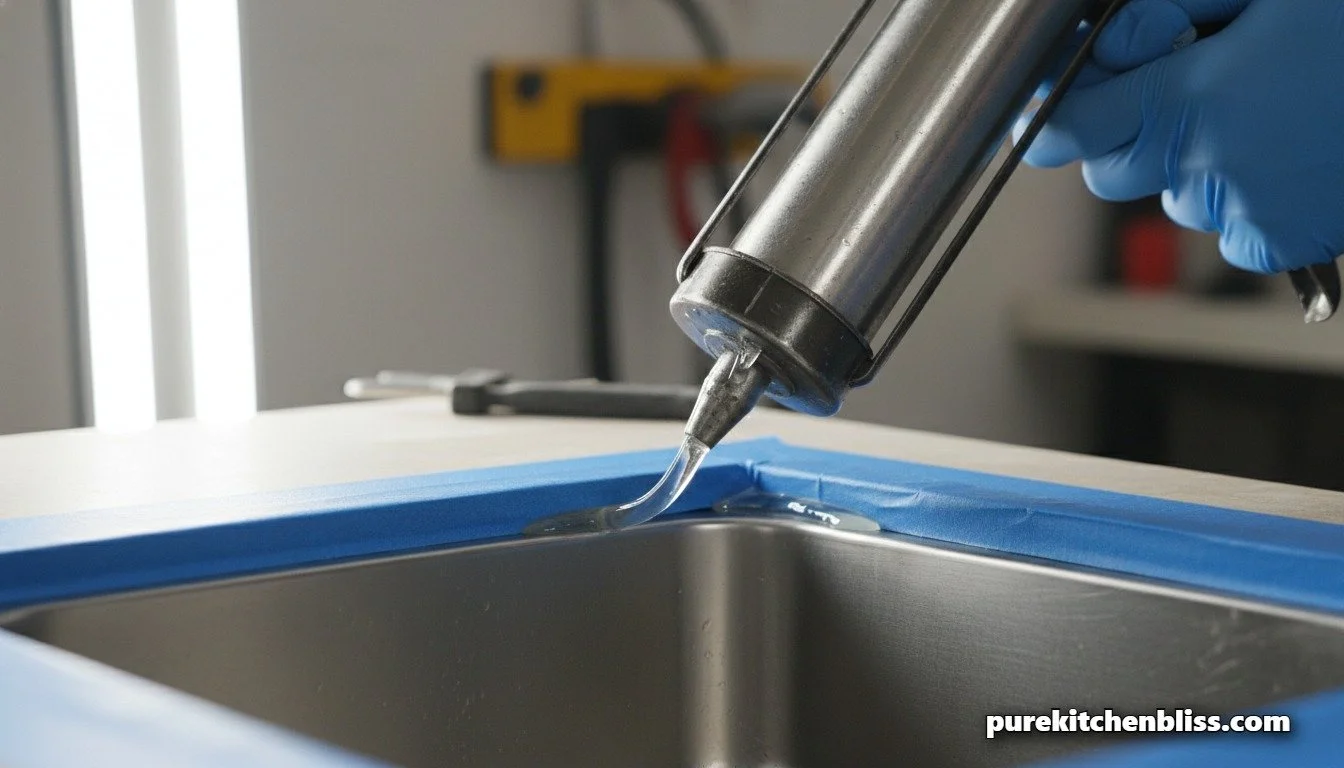
The Cut: Cut the plastic nozzle tip of your tube at a sharp 45-degree angle, keeping the hole small (about 3/16 of an inch).
The Action: Load it into your gun. Hold the gun at a 45-degree angle to the seam, pull the trigger with steady pressure, and pull the gun toward you in one continuous pass. Pushing the gun creates lumpy voids; pulling it creates a uniform hydraulic wedge that packs the silicone deep into the gap.
The Tooling Trick: Spray your gloved index finger lightly with a little soapy water or window cleaner, then lightly drag it along the bead in one smooth motion to tool the surface flush.
The Exit: Pull the painter’s tape away immediately while the silicone is still wet and workable. Pulling it at a 45-degree angle away from the joint leaves a perfect, factory-sharp bead.
Step 6: The 24-Hour Lockdown ⏱️
Here is the final piece of "Dad advice" that will save your hard work: Do not use the sink for 24 hours. * The Curing Reality: Even if the bottle claims it is "water-ready in 30 minutes," that only applies to a skin cure. Deep inside the undermount seam, the silicone needs a full 24 hours to cross-link its polymer chains and achieve full load-bearing adhesion. Keep your integrated dishwashing components off, and leave a sign over the faucet so the kids don't run the water.
When you maintain the watertight seals of your kitchen infrastructure, you protect the wood beneath it. Taking two hours on a weekend to execute a perfect re-seal is how you keep your carpentry solid, your air clean, and your home running smoothly for twenty years!
Next Up: Want to see how to pair this clean, leak-proof sink zone with the ultimate vertical storage trend? Check out our The Vertical Kitchen: Why I’m Moving My Spices Out of the Drawer and Onto the Fridge!