How I Re-Oil My Wood Cutting Boards to Stop Them from Splitting and Warping 🪵🛠️
Transparency Note: We independently select these products based on research and user reviews. If you buy something through our links, we may earn a commission.
In my carpentry shop, a premium slab of white oak, walnut, or rock maple is handled with absolute precision. We measure to the millimeter, control the ambient humidity, and apply beautiful protective finishes. But in my kitchen, my wood cutting boards are subjected to a daily, violent onslaught of water, acidic meat juices, heavy cleavers, and scrubby sponges.
With four kids running around a high-contact kitchen sanctuary, our prep boards face constant abuse. A few months ago, I walked into the kitchen and noticed my favorite heavy-duty walnut block was starting to look dull, dry, and gray. Even worse, it had developed a slight cup, meaning the edges were warping upward off the flat countertop.
If you jump onto a generic internet summary, it might tell you to rub olive oil or vegetable oil from your pantry onto dry wood. As a professional woodworker, I am telling you that is the fastest way to ruin a board. Cooking oils are unstable fats; they will oxidize, turn rancid, and leave your prep surfaces smelling like stale grease.
Twice a year, I round up every cutting board, wooden spoon, and rolling pin in the house and take them out to my workbench for a deep conditioning treatment. Here is my exact, first-person shop routine to clean, hydrate, and seal wood grains so they never split, warp, or trap bacteria again.
Step 1: The Chemical Purge and Sanding Block 🪚
Before you can drive protective oils deep into a board's pores, you have to clean out the microscopic food debris and flatten the surface fibers that have been hacked up by your knives.
The Clean: I start by scrubbing the dry board with a halved lemon and a heavy handful of coarse sea salt. The citric acid acts as a natural sanitizer, while the salt acts as a gentle abrasive to lift food stains without stripping the wood. Rinse it quickly and let it dry for a full 24 hours.
The Sanding: Once the board is bone dry, I take a 220-grit sanding block and run it along the face, following the direction of the wood grain. This knocks down the "raised whiskers" (microscopic loose wood fibers caused by water exposure) and re-opens the wood's pores so it can drink up the oil. Wipe away the sawdust with a dry microfiber cloth.
Step 2: The Deep Drink (Food-Grade Mineral Oil) 🛢️
This is where we replace the lost moisture inside the wood cells. To do this safely next to food, you must use a pure, non-drying oil.
The Product: I use Thirteen Chefs Food Grade Mineral Oil on all my shop builds. It is 100% pure USP mineral oil, completely odorless, and clear.
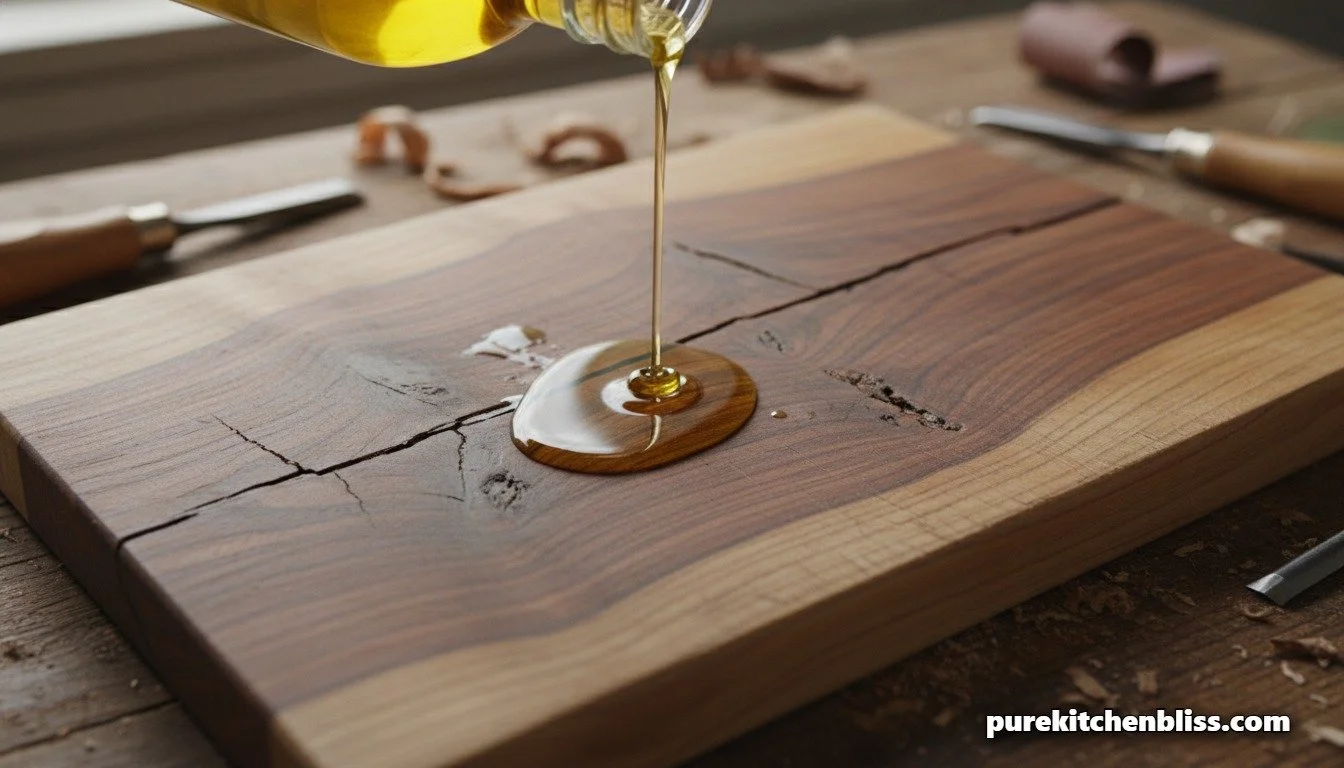
The Application: Don’t be shy with it. Pour a generous puddle of mineral oil directly onto the center of the board. Using a clean shop rag or your bare hands, spread the oil evenly across the top, bottom, and all four edges.
The Absorption: Let the board sit flat on your bench for at least four to six hours. If your wood is starving, it will drink the oil up completely and look dry again within an hour. Keep adding oil until the wood stops absorbing it and a wet layer remains on the surface.
My Workshop Protocol: The Wood Conditioning Matrix
| Maintenance Stage | My Exact Workshop Action | The Wood Physics Logic | Tool Utility |
|---|---|---|---|
| 1. Pore Preparation | Lemon/salt scrub followed by a 220-grit light hand sand | Knocks down raised fibers and opens wood cells | Mandatory Pre-requisite |
| 2. Deep Hydration | Flood surface with pure, food-grade mineral oil | Saturates inner cells to prevent splitting and bowing | Thirteen Chefs Mineral Oil |
| 3. Topical Shield | Buff a hot beeswax/mineral paste into the outer grain | Creates a physical, hydrophobic barrier against wash water | Howard Butcher Block Conditioner |
Step 3: Locking It In with the Beeswax Shield 🐝
Mineral oil is great for hydrating wood cells, but because it stays liquid, it will slowly wash out every time you rinse your board under your workstation sink faucet. To stop this, you have to lock the oil inside using a solid, topical wax barrier.
The Blend: I use Howard Butcher Block Conditioner, which is a heavy-duty mix of pure USP mineral oil, natural beeswax, and carnauba wax.
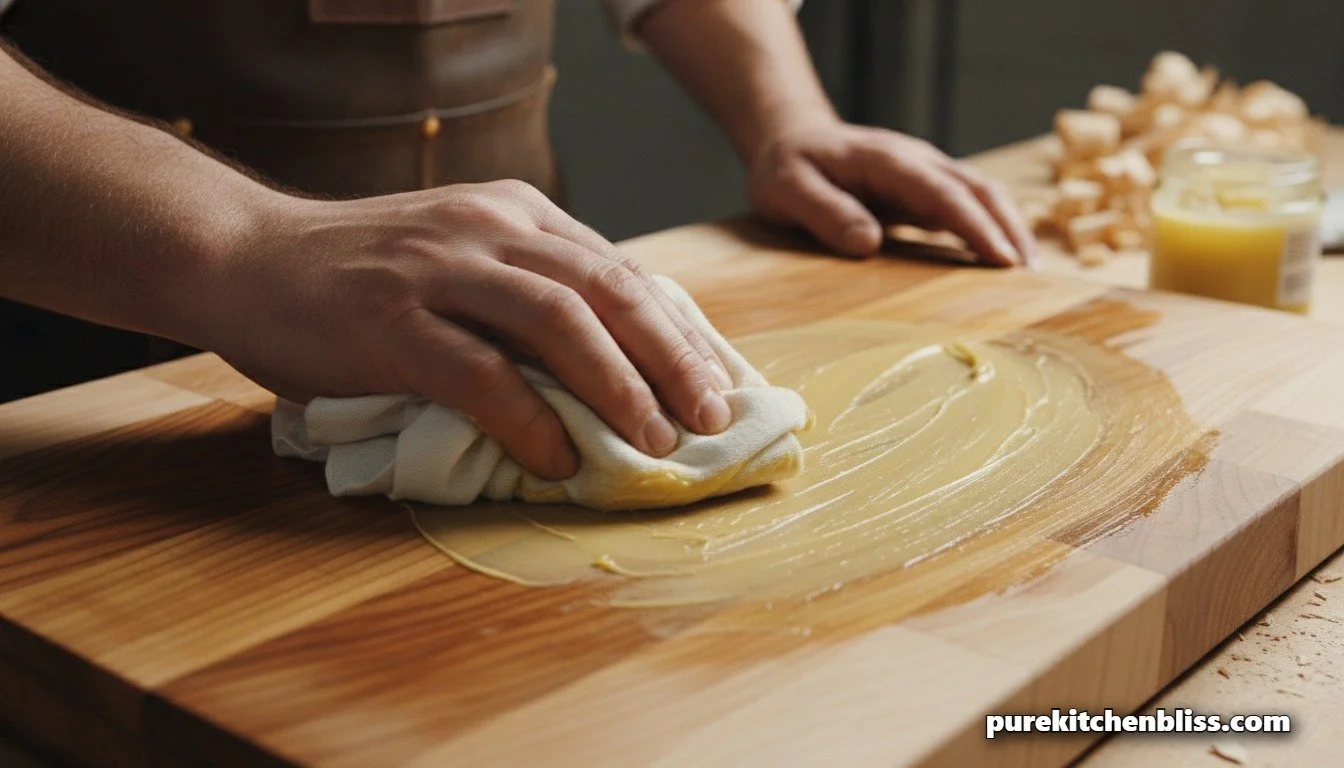
The Application: Take a clean rag, scoop out a generous amount of the wax paste, and buff it vigorously into the wood grain. The friction from your hand will warm up the beeswax, forcing it to melt into the micro-fissures of the board.
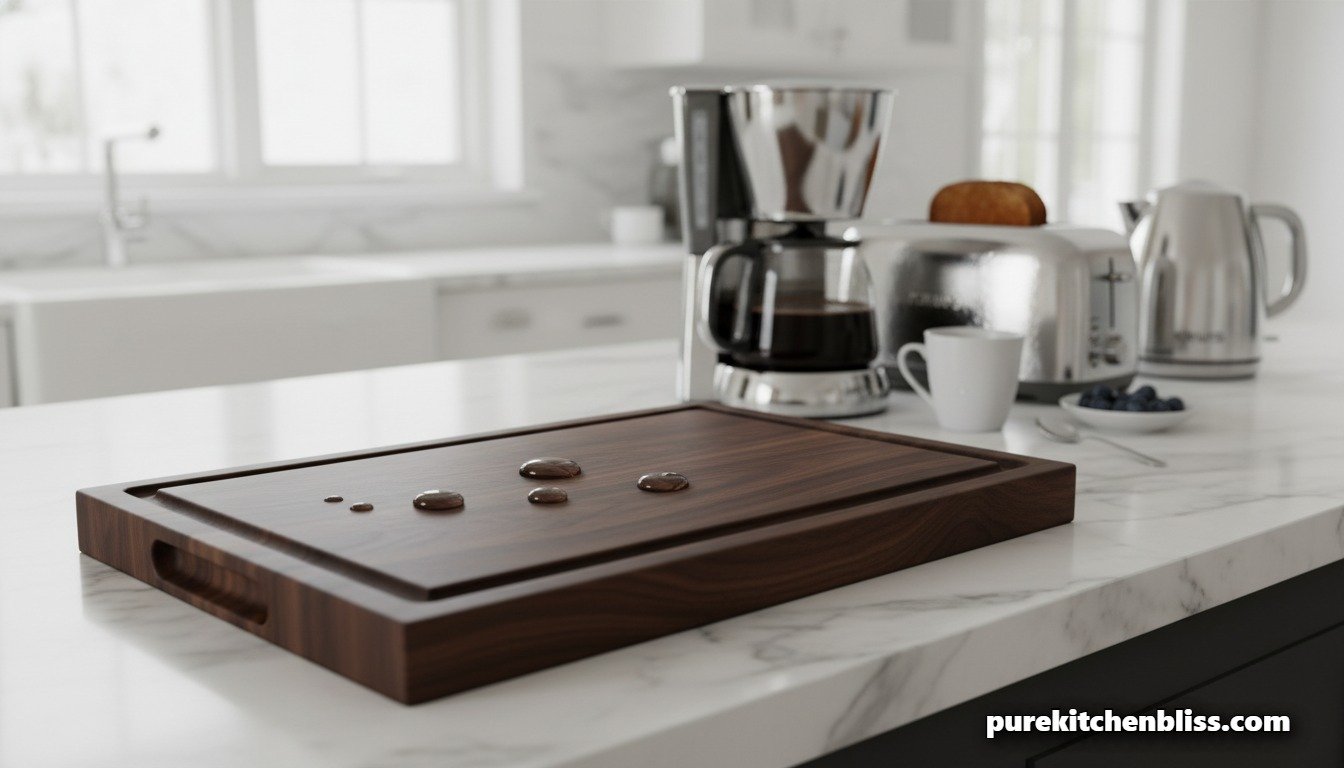
The Finish: Let it cure for 20 minutes, then take a fresh cloth and buff the surface dry. It will leave behind a magnificent, silky satin sheen that actively repels liquid. The next time you wash juice off the board, you’ll see the water bead up and slide off like a freshly waxed car.
My Top Two Cardinal Rules for Wood Care 🛠️
Once your boards are restored to shop-quality standards, you need to maintain them by avoiding the two biggest wood killers in a home kitchen:
Rule #1: The Dishwasher Ban. Never, under any circumstances, put a solid wood cutting board inside a dishwasher. The intense heat and prolonged water exposure will dissolve the structural glues holding the segments together, instantly warping the frame and cracking the wood joints. It will snap your premium boards faster than a cheap piece of mass-market particleboard.
Rule #2: Equal Hydration. When you wash a board manually, always rinse both sides equally, even if you only cut on the top face. If you only wet one side, that side will absorb moisture and expand while the dry side stays stable, causing the board to bow. Always dry your boards standing upright on their edges so air can circulate around them evenly.
Taking an hour a few times a year to run this simple wood-shop protocol protects your premium prep surfaces from splitting open. It keeps your workspace clean, seals out bacteria, and ensures your artisan boards safely survive a lifetime of heavy family meal prep!
Next Up: Want to see the ultimate, heavy-duty single-basin station I pair with my freshly oiled prep boards? Check out our The 2026 Workstation Sink Showdown: Kohler Prolific vs. Ruvati Roma!.