We’ve spent the last few articles talking about the high-tech side of aromatic zoning. But as a builder, I know that sometimes the best solutions aren't the ones you plug in—they're the ones you build with your own two hands using natural materials.
If you aren't ready to drop $200 on a high-end diffuser, or if you just want a more organic way to keep your pantry and cabinets smelling fresh, this is for you. In a house with four kids, I’m always looking for ways to eliminate "stink zones" without using synthetic sprays.
Today, we’re getting back to basics. I’m showing you how to use shop-scraps and kitchen staples to create "Passive Diffusers." These don't use electricity; they use the natural science of evaporation to keep your kitchen sanctuary smelling like a 5-star hotel.
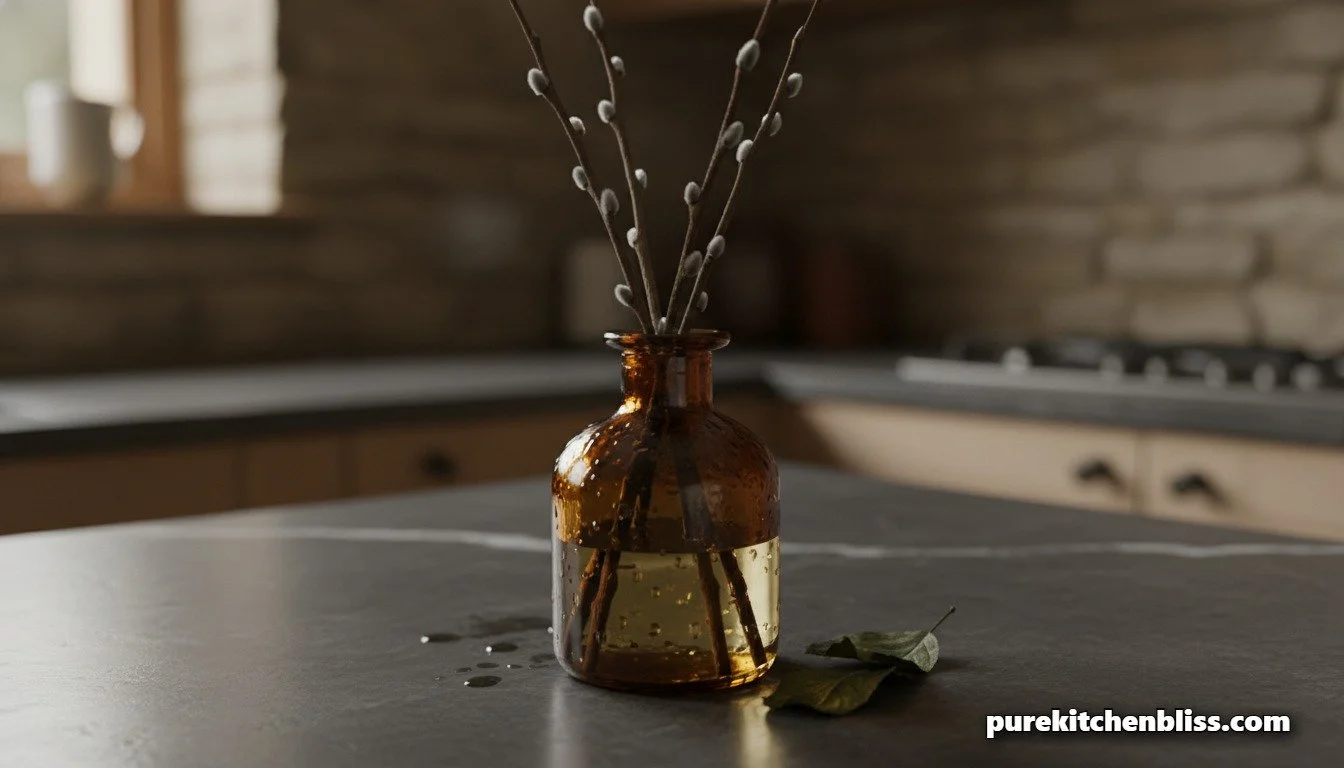
1. The "Shop-Scrap" Wood Diffuser 🪵
Wood is naturally porous, which makes it the perfect medium for essential oils. If you have any unfinished cedar or pine scraps in your garage, you’re halfway there.
The Build: Take a small block of unfinished wood (about 2x2 inches). Using a 1/2-inch drill bit, create a shallow "well" in the center (don't go all the way through!).
The Magic: Drop 5-10 drops of pure essential oil into the well. The wood will slowly absorb the oil and release the scent over 48 hours.
Placement: These are perfect for hiding at the back of your organized cabinets to prevent that "musty" cabinet smell.
2. The "Aroma Stone" Salt Dough Hack 🧂
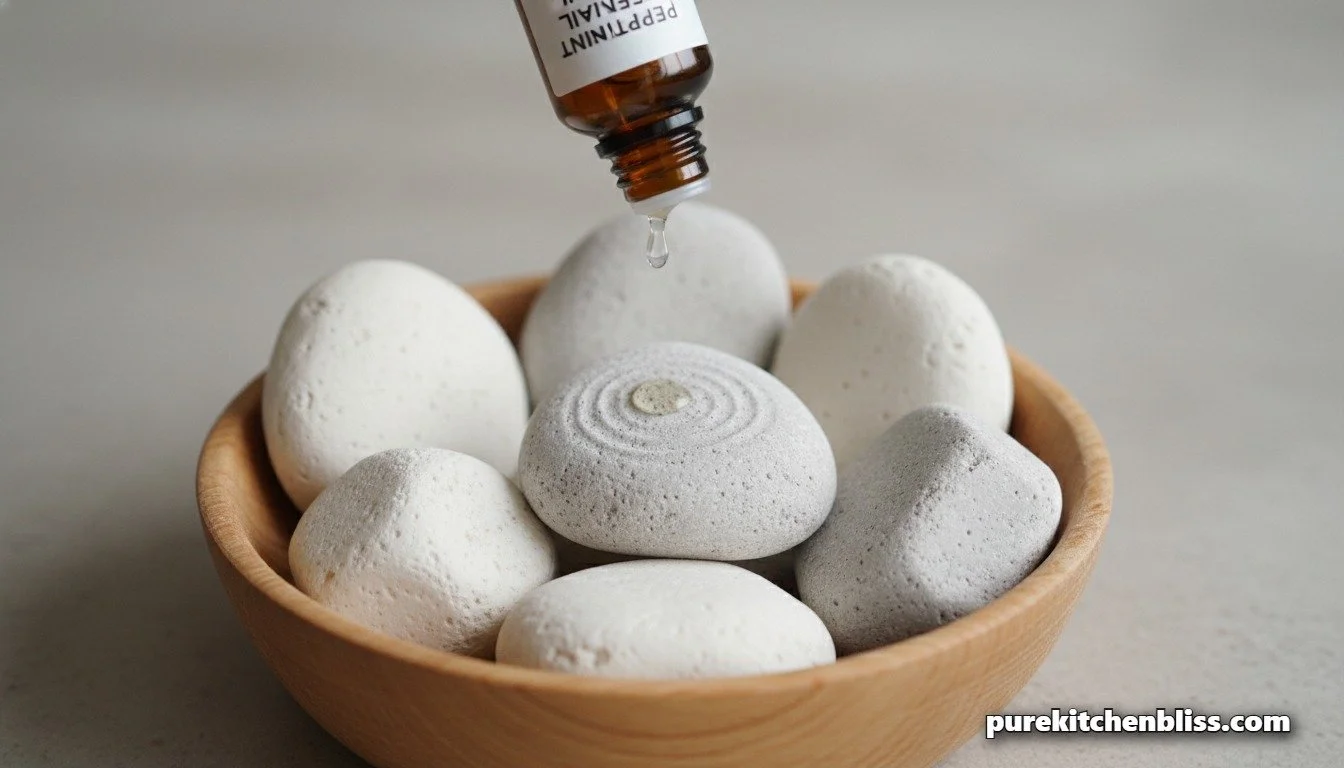
If you don't have wood scraps, you can "bake" your own diffusers using three kitchen staples: flour, salt, and water.
The Build: Mix 1 cup of flour, 1/2 cup of salt, and 1/2 cup of water until it forms a dough. Roll them into small "river stones" and bake at 200°F for two hours until rock hard.
The Magic: Once they cool, these porous "stones" act as a sponge for oils.
Dad Tip: This is a great weekend project for the kids. Let them shape the stones, and then they can pick the "wake up" scents for their rooms!
3. Comparison: DIY Passive vs. High-Tech Active
| Feature | DIY Passive Diffuser | Electric Diffuser | Best Use-Case |
|---|---|---|---|
| Power Source | Zero (Evaporation) | Electricity/Battery | Pantry/Cabinets |
| Scent Throw | Localized (Small Area) | Whole-Room/House | Kitchen Island |
4. The "Kitchen Reed" Alternative 🎋
You don't need to buy expensive replacement reeds. You can make your own using bamboo skewers from your kitchen drawer or even dried twigs from the yard.
The Build: Use a glass jar with a narrow neck (this prevents the oil base from evaporating too fast).
The Mixture: Mix 1/4 cup of a light carrier oil (like safflower or almond oil) with 20-30 drops of essential oil. Add a splash of vodka—the alcohol helps the oil "climb" up the sticks.
The Move: Every few days, just flip the sticks over. It’s the easiest way to retro-fit your scullerywith a constant, fresh scent.
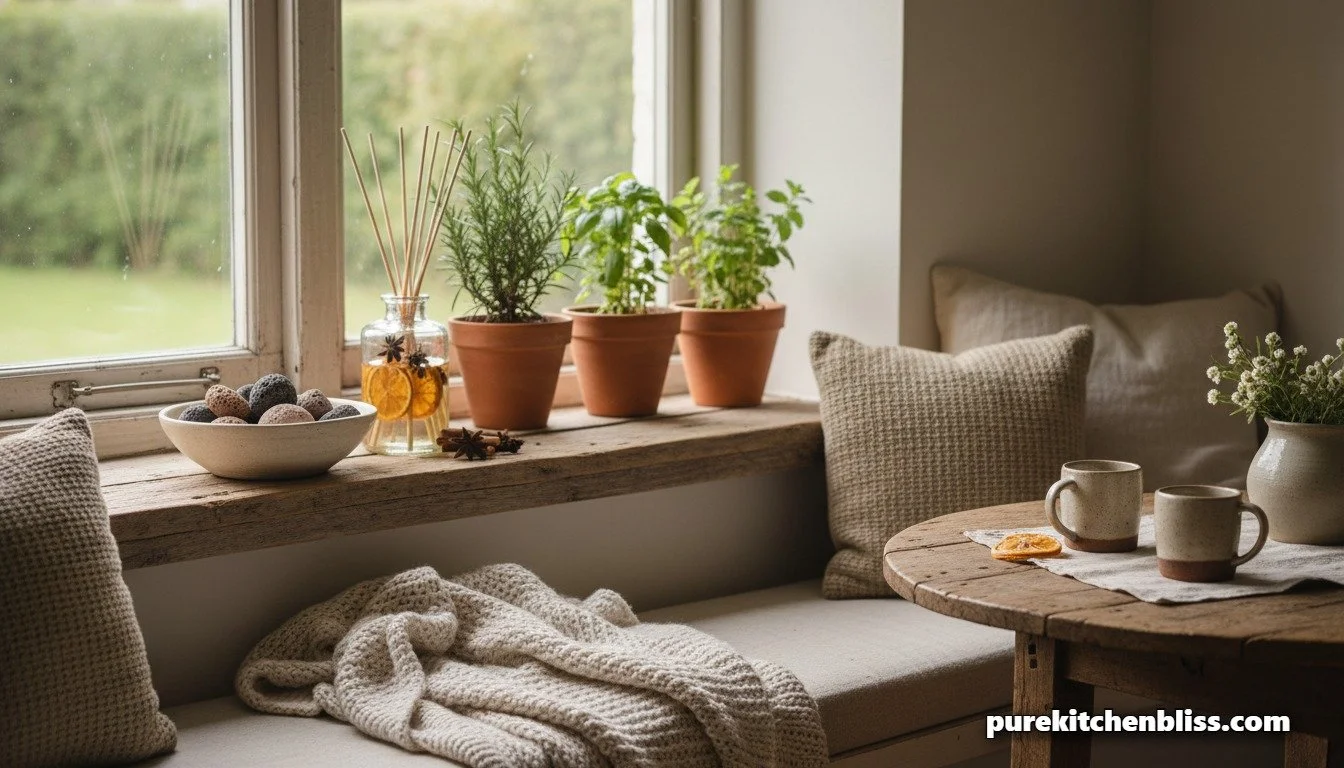
5. Managing the "Scent Load" 🛠️
The key to DIY diffusers is to not overdo it.
The Pro Move: Start with 3-5 drops. You can always add more, but it’s hard to "remove" scent from wood or clay once it’s in there.
The Maintenance: Every few months, give your wood diffusers a light sanding. This opens up the "pores" of the wood again and makes them work like new.
When you build your own tools, you connect with your home on a deeper level. You aren't just buying a "smell", you’re creating an environment.
Next Up: Ready to see the structural "muscle" behind these beautiful designs? Check out our The Rise of the Scullery: Why 2026 Moves the Mess Behind a Secret Door.