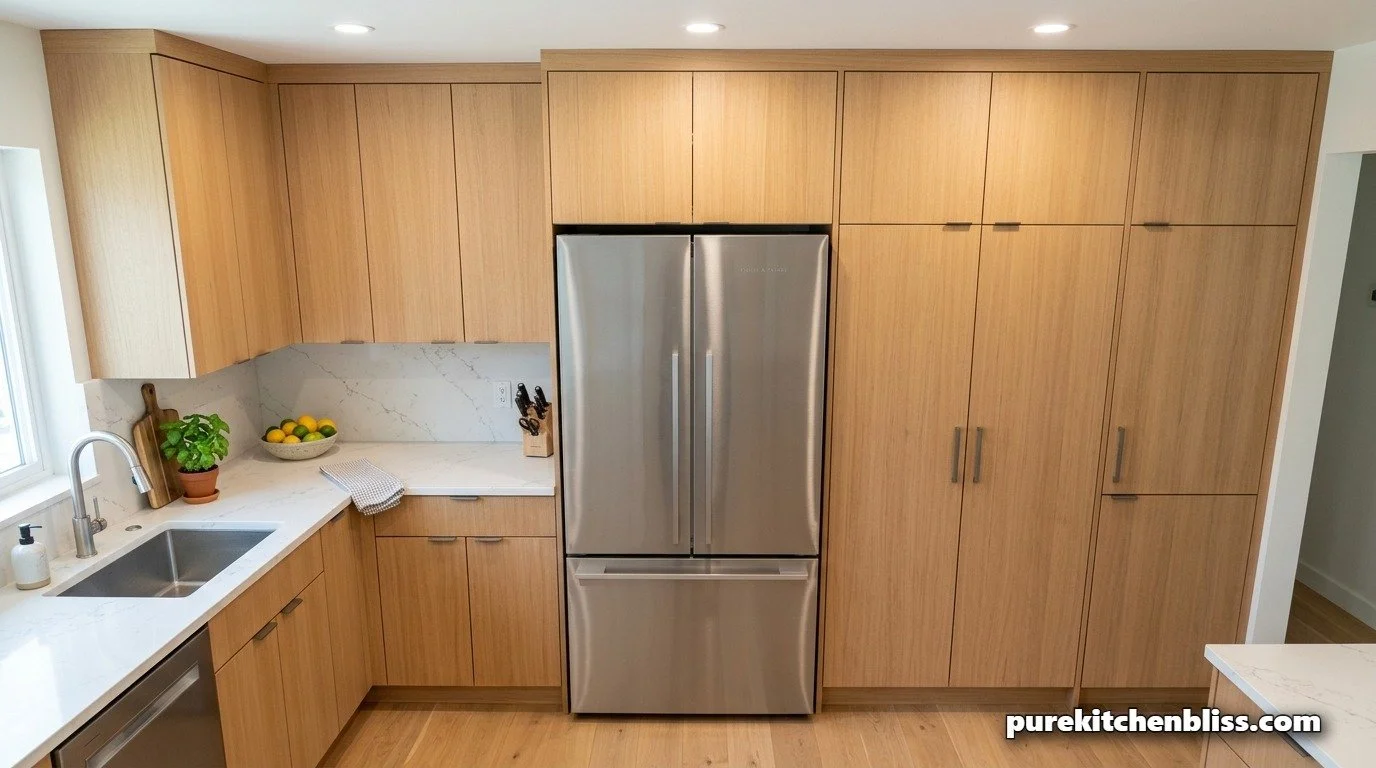
In the design of a kitchen sanctuary, the visual "clutter" of a refrigerator protruding three inches past the cabinetry is a structural failure. Achieving a true flush, "built-in" look requires more than just a counter-depth unit; it requires a mastery of zero-clearance mechanicals and specialized ventilation rough-ins.
Unlike the generic advice found on most DIY sites, a master carpenter knows that "flush" is a dangerous game. If you don't account for the pivot point of the hinge and the BTU output of the compressor, you are essentially building a thermal tomb for a $10,000 appliance.
1. The Pivot Point Paradox
A "zero-clearance" hinge is engineered to pivot within the footprint of the refrigerator itself. However, many "counter-depth" units are NOT zero-clearance.
The Rough-In: For a true flush fit, your cabinet gable must be exactly 24 or 25 inches deep, but the power outlet must be recessed into the wall (using a "Clock Box" or recessed outlet) to allow the unit to push back all the way.
The Reveal: We aim for a 1/8-inch reveal, matching the tolerances of our soft-close cabinet hinges.
2. The Thermodynamic "Envelope"
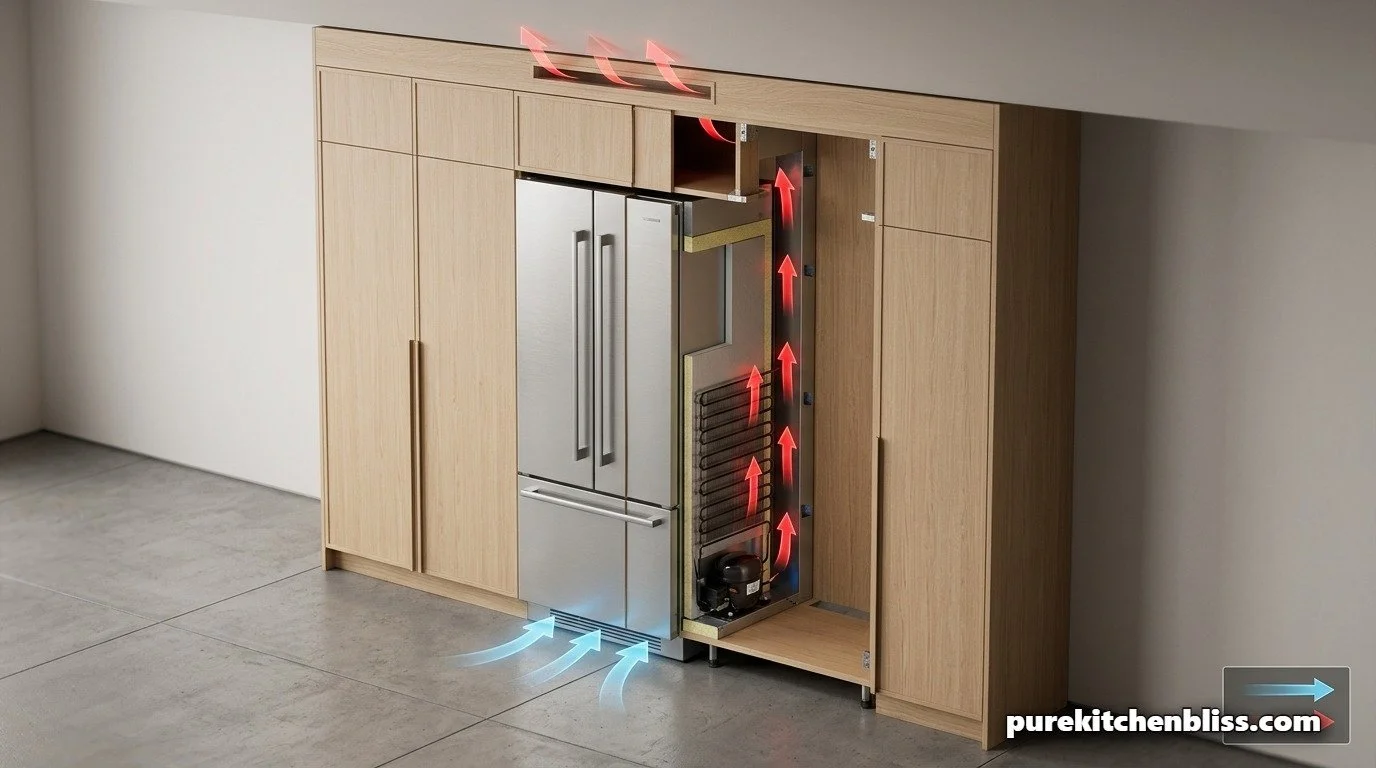
The biggest killer of high-end appliances is heat. When you box in a fridge with no breathing room, the compressor runs 40% longer.
The Chimney Effect: In a sanctuary build, we create a "ventilation chimney" behind the unit. This involves a 2-inch air gap at the back that vents through a decorative (but functional) grille in the soffit or the top of the pantry.
The Intake: Air must be pulled from the floor level. This is why the "toe kick" area of a built-in fridge is the most critical part of its mechanical health.
3. Comparison: Built-In vs. Counter-Depth
| Feature | Standard Counter-Depth | True Zero-Clearance Built-In |
|---|---|---|
| Door Pivot | Needs 2-3" side clearance | Pivots within width |
| Ventilation | Rear/Side dissipation | Integrated Bottom-to-Top |
4. Protecting the Surface Finish
The humidity generated by a poorly ventilated fridge can cause "delamination" on the surrounding cabinet panels. Just as we use organic cleansers to protect our finishes, we use proper airflow to prevent the moisture buildup that ruins the fabric of our cabinetry.
5. The Water Line "Rough-In"
Don't forget the hard water defense. For a zero-clearance fridge, your water shut-off valve should be located in an adjacent cabinet (like under the sink), not directly behind the fridge. This allows you to shut off the water in an emergency without having to pull out a 600-lb appliance and potentially gouging your floors.
Next Up: Learn how to involve the whole family in maintaining your sanctuary with 6 Things You Can Get Your Child to Help You With in the Kitchen!.