Laminate countertops are the "legacy infrastructure" of millions of homes. While they were the height of 1980s engineering, they eventually succumbed to delamination, edge-chipping, and surface dullness. Most homeowners are told their only options are a $200 paint kit or a full replacement with sintered stone.
But, we have a third option: Technical Restoration. This isn't about covering the problem; it's about chemically and mechanically reinforcing the existing surface to turn it into a high-performance kitchen sanctuary.
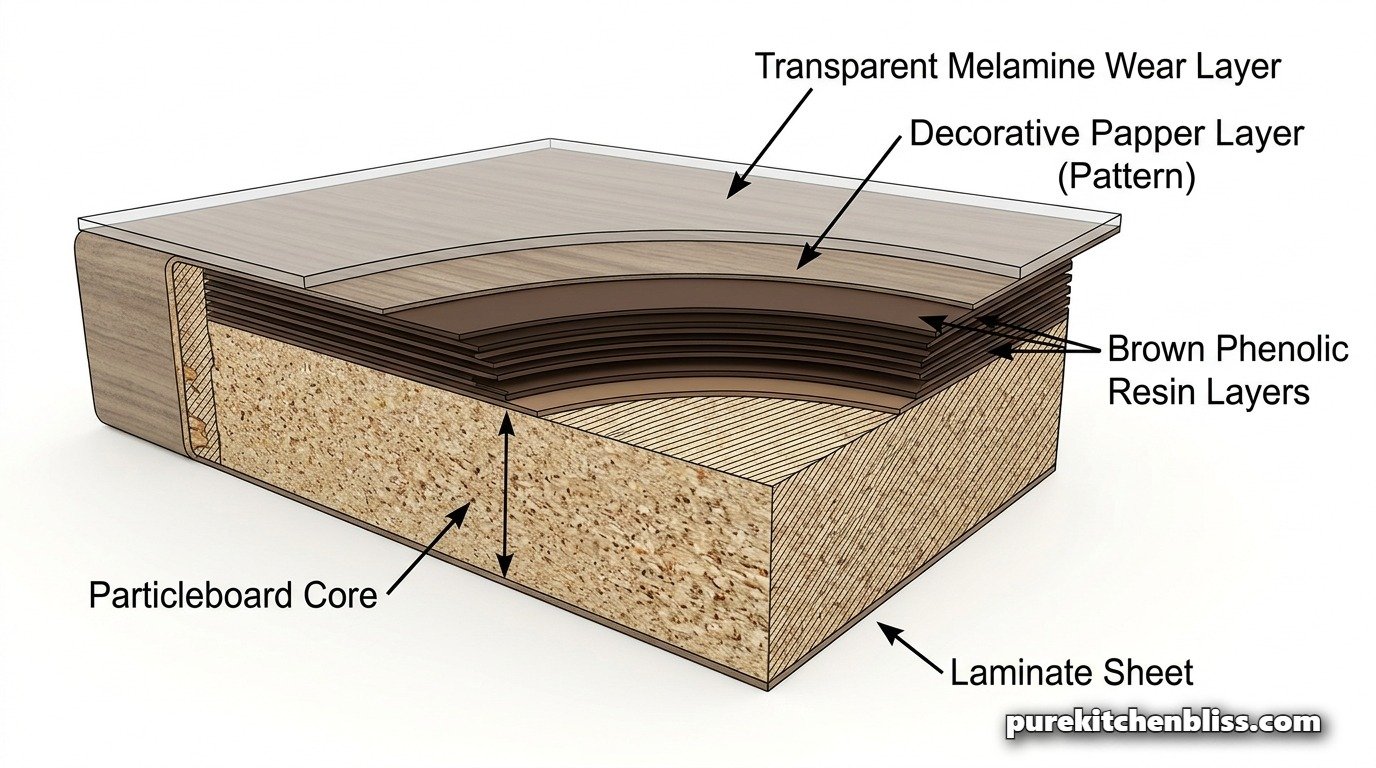
1. Nano-Ceramic Topcoat: The Molecular Resurface
Most "laminate paint" is just an acrylic or epoxy layer that sits on top of the melamine resin. It is prone to peeling because it doesn't bond at a molecular level.
The NEW Strategy: Use a Nano-Ceramic Hybrid Resin (SiO₂/ZrO₂). These nanoparticles are small enough to penetrate the micro-scratches in your old laminate.
The Result: Unlike paint, which can feel "rubbery," a nano-ceramic coat cures to a 9H hardness. It restores the original gloss and increases scratch resistance by nearly 400%.
Specified Equipment:
2. Substrate Stabilization: Fixing the "Lift"
The "death knell" for laminate is usually water intrusion at the seams, which causes the particleboard (MDF) core to swell. The Spruce suggests "gluing it back down," but once MDF swells, standard glue won't hold.
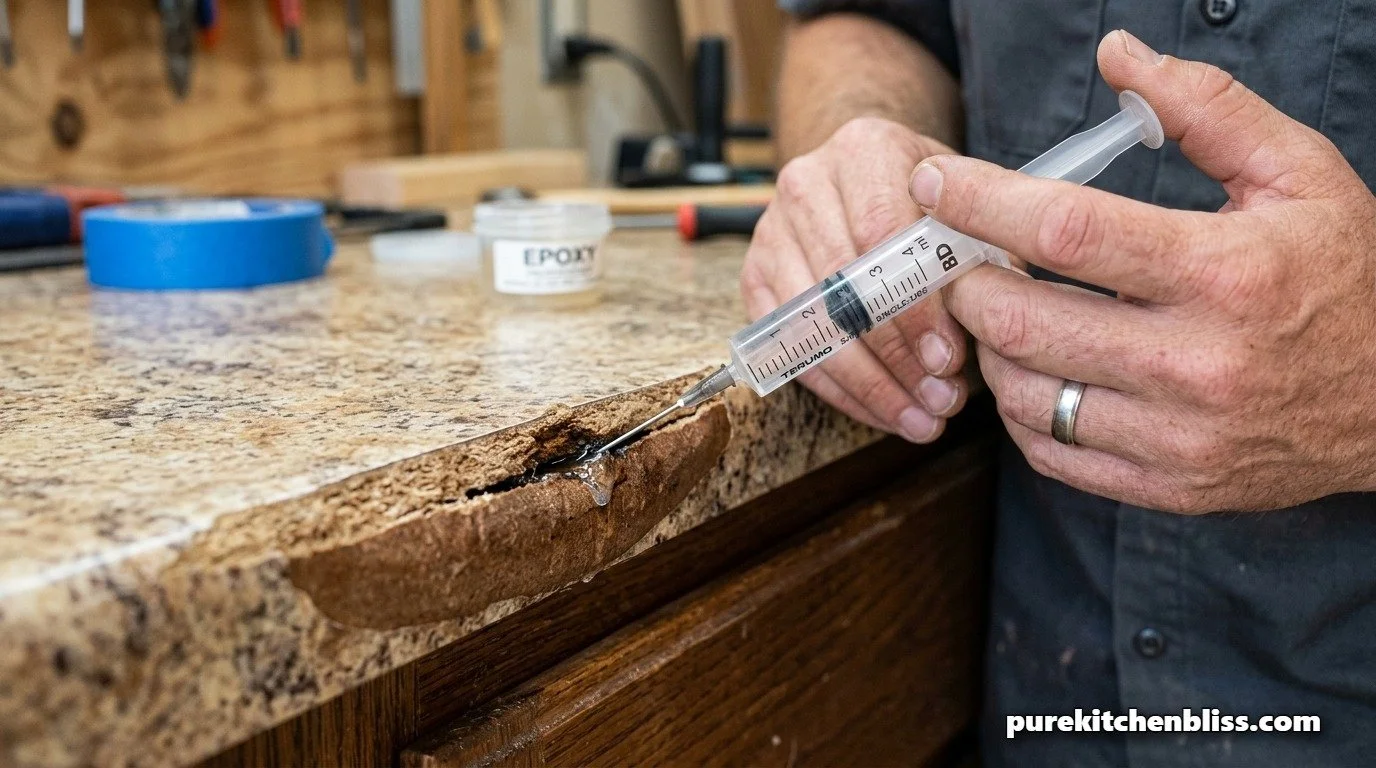
The "Builder" Fix: Use a low-viscosity epoxy injection.
The Process: Use a needle syringe to inject the epoxy into the swollen area. The thin resin travels via capillary action deep into the wood fibers, effectively "petrifying" the MDF and preventing further expansion. Once cured, you can sand the surface flat before applying your final finish.
3. Edge-Band Reinforcement: The High-Traffic Reset
The front edge of a laminate counter is its most vulnerable infrastructure point. This is where cooking oil spills and physical impacts cause the "brown line" to appear.
The Upgrade: Replace damaged PVC edge banding with TPU (Thermoplastic Polyurethane).
The Advantage: TPU is flexible and has a high "elongation-at-break," meaning it can accommodate the expansion and contraction of your house without snapping or lifting. Bond it using a professional heat gun at 160°C for a permanent, waterproof seal.
4. Comparison: DIY Paint Kits vs. Technical Restoration
| Method | Durability Rating | Maintenance Load |
|---|---|---|
| Contact Paper | Low (Weeks/Months). | High (Prone to tearing). |
| Standard Epoxy Kit | Medium (1-3 Years). | Medium (Yellowing risk). |
| Nano-Ceramic Reset | High (5-7 Years). | Ultra-Low (Wipe clean). |
5. The Sanitary Reset: Dealing with Scratches
Old laminate is a porous landscape. Even if you don't update the look, you must update the hygiene.
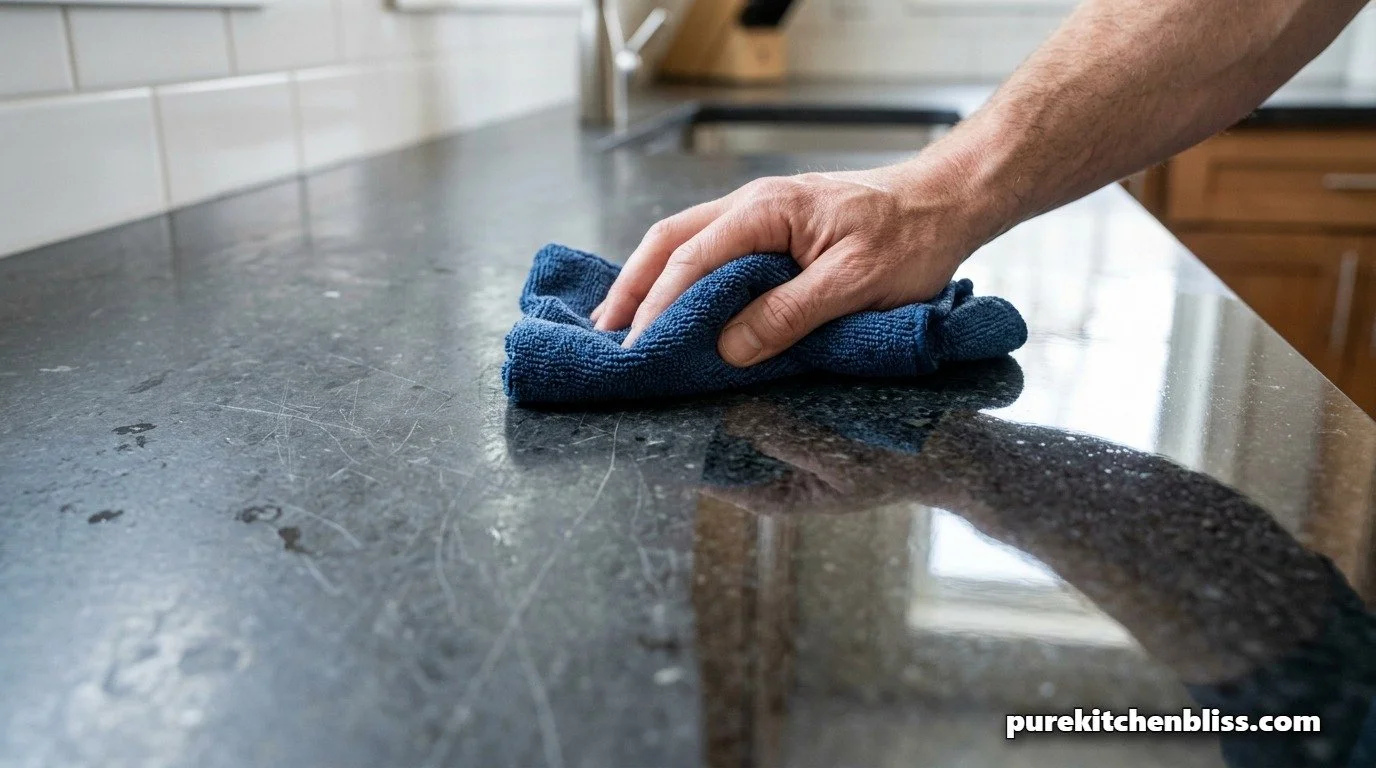
The "Swedish" Wipe: Never use abrasive scrubbers on old laminate. They create micro-fissures that trap Listeria.
The Maintenance: Use Swedish Cellulose cloths and a pH-neutral cleaner. If your laminate is dull, the nano-ceramic restoration mentioned above is the only way to "seal" those micro-scratches permanently.
Conclusion: Invest in the Bond A laminate update is only as good as the bond between the new finish and the old resin. By choosing technical materials like nano-ceramics and injected epoxies over craft-store paints, you extend the life of your kitchen infrastructure by years. You aren't just hiding an old counter; you are engineering a better one.
Next Up: Learn how to manage your updated surfaces with our Guide to Sintered Stone vs. Porcelain.