How to Clean Broken Glass on Hardwood Floors
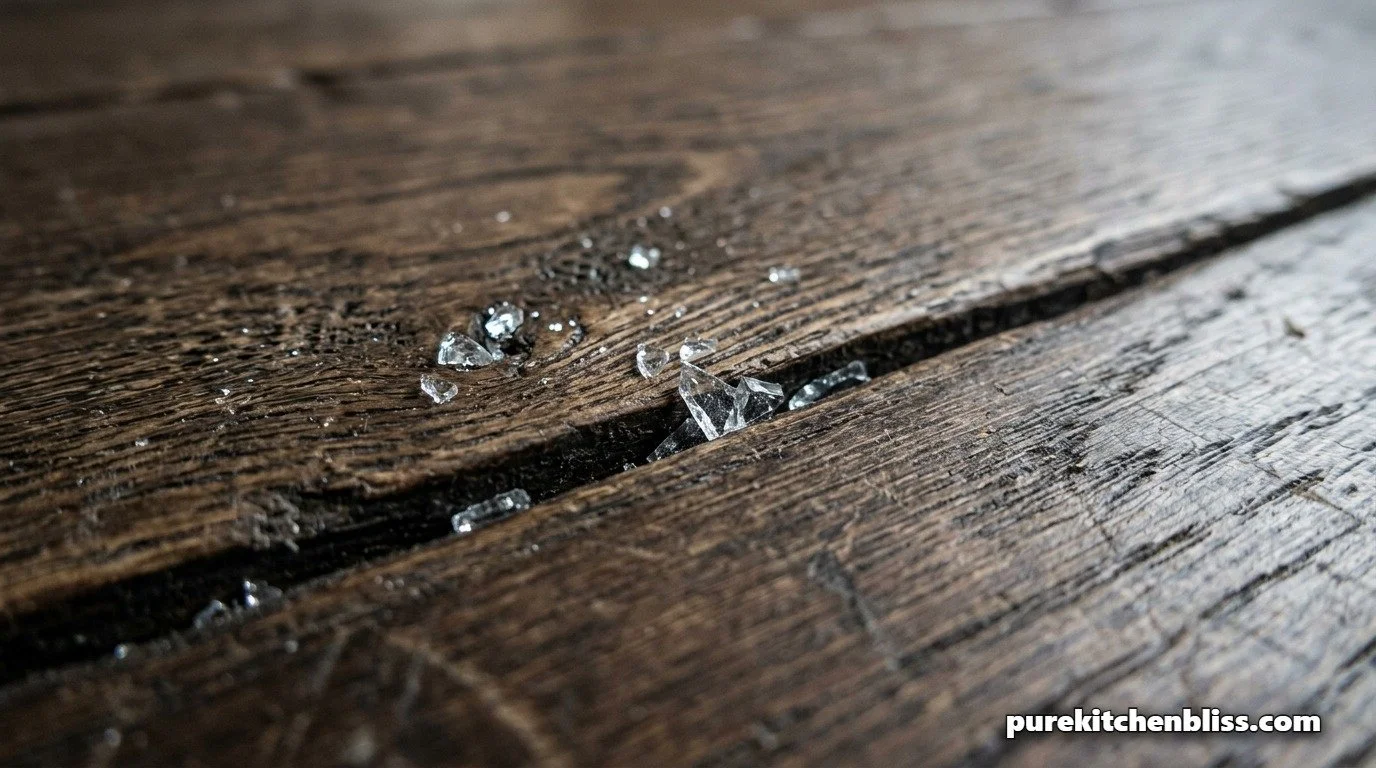
While a glass breaking on a workstation sink is a mess, a glass shattering on a hardwood kitchen floor is a structural challenge. Unlike porcelain or sintered stone, hardwood is a relatively soft, organic material. When glass impacts wood, the shards don't just scatter; the force can drive microscopic slivers into the wood grain or the gaps between the planks.
To maintain the integrity of your floor’s finish and the safety of your home, you cannot simply sweep and move on. You must use a systematic approach that extracts glass from the "texture" of the wood without scratching the protective topcoat.
1. Secure the Perimeter: The 10-Foot Rule
The physics of a shatter on wood are unique. Because wood has a slight "give," large pieces may stay close to the impact site, but smaller "needle" shards can slide incredible distances across a smooth, finished surface.
The Shatter Radius: Assume shards have traveled at least 10 feet in every direction. They easily slide under toe-kicks and baseboards.
The First Move: Immediately put on hard-soled shoes. Do not walk through the zone in socks, as the fabric will "hook" microscopic glass and carry it to other rooms. Use a chair or a tall object to mark the area as a "No-Go Zone" for family and pets.
2. Phase 1: The Precision Pickup
On hardwood, you must avoid dragging large shards across the floor, which can leave deep, permanent scratches in the polyurethane or wax finish.
Tools: Use kitchen tongs or two stiff pieces of cardboard to lift large fragments straight up.
Disposal: Never throw glass directly into a plastic trash bag. Place fragments inside a small cardboard box or a thick glass jar first.
The Broom Warning: Do not use a standard straw broom. The stiff bristles can act like sandpaper, dragging glass dust across the finish. Use a soft-bristled "dust mop" or a microfiber sweeper.
3. Phase 2: Extracting "Embedded" Slivers
Wood grain and the "V-groove" between planks are notorious for trapping glass that a vacuum or broom will miss.
The LED Inspection: Turn off the overhead lights and lay a high-powered LED flashlight flat on the floor. The "raking light" will cause the glass to glint and cast long shadows, revealing slivers hidden in the wood texture.
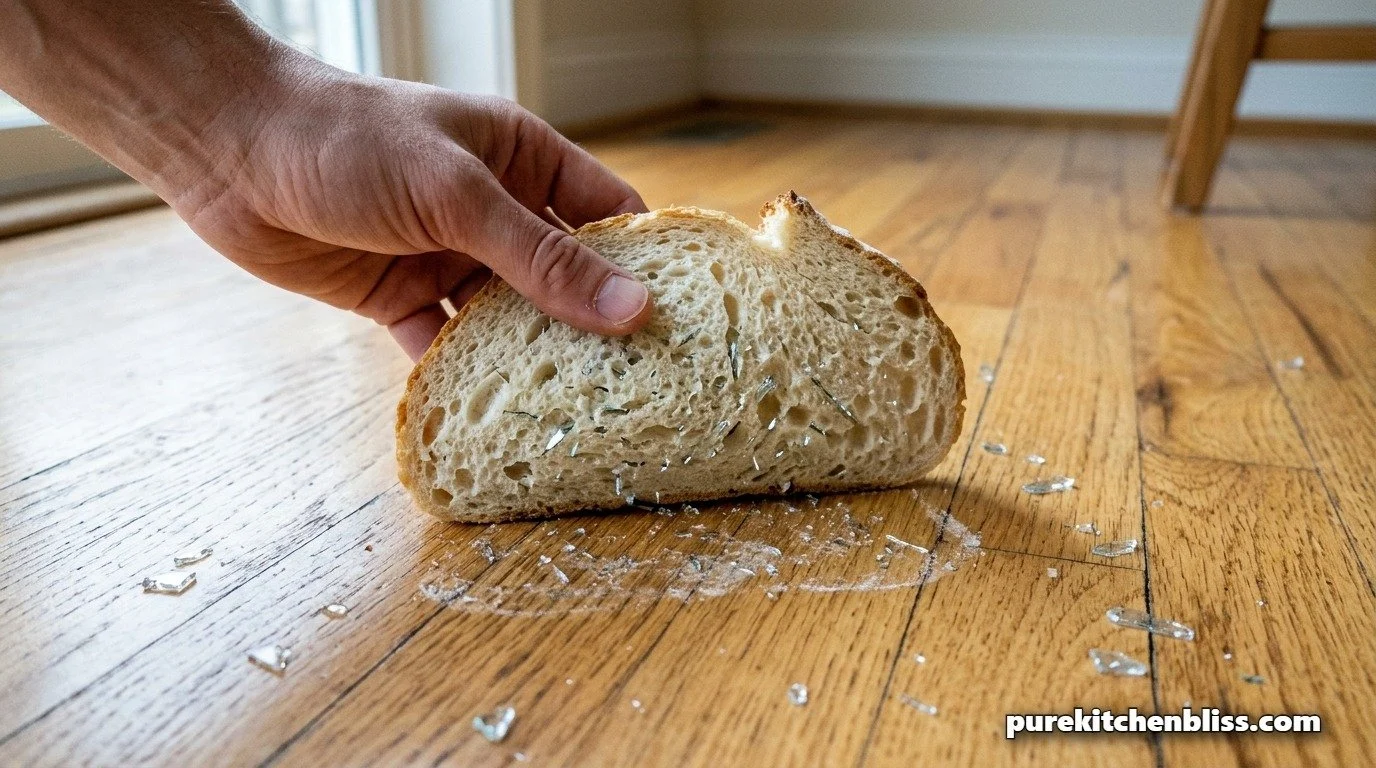
The Bread Method: For grain-heavy woods like Oak or Hickory, take a slice of soft white bread. Press it firmly into the floor and lift. The moisture and density of the bread pull microscopic slivers out of the wood grain that tape often misses.
The Tape Extraction: Use high-tack blue painters' tape for the seams between planks. Fold the tape into a "V" shape and press it into the gaps to lift out trapped shrapnel.
4. Phase 3: The Vacuum Audit
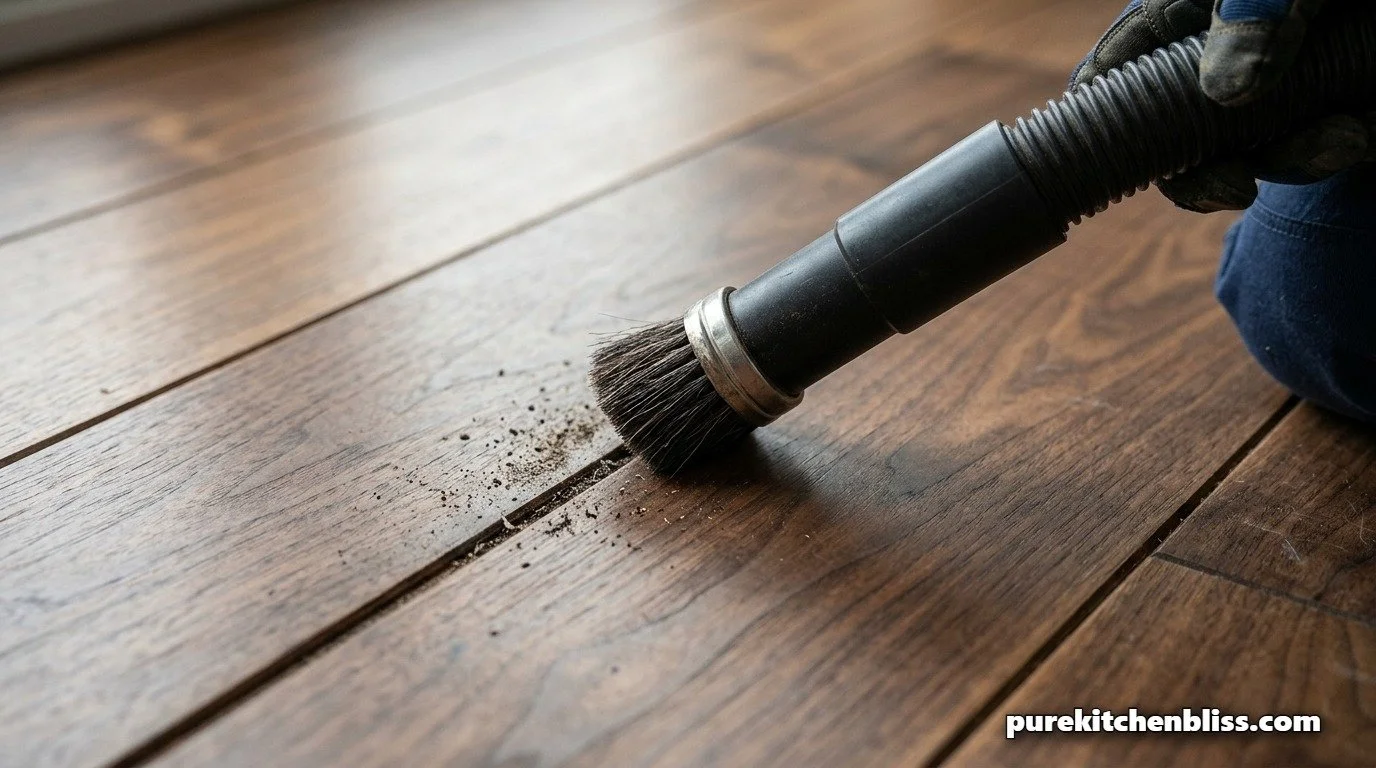
When vacuuming hardwood, your choice of attachment determines if you save the floor or ruin the finish.
The Rule: Use the hose attachment with a soft brush tool.
The Danger: Never use a vacuum with a "beater bar" (the spinning brush) on broken glass. The bar will pick up the shards and whip them against your hardwood at high speed, causing hundreds of microscopic scratches in seconds.
5. Cleaning Comparison: Hardwood vs. Tile Protocol
| Action | Hardwood Floor | Tile Floor |
|---|---|---|
| Primary Risk | Surface scratching & grain embedding. | Grout line contamination. |
| Best Tool | Soft Microfiber / Bread. | Stiff Broom / Shop-Vac. |
| Vacuum Mode | Hose Only (No Beater Bar). | Suction or Beater Bar (Safe). |
| Sanitization | Damp wipe (Minimal water). | Wet mop / Deep scrub. |
6. The Final Sanitization
Once the glass is cleared, you must remove the liquid residue from the broken container. Hardwood is sensitive to moisture, so speed is essential.
The Clean: Use a damp (not soaking) cloth with a drop of Castile soap. Wipe the area to remove any sugars or oils.
The Final Shine: For finished wood, avoid the citric acid trick, as the acidity can dull certain wax finishes. Stick to a pH-neutral wood cleaner or a very dry buff with a microfiber cloth to restore the floor's luster.
Conclusion: Restoring the Safe Zone A broken glass on hardwood is a test of patience. By focusing on vertical lifting rather than horizontal sweeping, you protect your floor’s infrastructure from unsightly scratches. Use the "Bread and LED" method to ensure every microscopic sliver is gone, and your kitchen will remain a safe, high-functioning environment for your family.
Next Up: Protect your home’s invisible infrastructure with our guide on What to Do if You Spill Cooking Oil Down Your Sink.