Transparency Note: We independently select these products based on research and user reviews. If you buy something through our links, we may earn a commission.
Four kids carving four pumpkins at the same table means orange fingerprints turn up somewhere new every year, the cutting board, the counter edge, a cabinet handle nobody noticed until the next morning when it's already dried in. The first year this happened I scrubbed everything the same way and got wildly inconsistent results, some surfaces came clean in seconds and others held onto a faint orange tint for weeks. It took actually understanding what's causing the stain to figure out why.
Pumpkin stains come down to a specific pigment with specific chemistry, and the right removal method depends entirely on what surface it landed on. A method that works perfectly on a laminate counter can be the wrong move entirely on natural stone, and what saves a wood cutting board can ruin a plastic one. Here's the full breakdown, surface by surface.
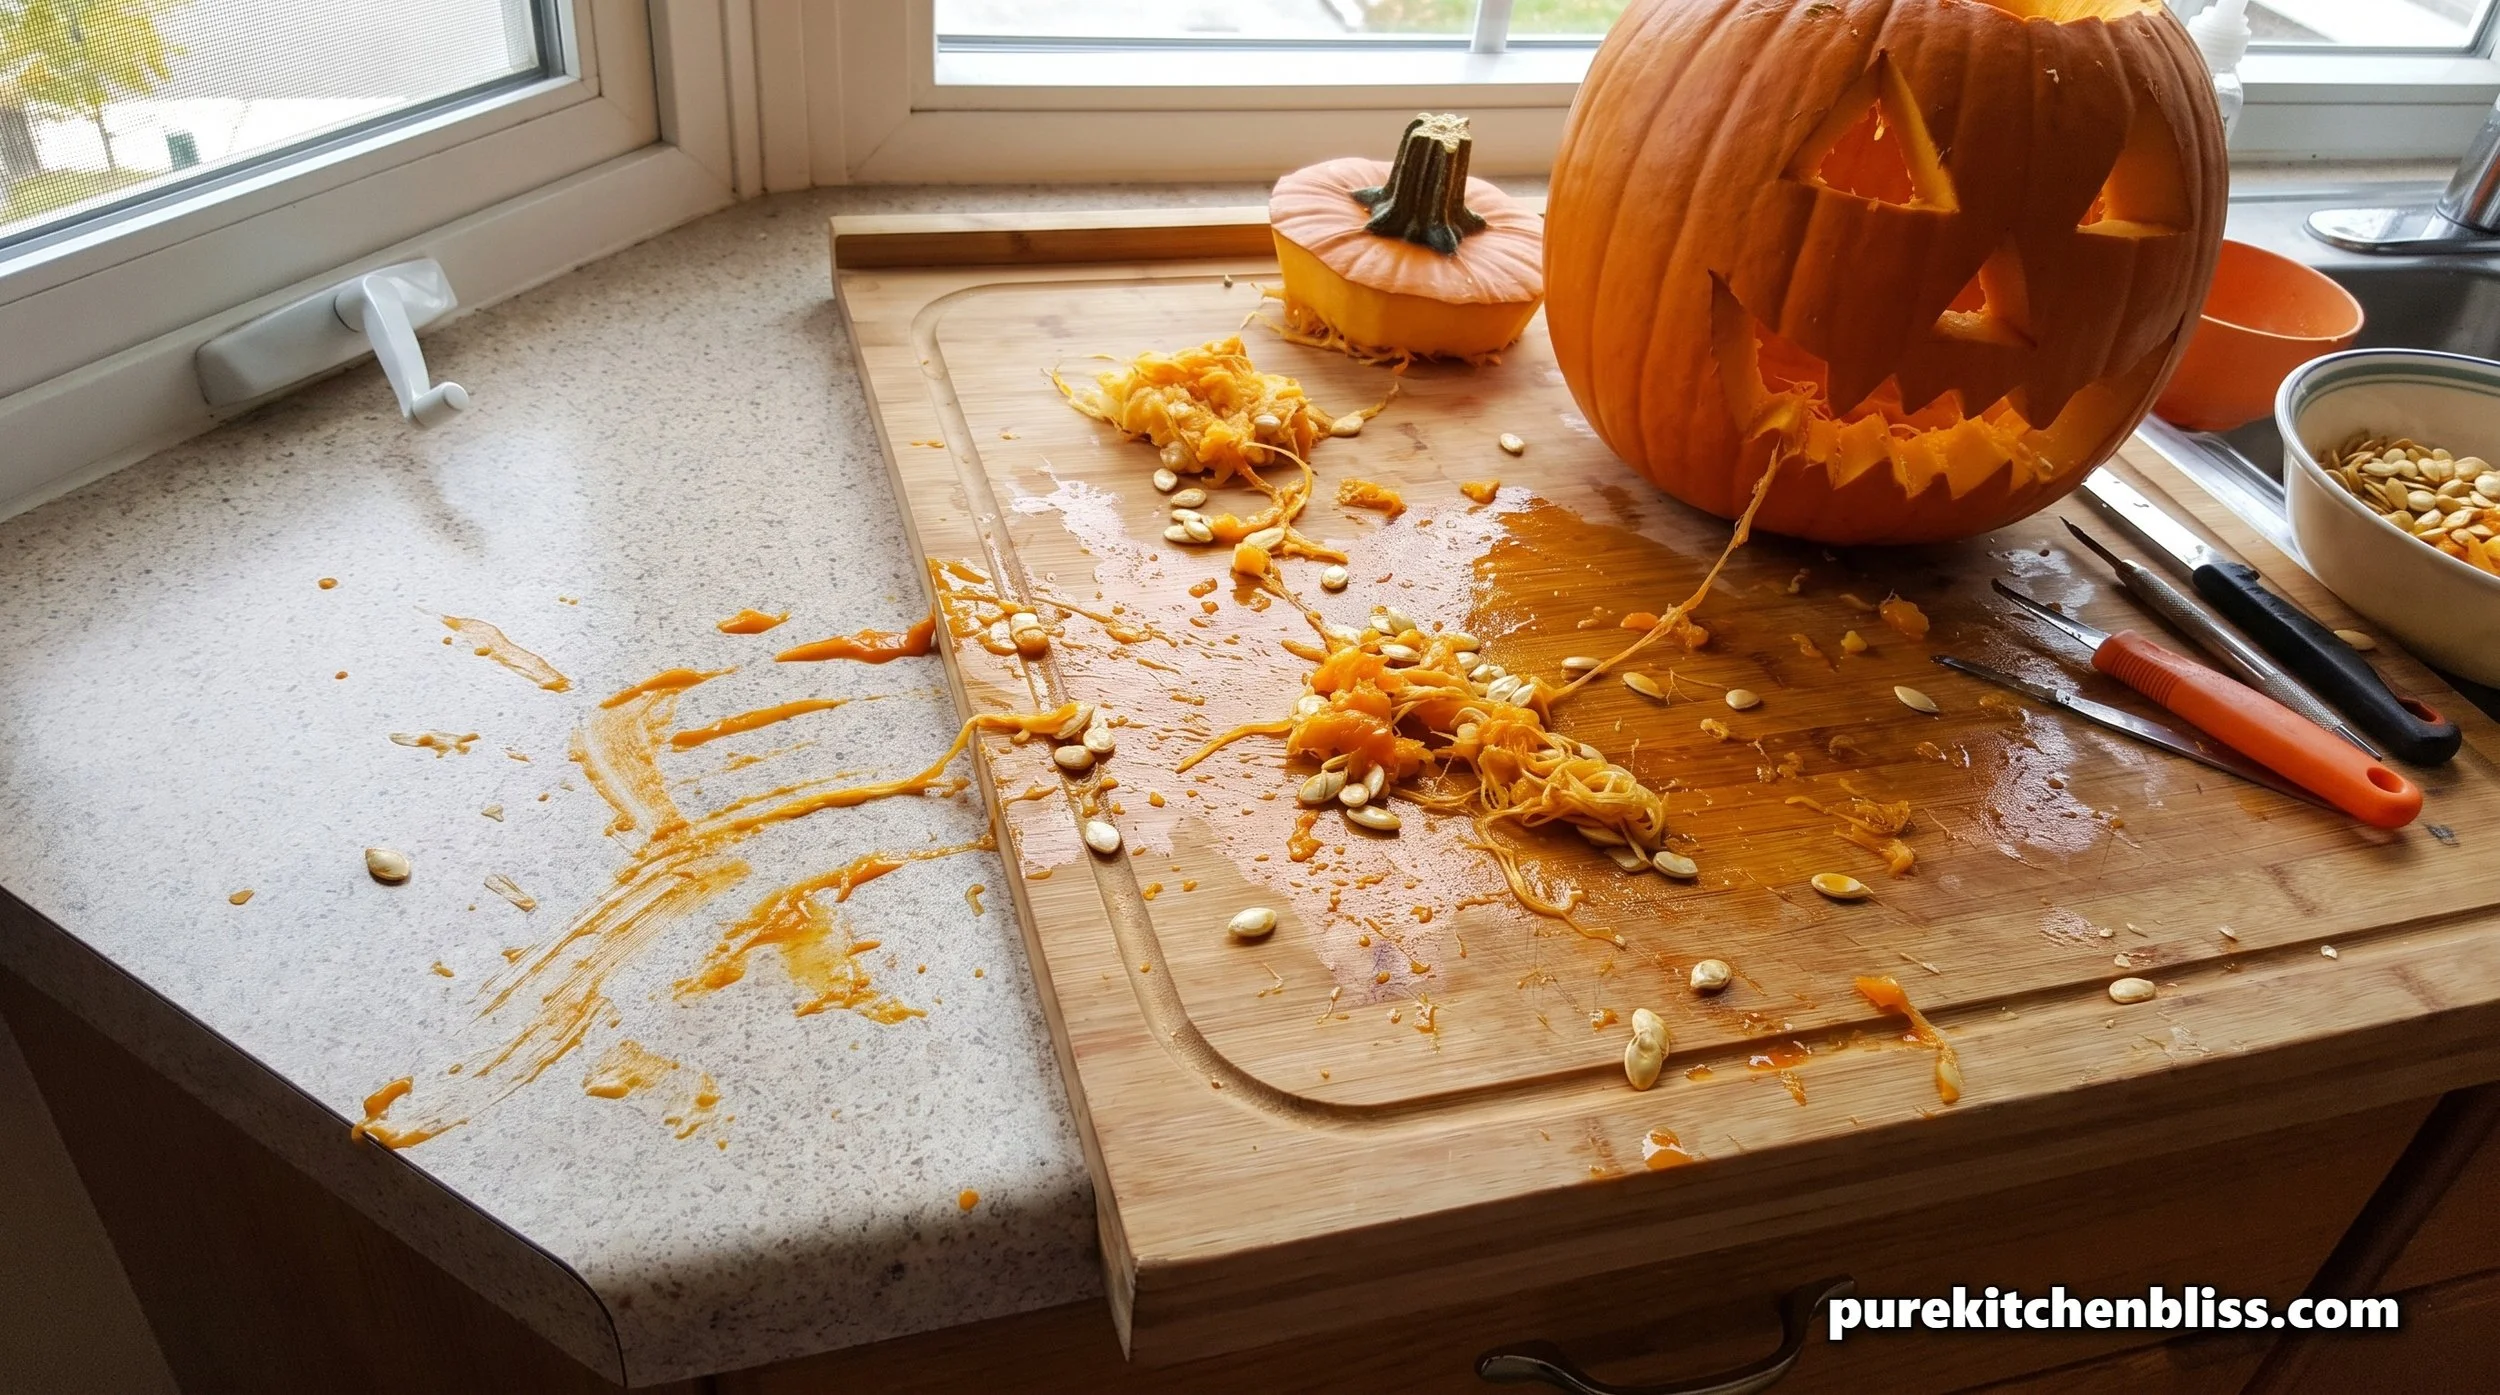
Why pumpkin actually stains in the first place
The orange color in pumpkin comes from carotenoids, the same family of pigments responsible for staining from carrots, sweet potatoes, and squash. Beta-carotene specifically is fat-soluble rather than water-soluble, which is the whole reason plain soap and water often fails to fully lift a pumpkin stain even with vigorous scrubbing. The pigment binds to the surface, and on porous materials it can work its way in deep enough that surface cleaning alone just moves it around rather than actually removing it. Understanding that one fact, fat-soluble not water-soluble, changes which cleaning approach actually makes sense for a given surface.
The first move that matters more than any product
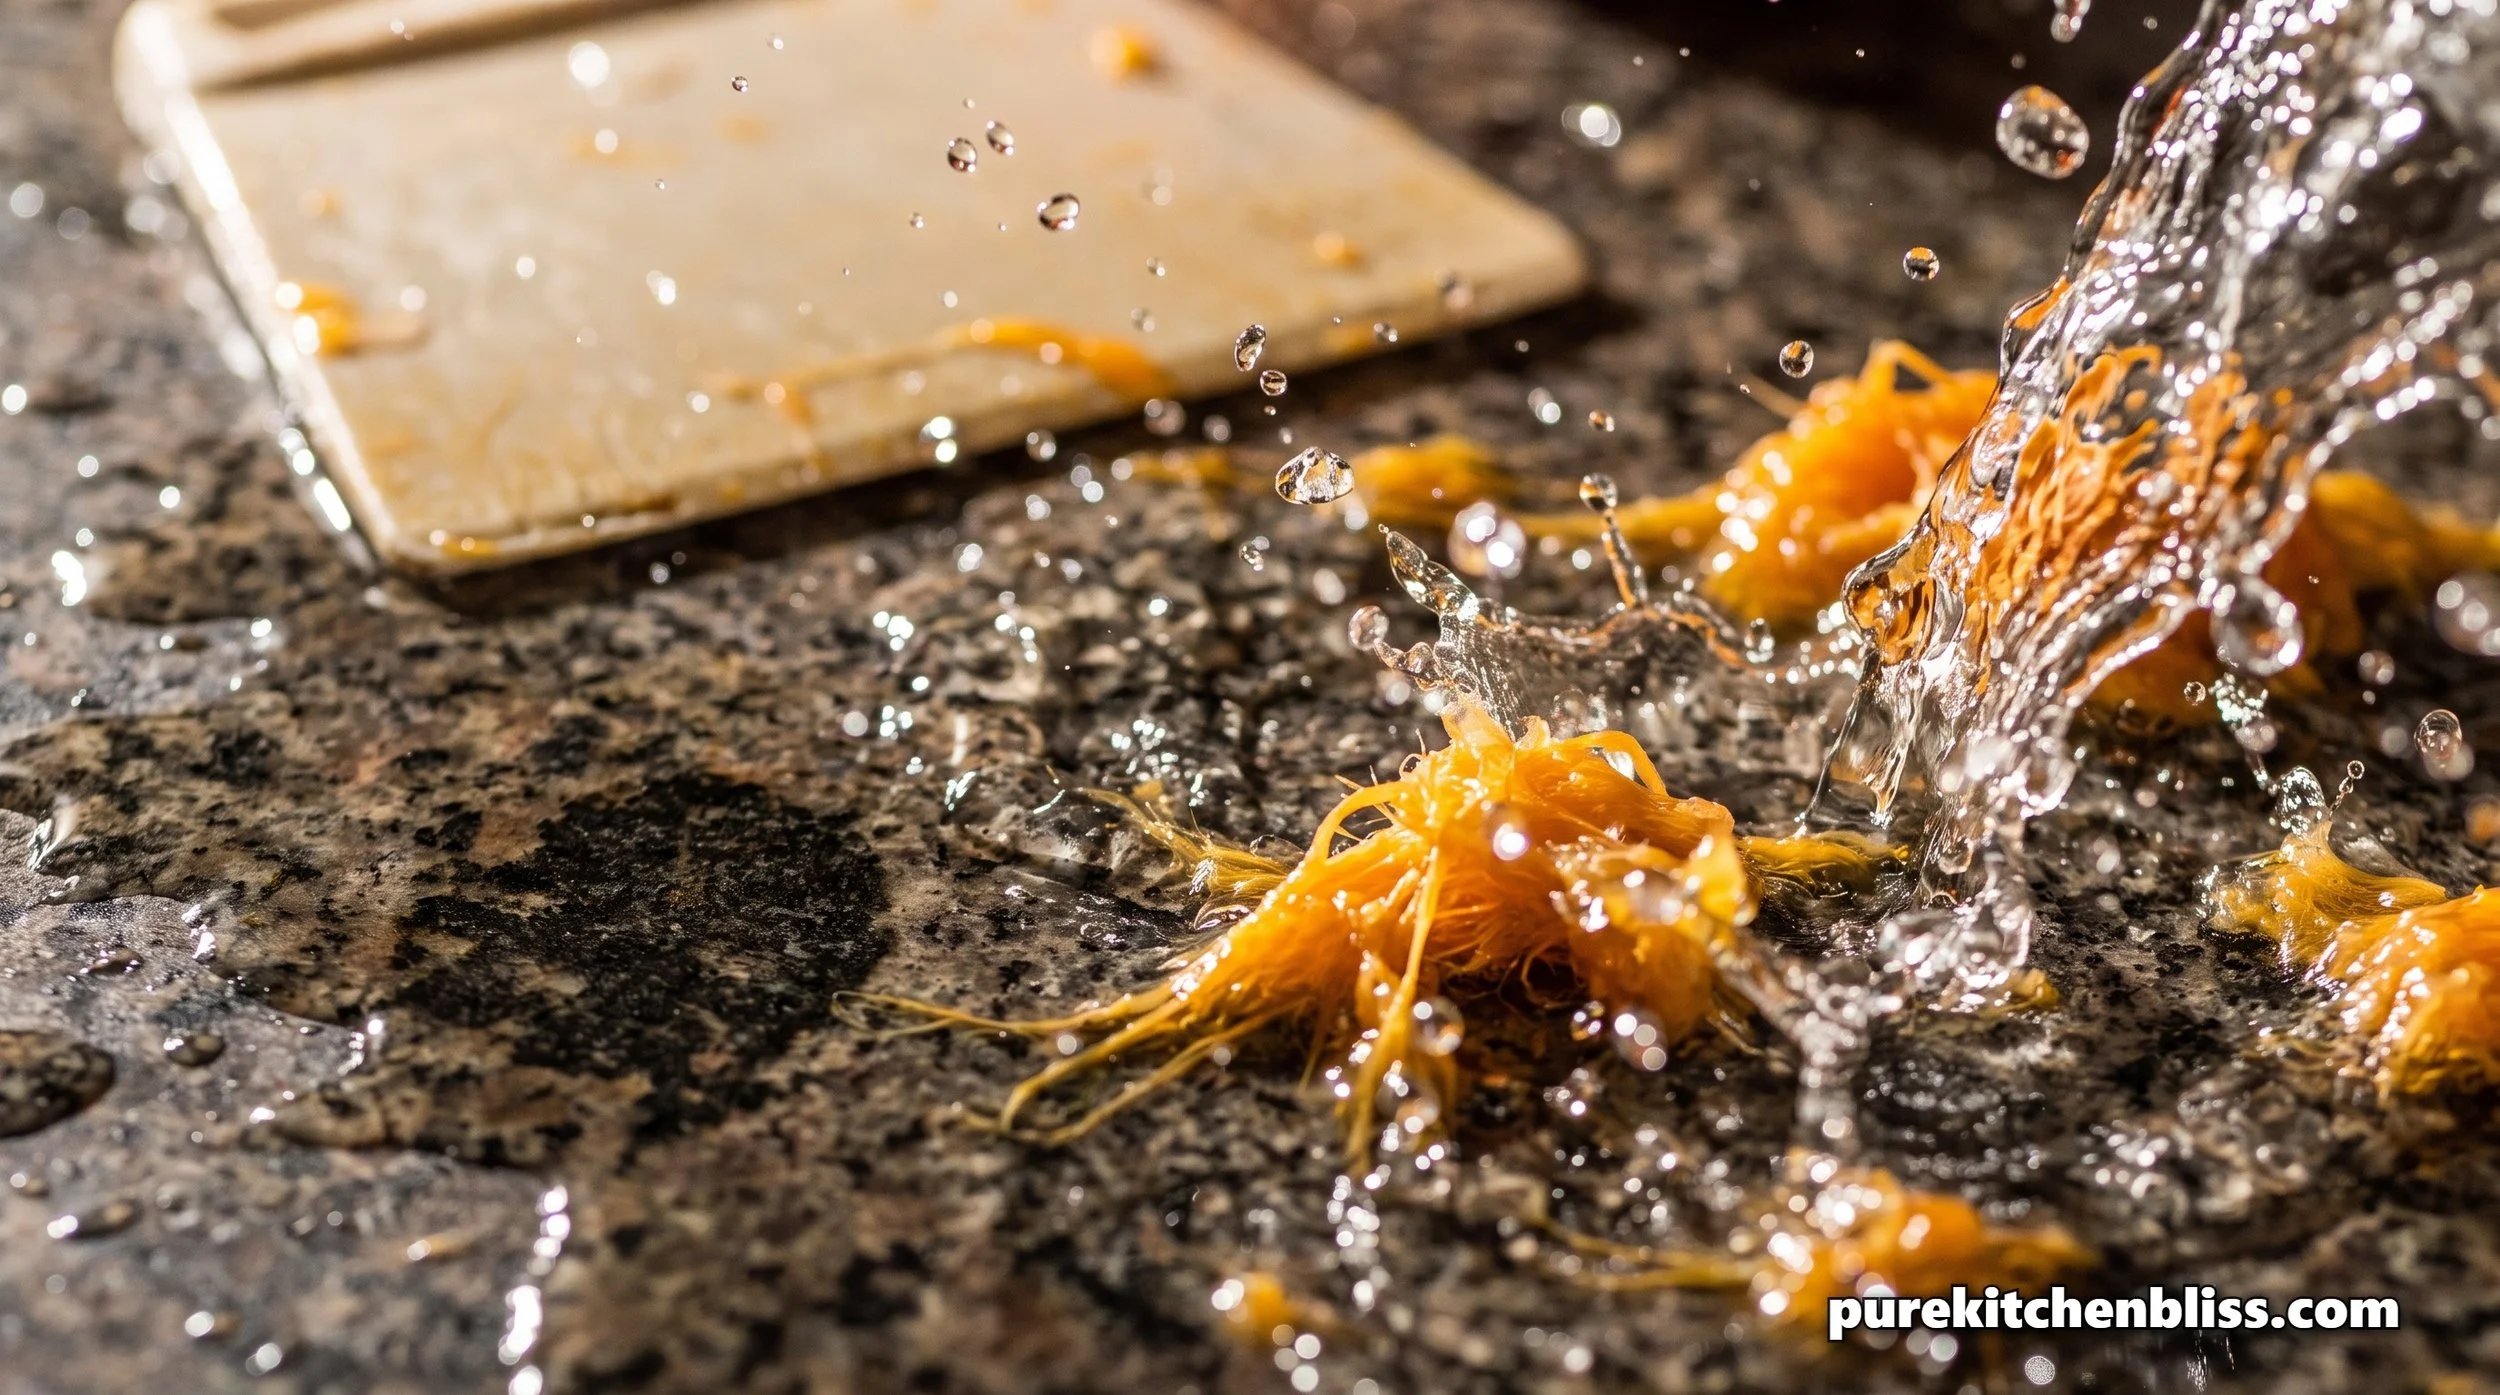
Speed matters more than technique for the first response. Scrape off excess pulp and seeds gently with a dull knife or a plastic scraper rather than a metal one that could gouge the surface, then flush the area with cold water immediately. Cold water specifically, not hot. Heat sets a lot of pigment-based stains, pumpkin included, making them noticeably harder to remove once they've had a chance to bond more permanently with the surface under warm water or a hot rinse. If you only do one thing right in the first sixty seconds, make it cold water, not hot. A stain that's still wet and fresh comes up with a fraction of the effort a set, dried stain from the next morning requires, which is really the core reason this whole guide splits into so many surface-specific methods, most of them are only necessary once a fresh stain has been allowed to dry and bond.
As a rough guide, a stain caught within the first hour usually lifts with basic soap and water on most surfaces. Left overnight, it typically needs one of the specific methods below. Left for several days or longer on a porous surface like unsealed wood or natural stone, some amount of tint can become effectively permanent, which is really the honest answer to how urgent this actually is, quite urgent for the first day, then a matter of degree after that.
Butcher block and wood counters
Wood needs the gentlest overall approach since it's the most water-sensitive surface on this list. Mix a small amount of mild dish soap with water, dampen a cloth, and clean the stained area working with the wood grain rather than across it, which prevents driving pigment further into the grain lines. If a mild wash doesn't fully lift it, a sprinkle of baking soda worked in with a damp cloth adds mild abrasion without scratching the finish the way a scouring pad would. The step people skip that actually matters most for wood specifically is drying it thoroughly afterward. Wood left damp for any length of time is how warping and cracking start, so a lingering pumpkin stain is a much smaller problem than water damage from an over-wet cleaning attempt left to air dry on its own. If your butcher block hasn't been conditioned with oil in a while, this is also a reasonable moment to do it, a freshly conditioned surface resists staining better in the first place than a dried-out one, since the wood has fewer open pores for pigment to grab onto.
Laminate counters
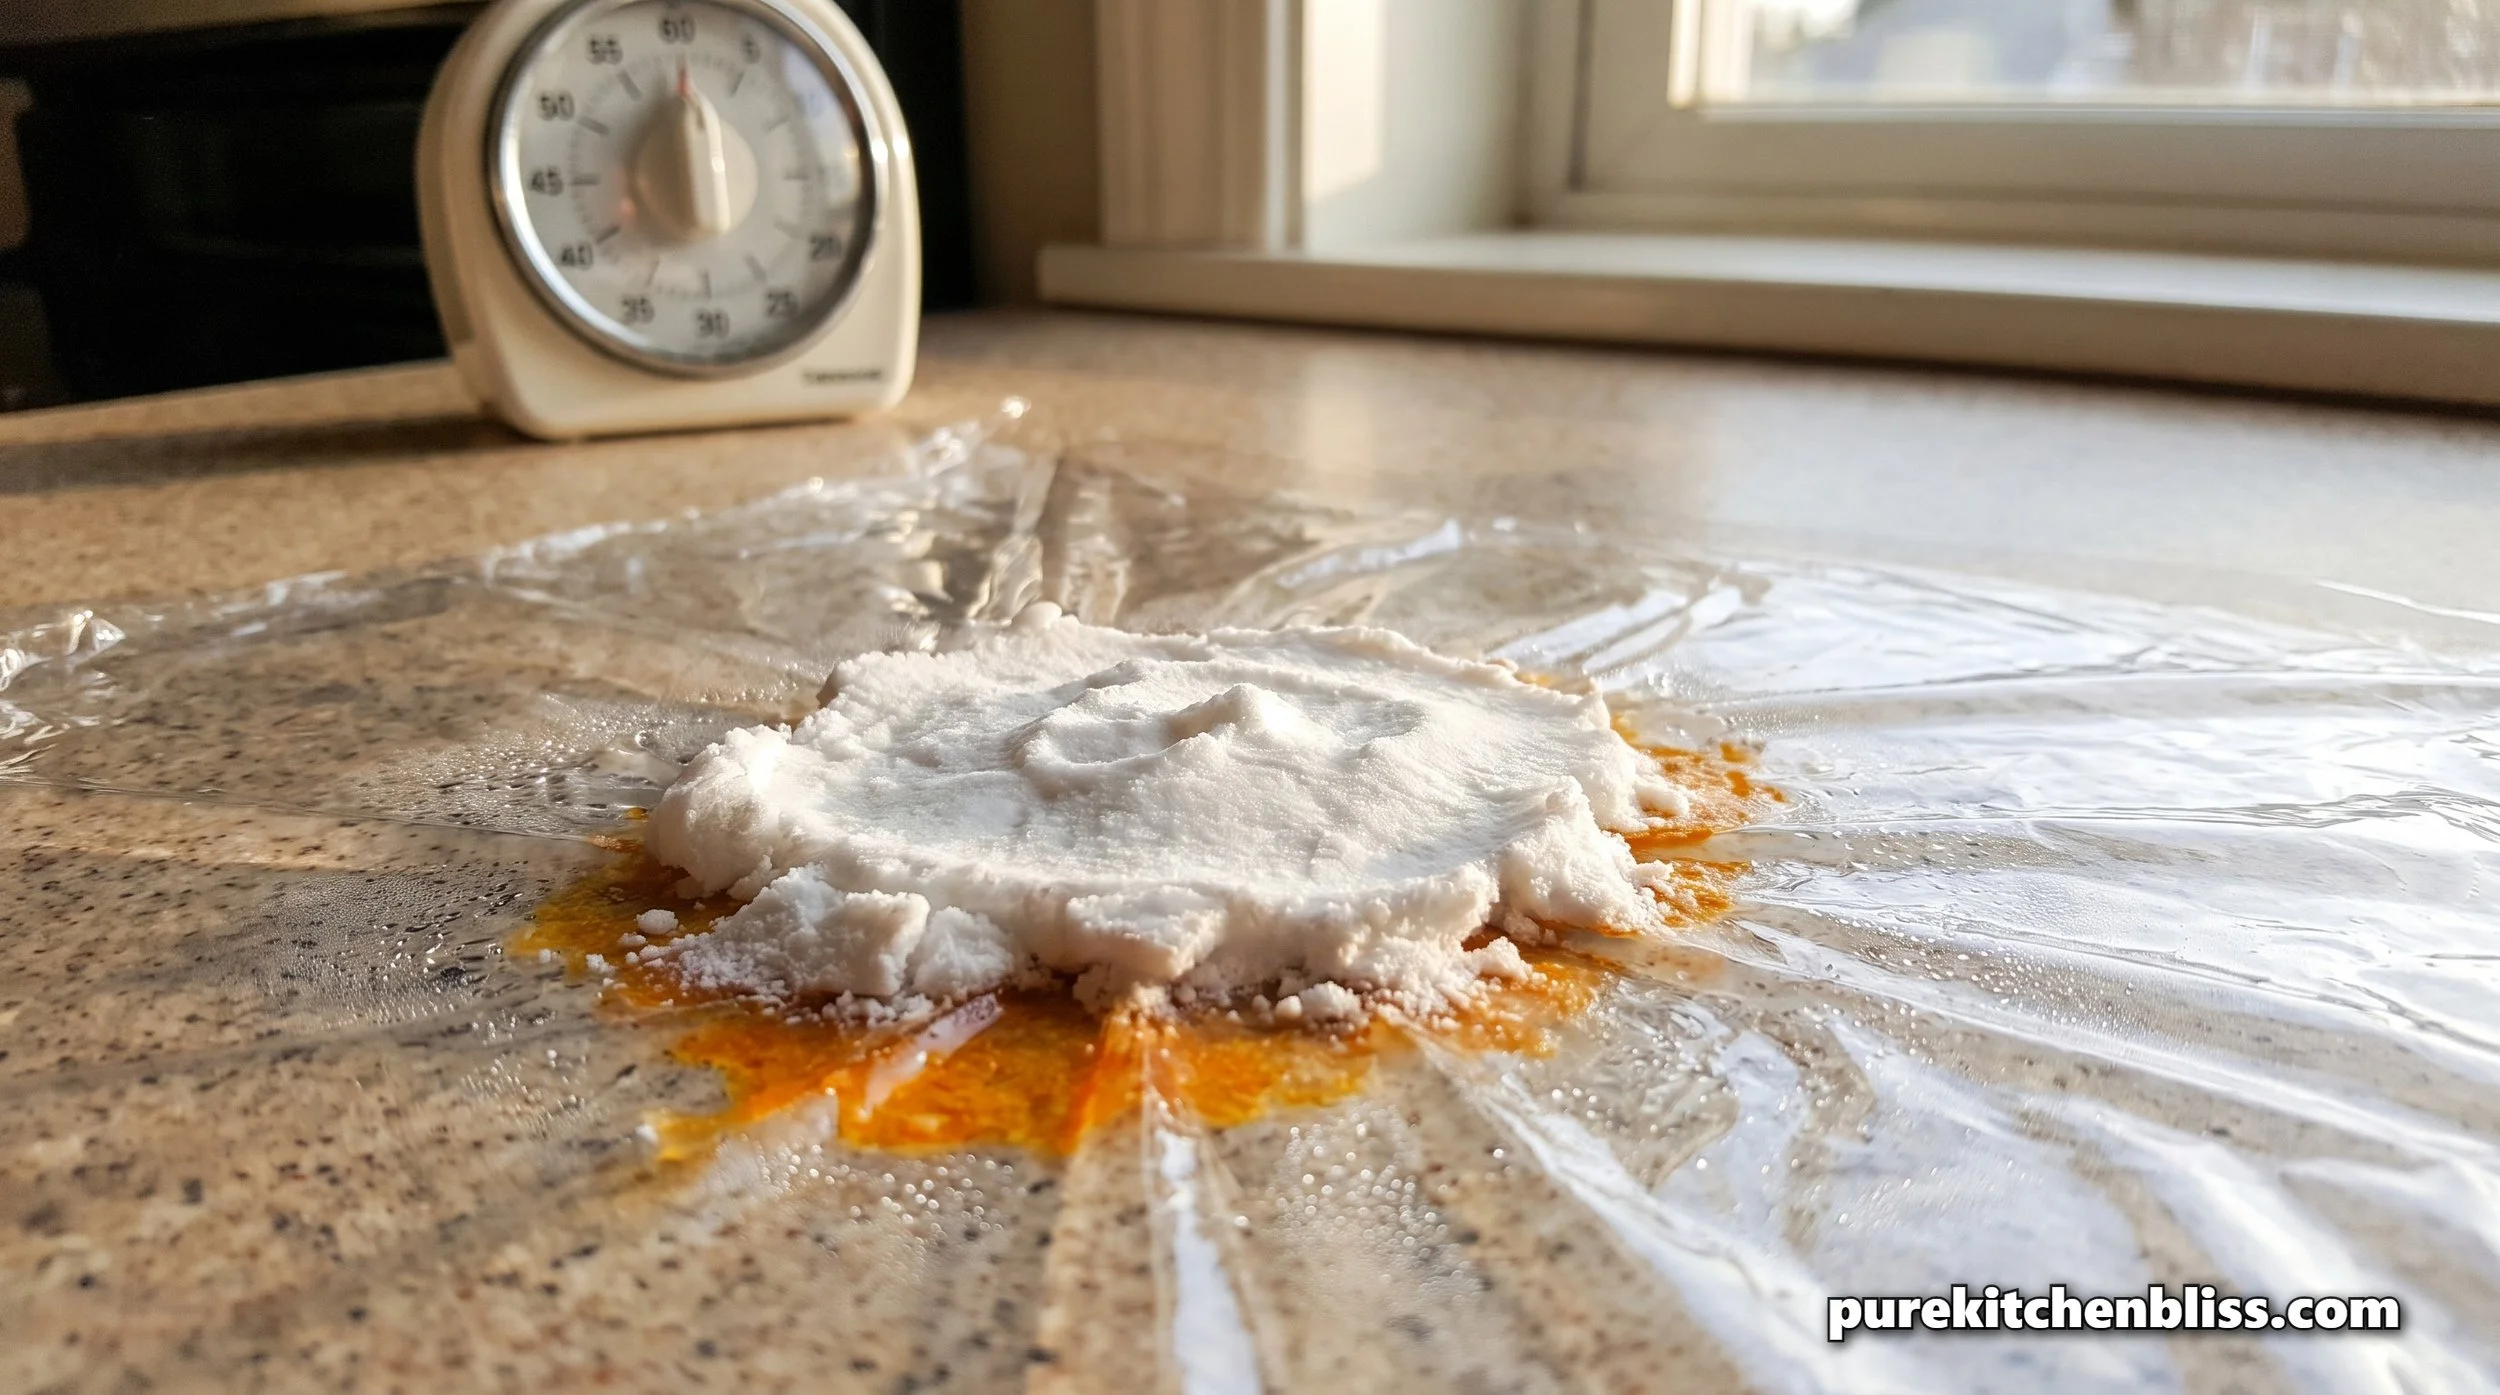
Laminate is one of the more forgiving surfaces here. Make a paste of baking soda and water, apply it directly to the stain, and cover it with plastic wrap for at least two hours, longer for a stubborn or set-in stain. The covering matters, it keeps the paste from drying out too fast, which is what actually gives the baking soda time to work rather than just sitting on top doing nothing. Wipe away gently afterward, no scrubbing needed if you gave it enough sit time, and repeat once more if any tint remains.
Granite and natural stone
Granite is sealed but still porous enough that a set-in stain needs a poultice method rather than a surface wipe. Mix baking soda and hydrogen peroxide into a thick paste, spread it about a quarter inch thick directly over the stain, and cover with plastic wrap taped down at the edges to hold it in place. Leave it for a full 24 hours, then remove the wrap and let the paste dry out completely before wiping it away. This slow-pull method draws the pigment up out of the stone's pores rather than just cleaning the surface, which is why it needs that much time to actually work. Repeat if any color remains, since granite occasionally needs a second pass on an older or deeper stain. One thing worth knowing afterward, a poultice treatment can strip some of the sealant along with the stain, so if you're treating a noticeable area, it's worth doing a water bead test a few days later, splash a little water on the spot and see if it beads up or soaks in, and resealing that section if it soaks in faster than the surrounding counter.
Marble, which needs even more caution
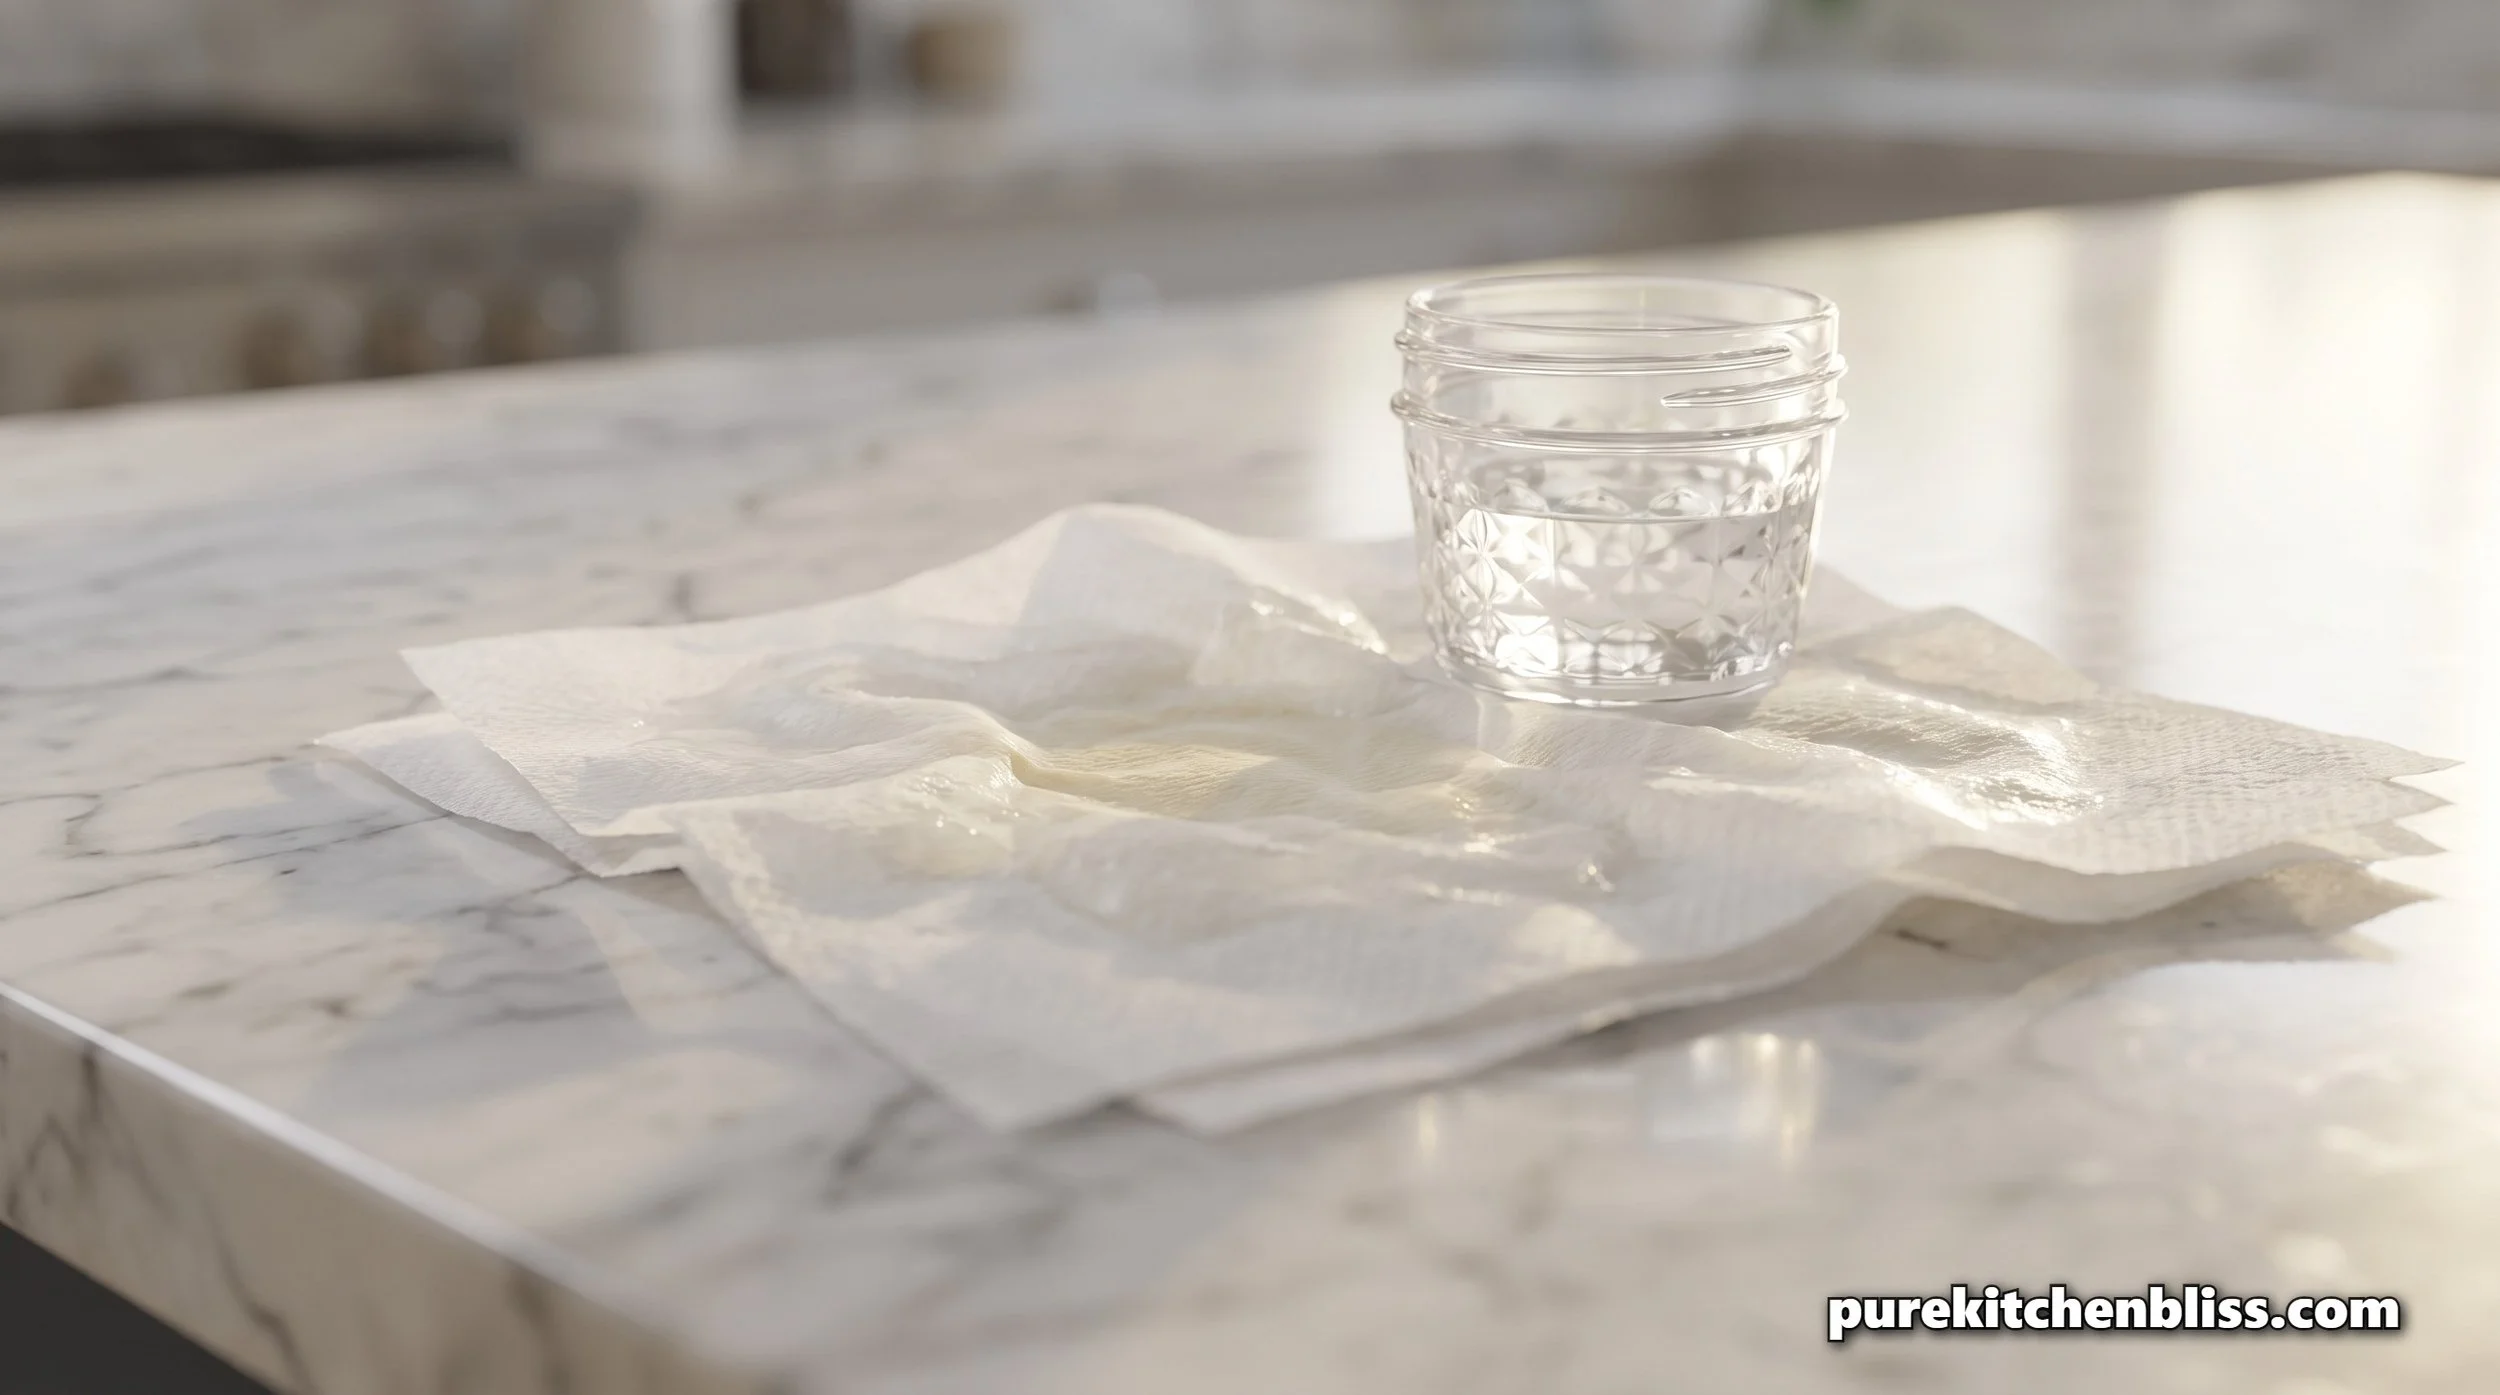
Marble is more porous and more acid-sensitive than granite, so the approach shifts slightly. Wet several layers of white paper towel with fresh hydrogen peroxide, lay them directly over the stain, and weigh them down with something heavy like a glass or a full bottle to keep full contact with the surface. Let it dry out completely before checking the result, and repeat as needed. Skip vinegar or any acidic cleaner entirely on marble, since acid etches the surface and can leave permanent dulling that's arguably worse than the original stain. This is one surface where the wrong DIY trick, borrowed from a method meant for laminate or wood, can cause real, non-reversible damage.
Stainless steel and other non-porous surfaces
This is the easy one. Stainless steel, sealed quartz, and most other fully non-porous surfaces don't let pigment penetrate the way wood or natural stone does, so a straightforward wipe with warm soapy water handles the vast majority of pumpkin mess without any special treatment. The only real risk here is scratching the surface with an abrasive pad chasing a stain that soap and water would have handled fine on its own, so start gentle and only step up to anything more aggressive if a genuinely soft wipe doesn't do the job.
Grout, the surface everyone forgets about
If your kitchen has a tile backsplash or a tiled counter edge, grout lines are worth checking separately from the surrounding surface, since grout is porous even when the tile itself isn't. Pumpkin pulp that splatters and dries in a grout line behaves more like a stain on stone than on stainless steel, and the baking soda paste method used for laminate works reasonably well here too, worked into the grout lines with an old toothbrush rather than a cloth, since the narrow lines need something with more precision than a flat wipe. Catching grout stains early matters even more than with a flat counter, since grout's texture gives pigment more surface area to grab onto than a smooth countertop does.
Cutting boards, where the oil trick actually matters
Cutting boards are where that fat-soluble chemistry point becomes genuinely useful rather than just interesting background. Since beta-carotene binds to fat rather than water, rubbing a plain cooking oil, canola or safflower work fine and are cheap, directly into a stained plastic or wood cutting board with a paper towel pulls the pigment out in a way soap and water alone can't. Let it sit a few minutes, then rinse first with plain water, then with soap and water. For a plastic board specifically, a popular alternative that works on the same general principle uses lemon, salt, and baking soda together, salt sprinkled on the stain, baking soda on top, then the surface scrubbed with a cut lemon half used like a scrubber, the citric acid and gentle abrasion combining to lift the stain in about ten minutes of contact time before rinsing clean. Either method beats standing there scrubbing with dish soap alone and wondering why the stain isn't moving.
Preventing it in the first place
The fastest cleanup is the one you don't have to do. I keep a dedicated, cheap carving tray, really just an old baking sheet with raised edges, under the pumpkin during the actual carving to catch drips and pulp before they ever reach the counter or cutting board underneath. Kids handling the messier scooping step wear a pair of cheap food-safe gloves, which cuts down on stained hands turning into stained cabinet handles and light switches around the kitchen. If you're already thinking through the carving process itself, our wood versus plastic cutting board guide and our guide to roasting the seeds afterward both cover related parts of the same carving session, worth pairing with this one if you're doing the whole process start to finish.
| Surface | Method | Avoid |
|---|---|---|
| Butcher block / wood | Mild soap, work with the grain, dry thoroughly | Leaving it wet, scouring pads |
| Laminate | Baking soda paste under plastic wrap, 2+ hours | Scrubbing before the paste has time to work |
| Granite | Baking soda + hydrogen peroxide poultice, 24 hours | Skipping the resealing check afterward |
| Marble | Hydrogen peroxide-soaked paper towels, weighted down | Vinegar or any acidic cleaner |
| Stainless steel / quartz | Warm soapy water | Unnecessary abrasive scrubbing |
| Grout | Baking soda paste with an old toothbrush | Letting it dry in before treating |
| Cutting boards (wood or plastic) | Cooking oil rubbed in, or lemon + salt + baking soda | Relying on soap and water alone |
What to do about candle wax while you're at it
If your carved pumpkin ends up sitting on the same counter afterward with a lit candle inside, wax drips are a related but separate staining issue worth handling at the same time rather than as an afterthought. We covered the specific material risks and prevention there in our jack-o-lantern candle safety guide, since a tray under the finished pumpkin solves both the carving mess and the wax drip problem with one piece of setup.
What this actually comes down to
Cold water and speed matter more than any specific product for the initial response, and after that, the right method depends entirely on the surface, gentle and grain-aware for wood, a baking soda paste under plastic wrap for laminate and grout, a slow hydrogen peroxide poultice for granite and marble, plain soap for stainless steel, and oil before soap for cutting boards. None of it is complicated once you know which category your surface falls into, it's just not the same fix for every counter in the house.