Roasting Pumpkin Seeds the Right Way
Transparency Note: We independently select these products based on research and user reviews. If you buy something through our links, we may earn a commission.
Every year we carve four pumpkins for four kids, and every year three of those piles of seeds end up in the trash before I can grab them, because scraping seeds out of pumpkin guts isn't anyone's favorite part of the job. I've been rescuing at least one bowl's worth for years now, and the process I use has less to do with a fancy recipe and more to do with understanding why the seeds turn out chewy some years and genuinely crunchy others.
Most recipes online just tell you a temperature and a time. Almost none of them explain that the right temperature actually depends on the texture you want, or that the cleaning and drying step most people skip is the actual reason seeds come out inconsistent. Here's the full process, based on university extension guidance and a few dozen batches of trial and error in my own kitchen.
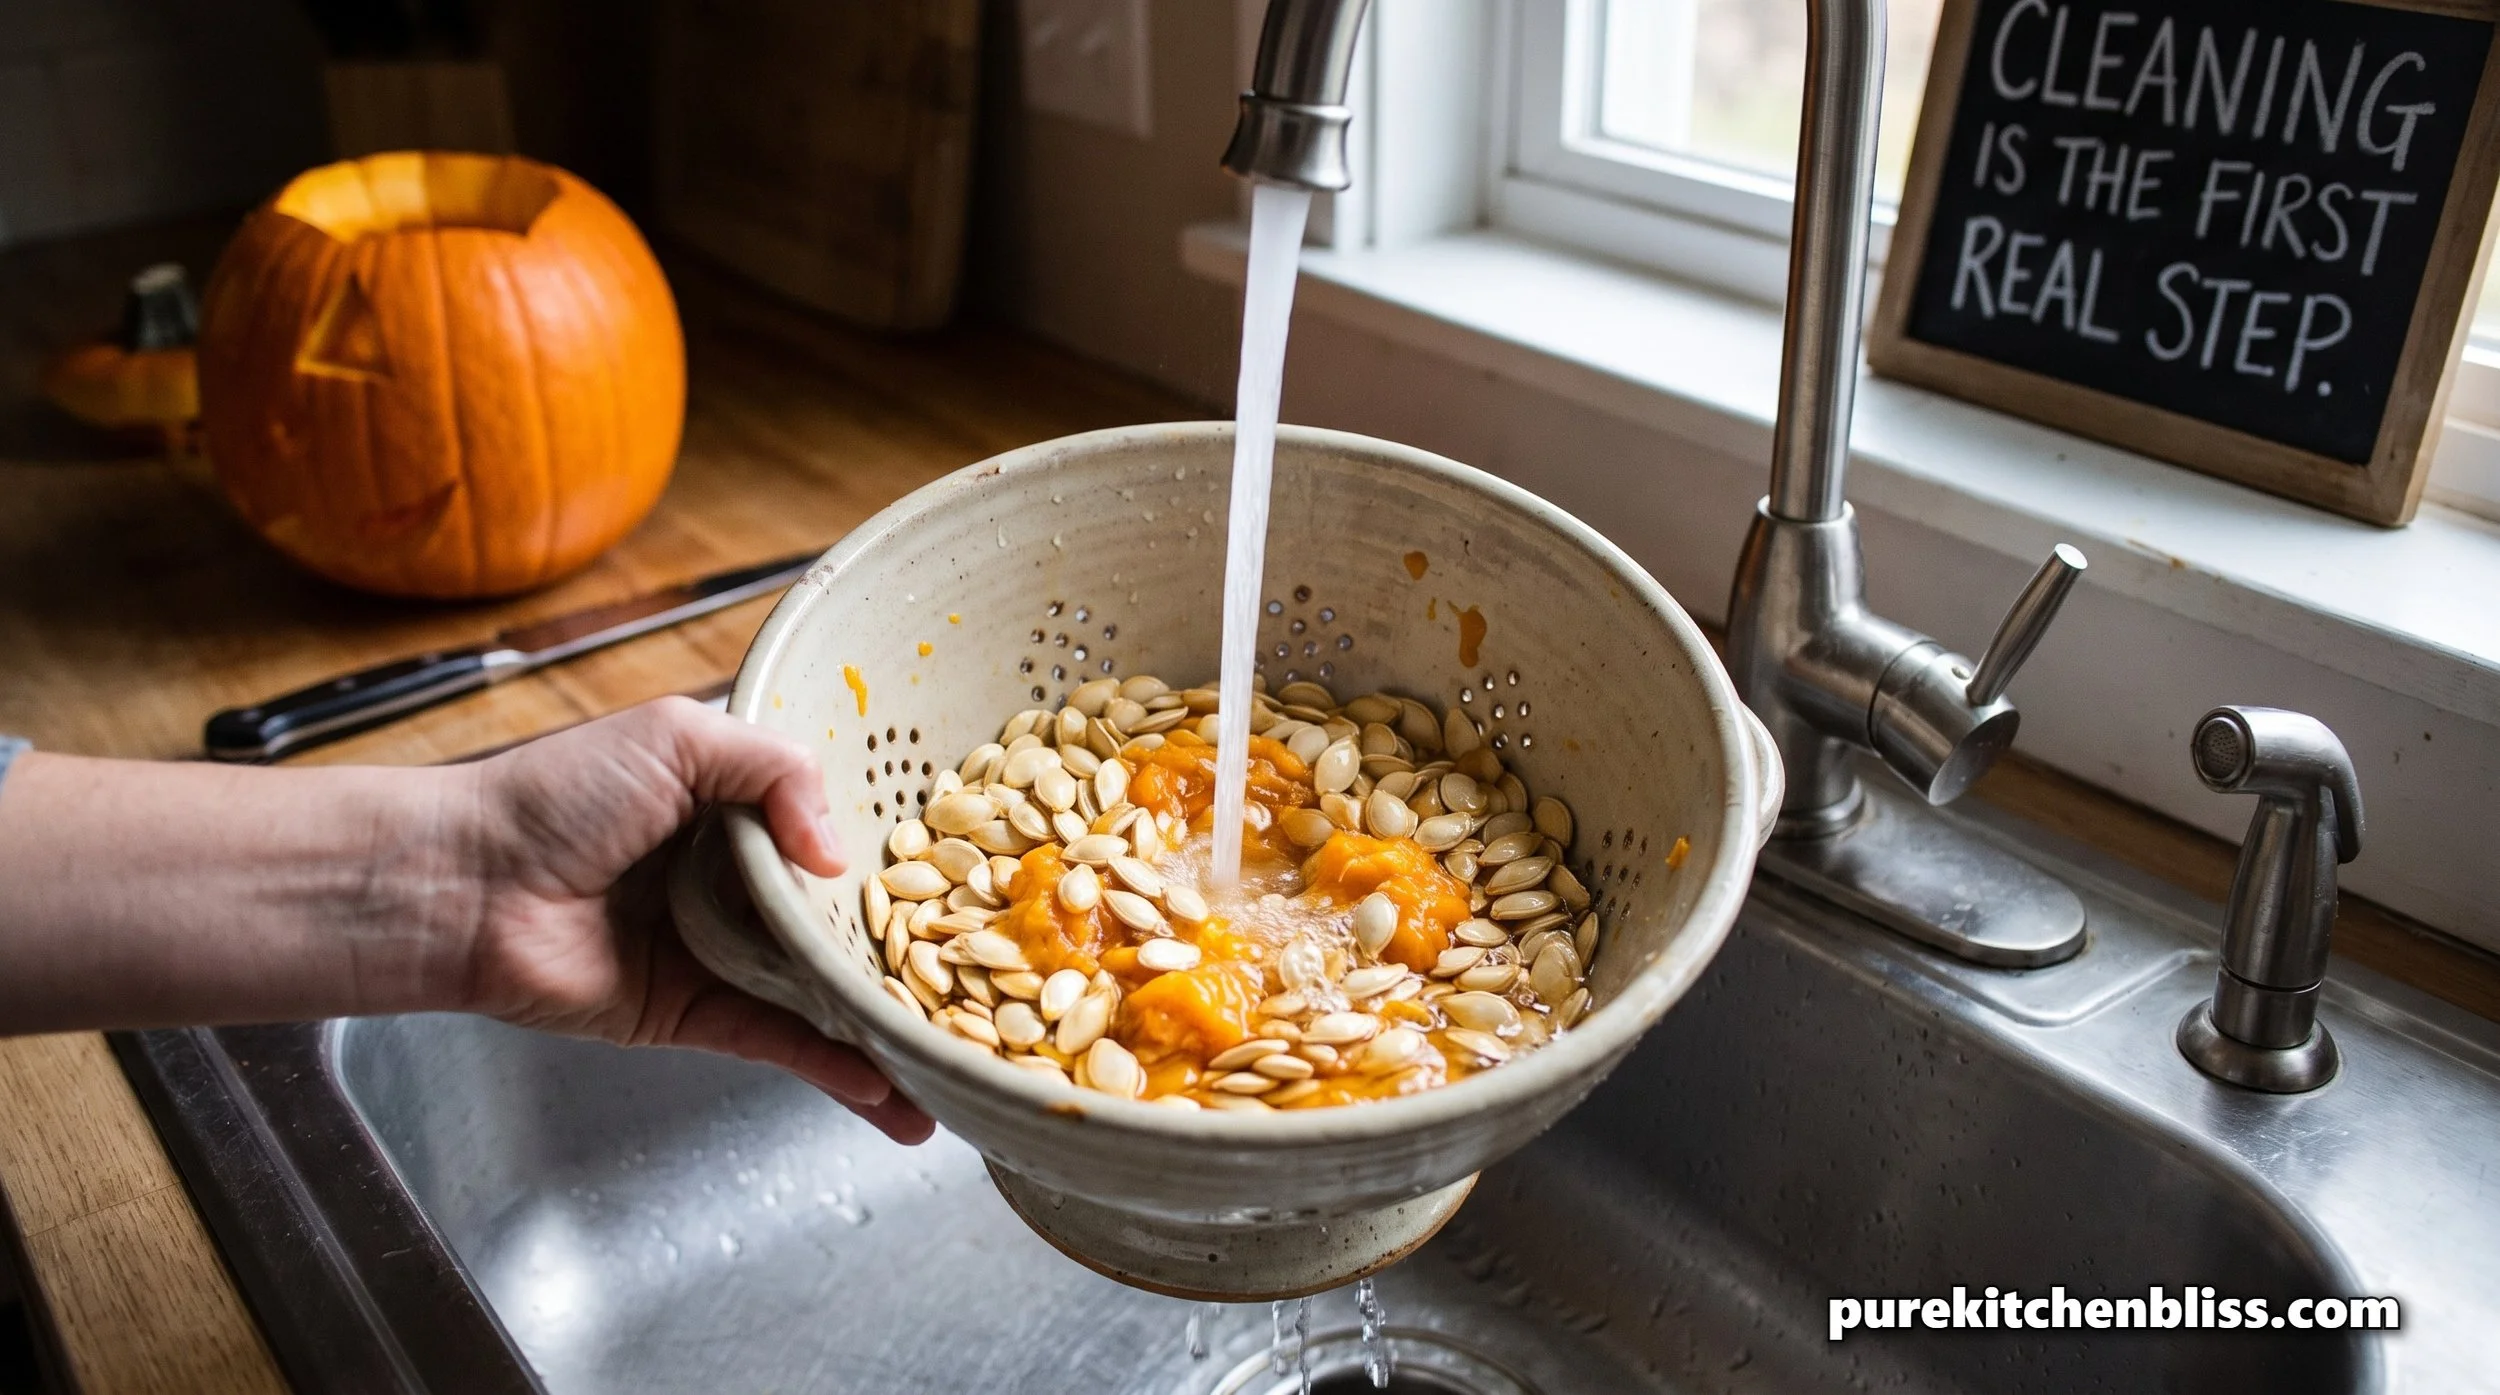
Getting the pulp off actually matters
The stringy orange pulp clinging to pumpkin seeds isn't just messy, it's also the part most likely to carry bacteria from the pumpkin's exterior and from however many hands have been digging around inside it during carving. A thorough rinse in a colander under cold water, working the seeds apart with your fingers, gets the bulk of it off. Don't rush this step. Seeds still coated in pulp roast unevenly, since the moisture and sugar in the leftover pulp burns before the seed itself has a chance to crisp up, which is one of the most common reasons people end up with seeds that are blackened outside and still soft inside.
Should you soak the seeds first
Pumpkin seeds are covered in a thin membrane that's genuinely difficult to chew and digest raw, and some home cooks soak cleaned seeds in a simple brine, roughly a half tablespoon of salt per two cups of water per cup of seeds, for anywhere from ten minutes up to overnight before roasting. A short soak seasons the seed from the inside and can make that outer membrane easier to eat. A long soak is where people run into trouble. I've heard from more than one home cook, and seen it myself once when I left a batch too long, that soaking for over an hour can leave seeds with a woody, splintery texture instead of a pleasant one. If you want to try brining, keep it well under an hour, and know it's an optional step, not a requirement for a good result.
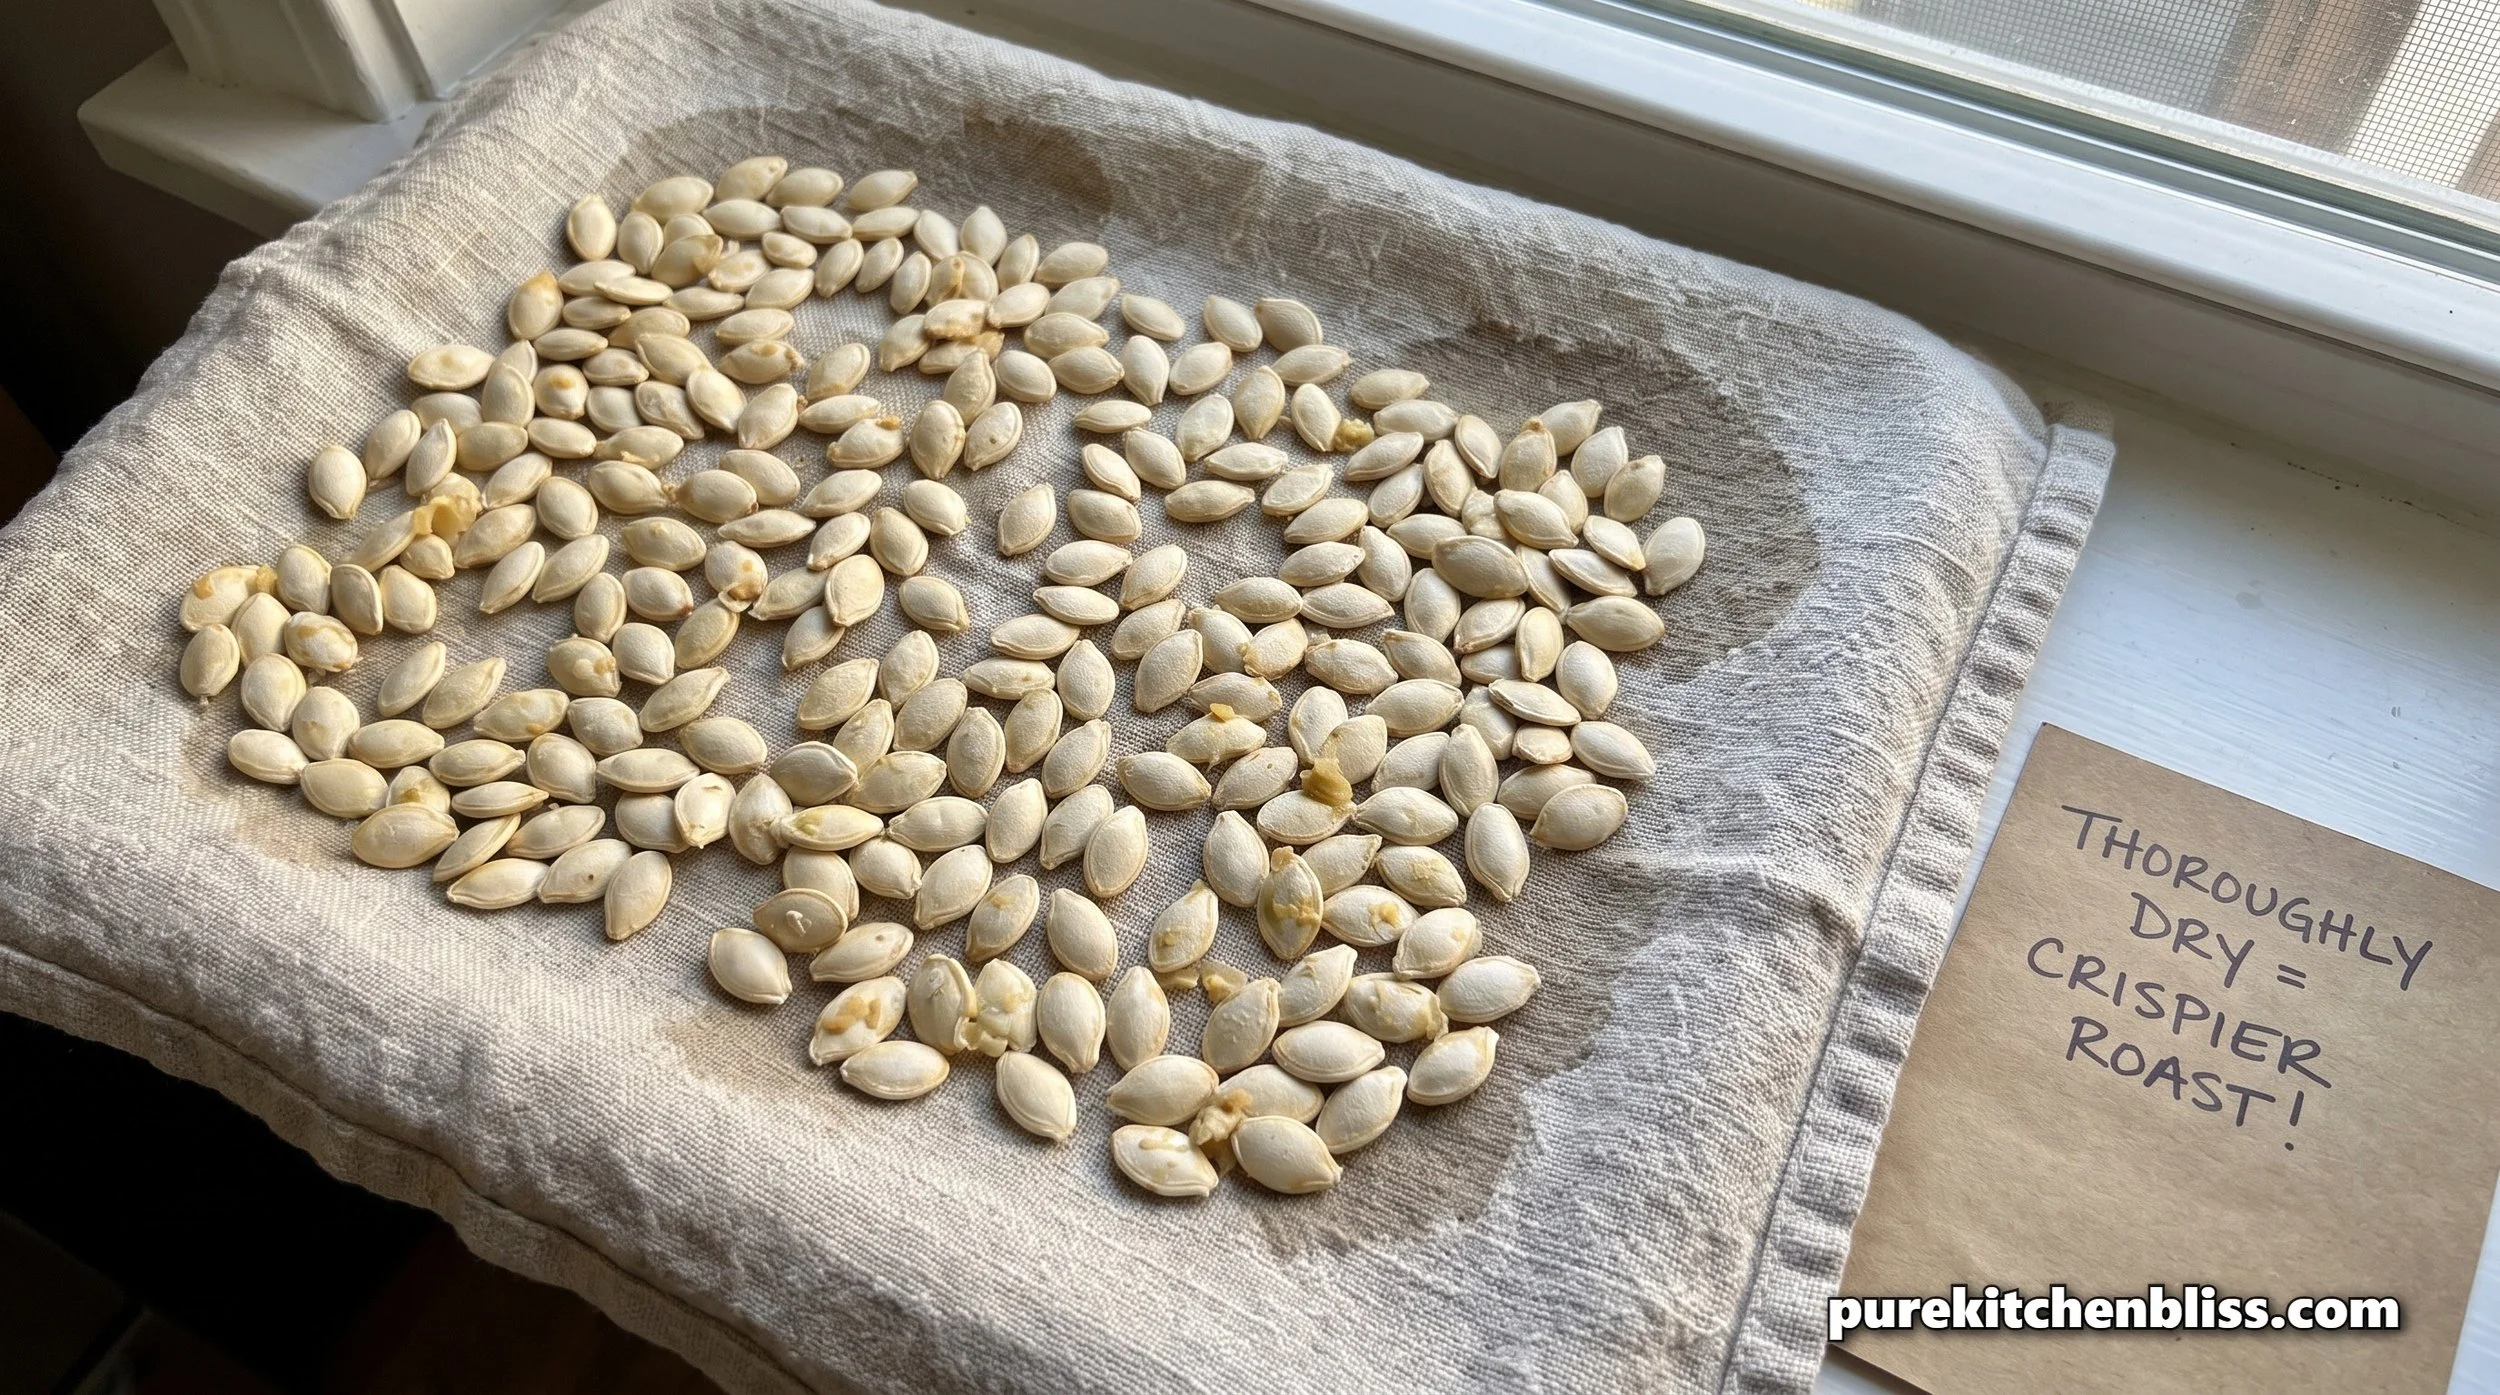
To dry first, or go straight to roasting
The National Center for Home Food Preservation, part of the University of Georgia's extension service, treats drying and roasting as two separate steps: dry the cleaned seeds in a dehydrator at 115 to 120°F for one to two hours, or in an oven at 150°F for three to four hours, stirring occasionally, before roasting them at all. Most home cooks, myself included most years, skip straight to roasting after patting the seeds dry with a towel, and it works fine for a casual snack batch. But if you've ever had seeds turn out chewy instead of crunchy no matter how long you left them in the oven, residual moisture from skipping that drying step is usually why.
Why every recipe gives you a different temperature
This is the part that confuses people the most, and it's because different sources are actually optimizing for different results, not disagreeing about facts. The National Center for Home Food Preservation recommends a gentle 250°F for 10 to 15 minutes, which produces an evenly cooked seed with a softer bite. Recipes aiming for maximum crunch tend to run hotter, 350°F to 375°F, which browns the outside faster but raises the risk of burning the edges before the inside has actually finished cooking through, especially with smaller carving-pumpkin seeds like Howden, which are thinner than the seeds from a sugar pie or kabocha squash. Low and slow, 275°F for a couple hours, is a third approach some home cooks swear by specifically because it breaks down the tough outer membrane more gently than a fast, hot roast does.
None of these are wrong. They're just built around different priorities, speed and crunch versus even cooking versus tenderizing that membrane. If you're impatient and want maximum crunch, go hotter and watch closely. If you want a more consistent result without babysitting the oven, the extension office's 250°F approach is the safer bet. One temperature-specific note worth knowing, if you're seasoning with any added sugar, keep the oven closer to 325°F rather than pushing toward 375°F, since sugar starts caramelizing and burning faster than the seed itself finishes cooking.
| Approach | Temperature | Time | Result |
|---|---|---|---|
| Low and slow | 275°F | ~2 hours | Softer membrane, most even cook |
| Extension office standard | 250°F | 10–15 minutes | Consistent, gentle, low burn risk |
| Balanced (my method) | 325°F | 15–20 minutes | Good crunch, manageable burn risk |
| Maximum crunch | 350–375°F | 10–15 minutes | Fastest, highest burn risk, watch closely |
The process I actually use
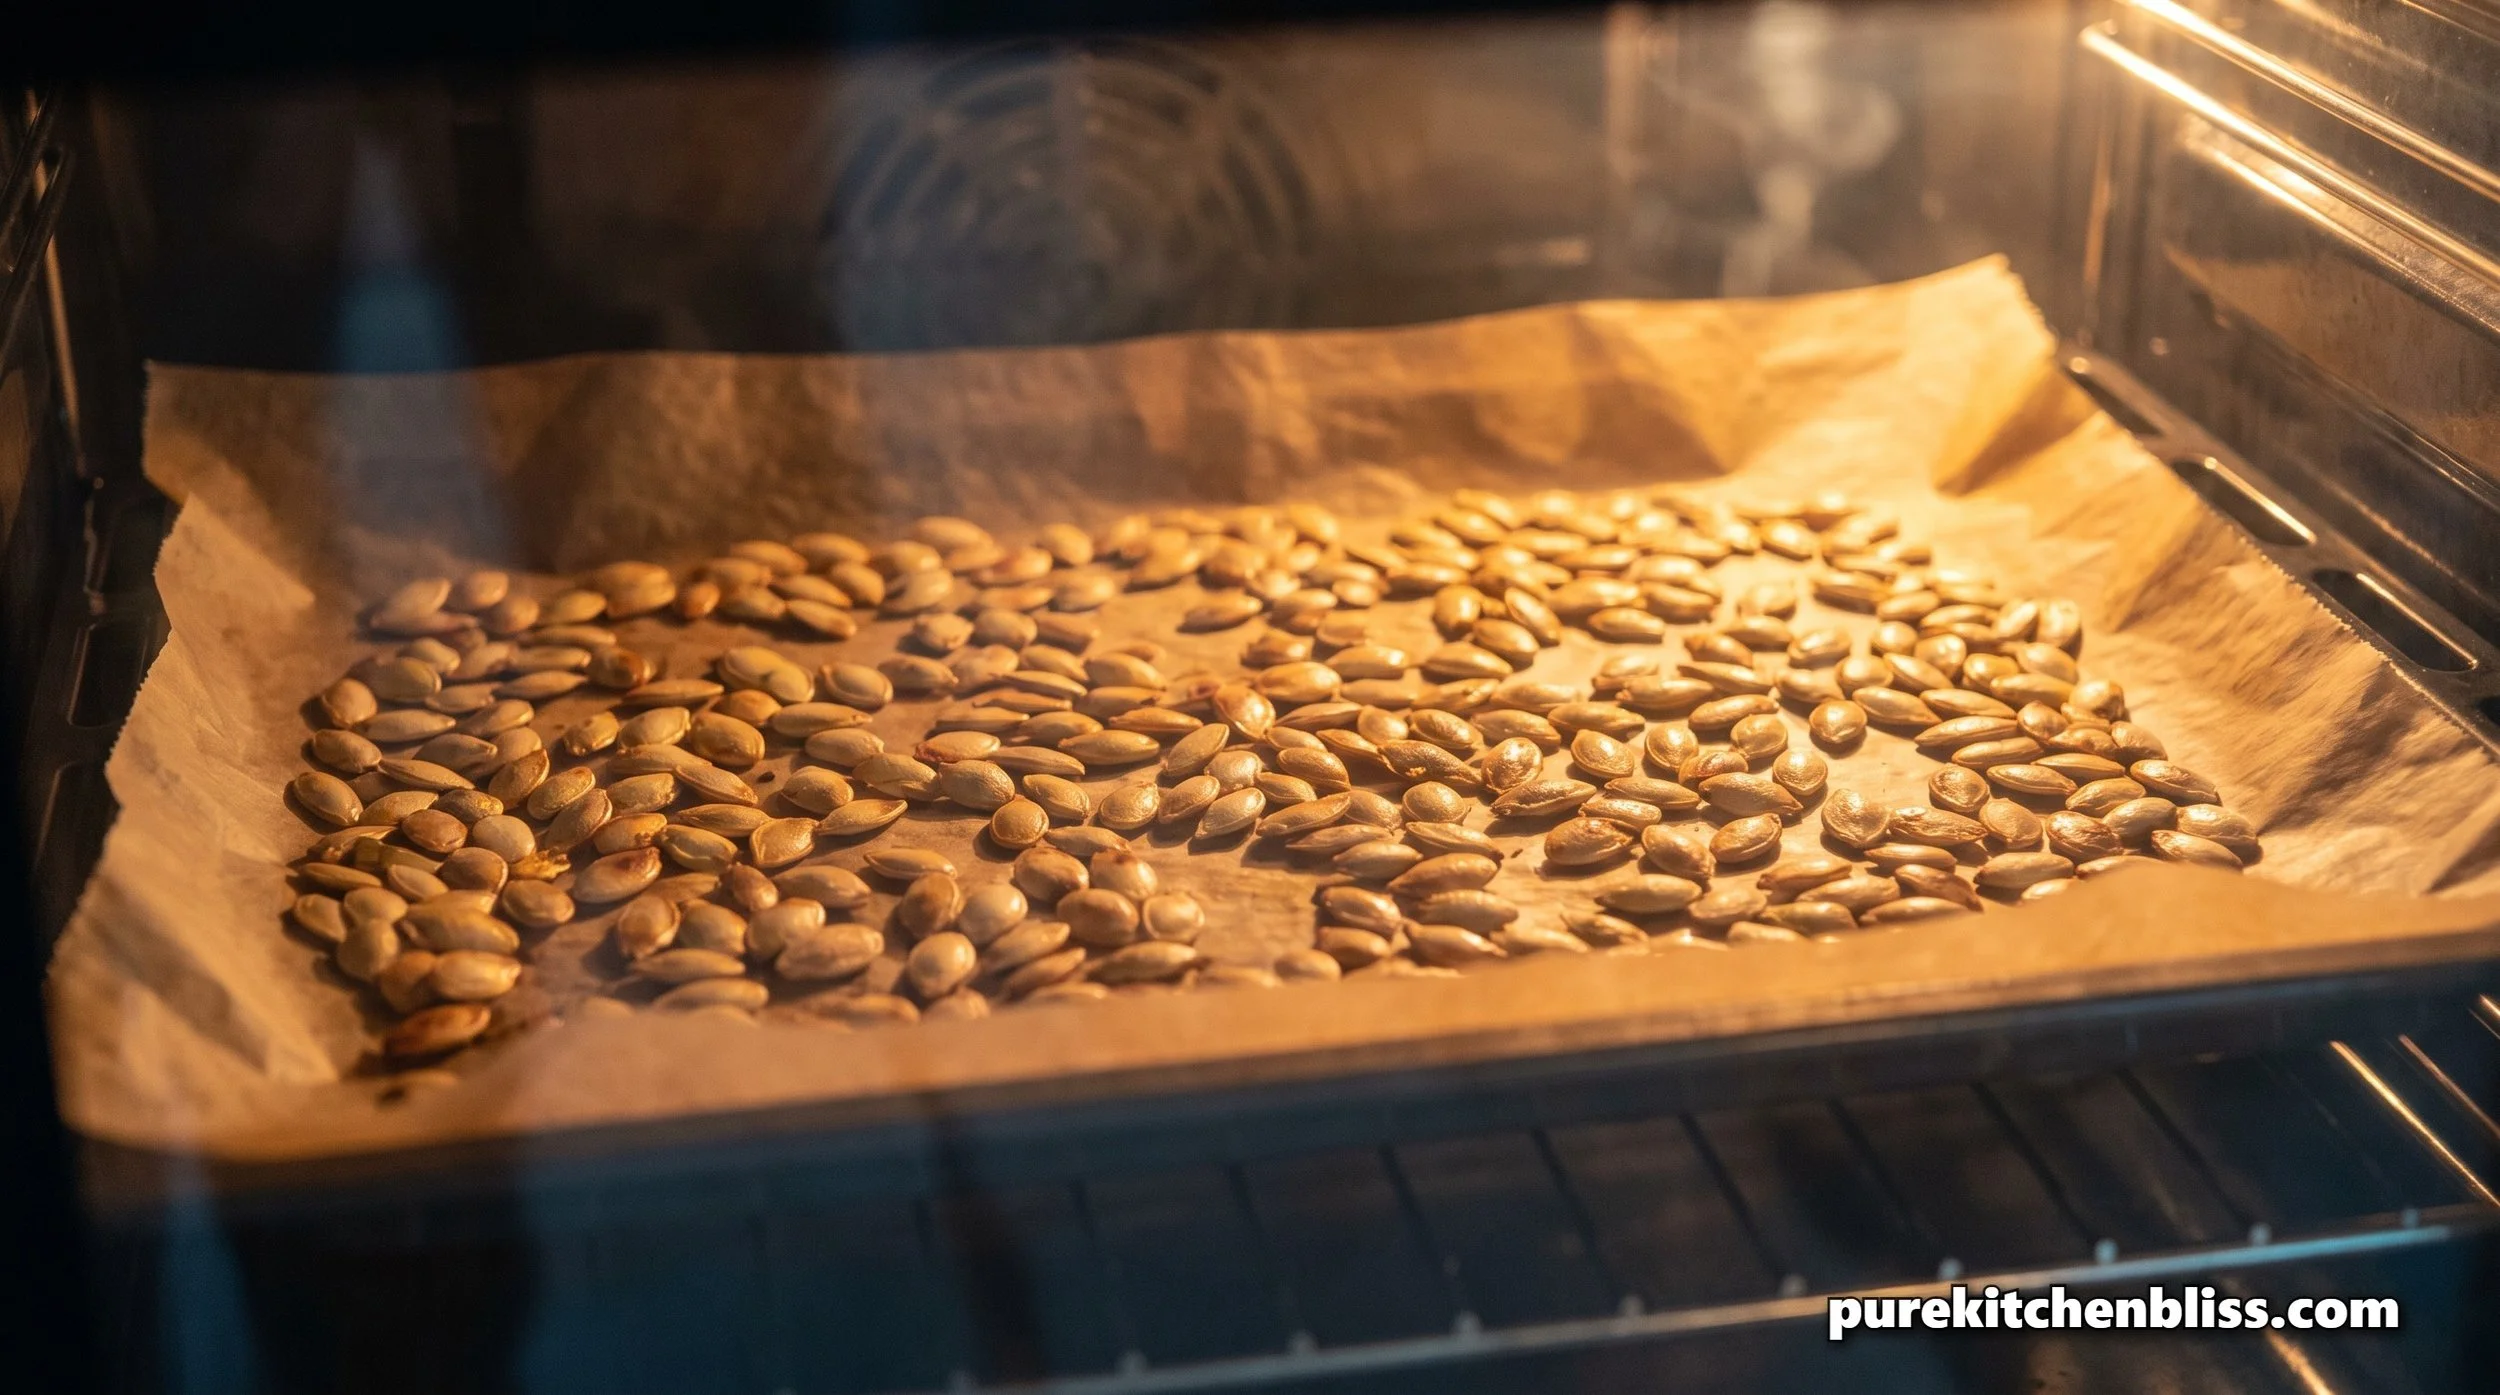
Clean the seeds thoroughly, pat them fully dry with a towel, no shortcuts on this part. Toss them in a bowl with oil first, never pour oil directly onto the baking sheet, since that leaves some seeds coated and others bare. Spread them in a single layer on a light colored baking sheet lined with parchment, not foil, since foil tends to cause more sticking. I roast at 325°F, splitting the difference between the extension office's gentler recommendation and the crunchier high heat approach, for 15 to 20 minutes, stirring every five minutes so nothing scorches on one side while the rest is still pale.
If you're prepping a lot of pumpkins at once, a decent cutting board and a sharp knife for the initial carving matters more than people expect for how clean the whole process goes, we cover board material tradeoffs in our wood versus plastic cutting board guide. And since you're handling raw pumpkin flesh and seeds with your hands through most of this, the same hand washing habits we cover in our guide to how often you should wash your hands while cooking apply here too, particularly before you get to the eating part.
Parchment versus a silicone baking mat
Parchment paper is what I use most years since it's cheap and I'm usually roasting seeds from four pumpkins in one afternoon, going through several sheets. A reusable silicone baking mat does the same non-stick job without the ongoing cost of buying rolls of parchment every fall, and it holds up fine at the temperatures this recipe calls for. The tradeoff is cleanup, parchment gets thrown away with whatever mess is stuck to it, while a silicone mat needs to be washed between batches if you're doing more than one pan. For a single pumpkin's worth of seeds, either works fine. For four pumpkins in an afternoon, I'd lean parchment just to keep moving between batches without stopping to wash anything.
Scaling this up when you're carving more than one pumpkin
With four kids carving four pumpkins, we're usually working with four separate piles of seeds at different stages of cleaning at the same time, which is its own kind of chaos if you don't have a system. I clean and dry all four batches together in one big bowl rather than roasting them one pumpkin at a time, since running the oven four separate times for small batches wastes both time and energy. The only thing worth watching when you combine seeds from multiple pumpkins is size consistency, mixing thick sugar pie seeds with thin Howden seeds on the same tray means the thinner ones finish first and the thicker ones need more time, so I'll pull the pan early, sort out anything that's already golden, and give the rest another five minutes rather than losing the smaller seeds to burning while waiting on the bigger ones.
Which seeds are actually worth roasting
Not every pumpkin is equal here. Sugar pie and kabocha squash seeds are thicker and can handle higher heat without burning, while thin-walled carving pumpkins like Howden do better sticking to a lower, gentler temperature since they scorch faster. Ornamental gourds, the little decorative ones that show up in fall displays, are generally not worth the effort. Their seeds tend to run bitter even when the roasting process is done correctly, and no amount of seasoning fully covers that up.
What actually goes wrong
Overcrowding the pan is the single most common mistake. Seeds piled on top of each other steam instead of roast, which is why so many home batches come out soft in the middle no matter the temperature. Too much leftover pulp is the second most common issue, for the reasons already covered. Using foil instead of parchment causes more sticking than people expect, since foil doesn't have the same non-stick surface, and pulling seeds off a foil-lined sheet after roasting is where a lot of the crunchy shell gets torn away entirely.
Seasoning beyond salt
Salt and oil is the baseline, but pumpkin seeds take on savory seasoning well, garlic powder, smoked paprika, or cumin all hold up fine through the roast. If you're going sweet instead, cinnamon and a small amount of sugar work, but as covered above, that combination needs a slightly lower oven than a purely savory batch to avoid burning the sugar before the seed finishes crisping. Nutritionally, pumpkin seeds are a genuinely solid snack regardless of how you season them, they carry meaningful amounts of magnesium, zinc, and plant-based protein, and dry-heat roasting at moderate temperatures preserves more of that than frying would.
Storing them after they're done
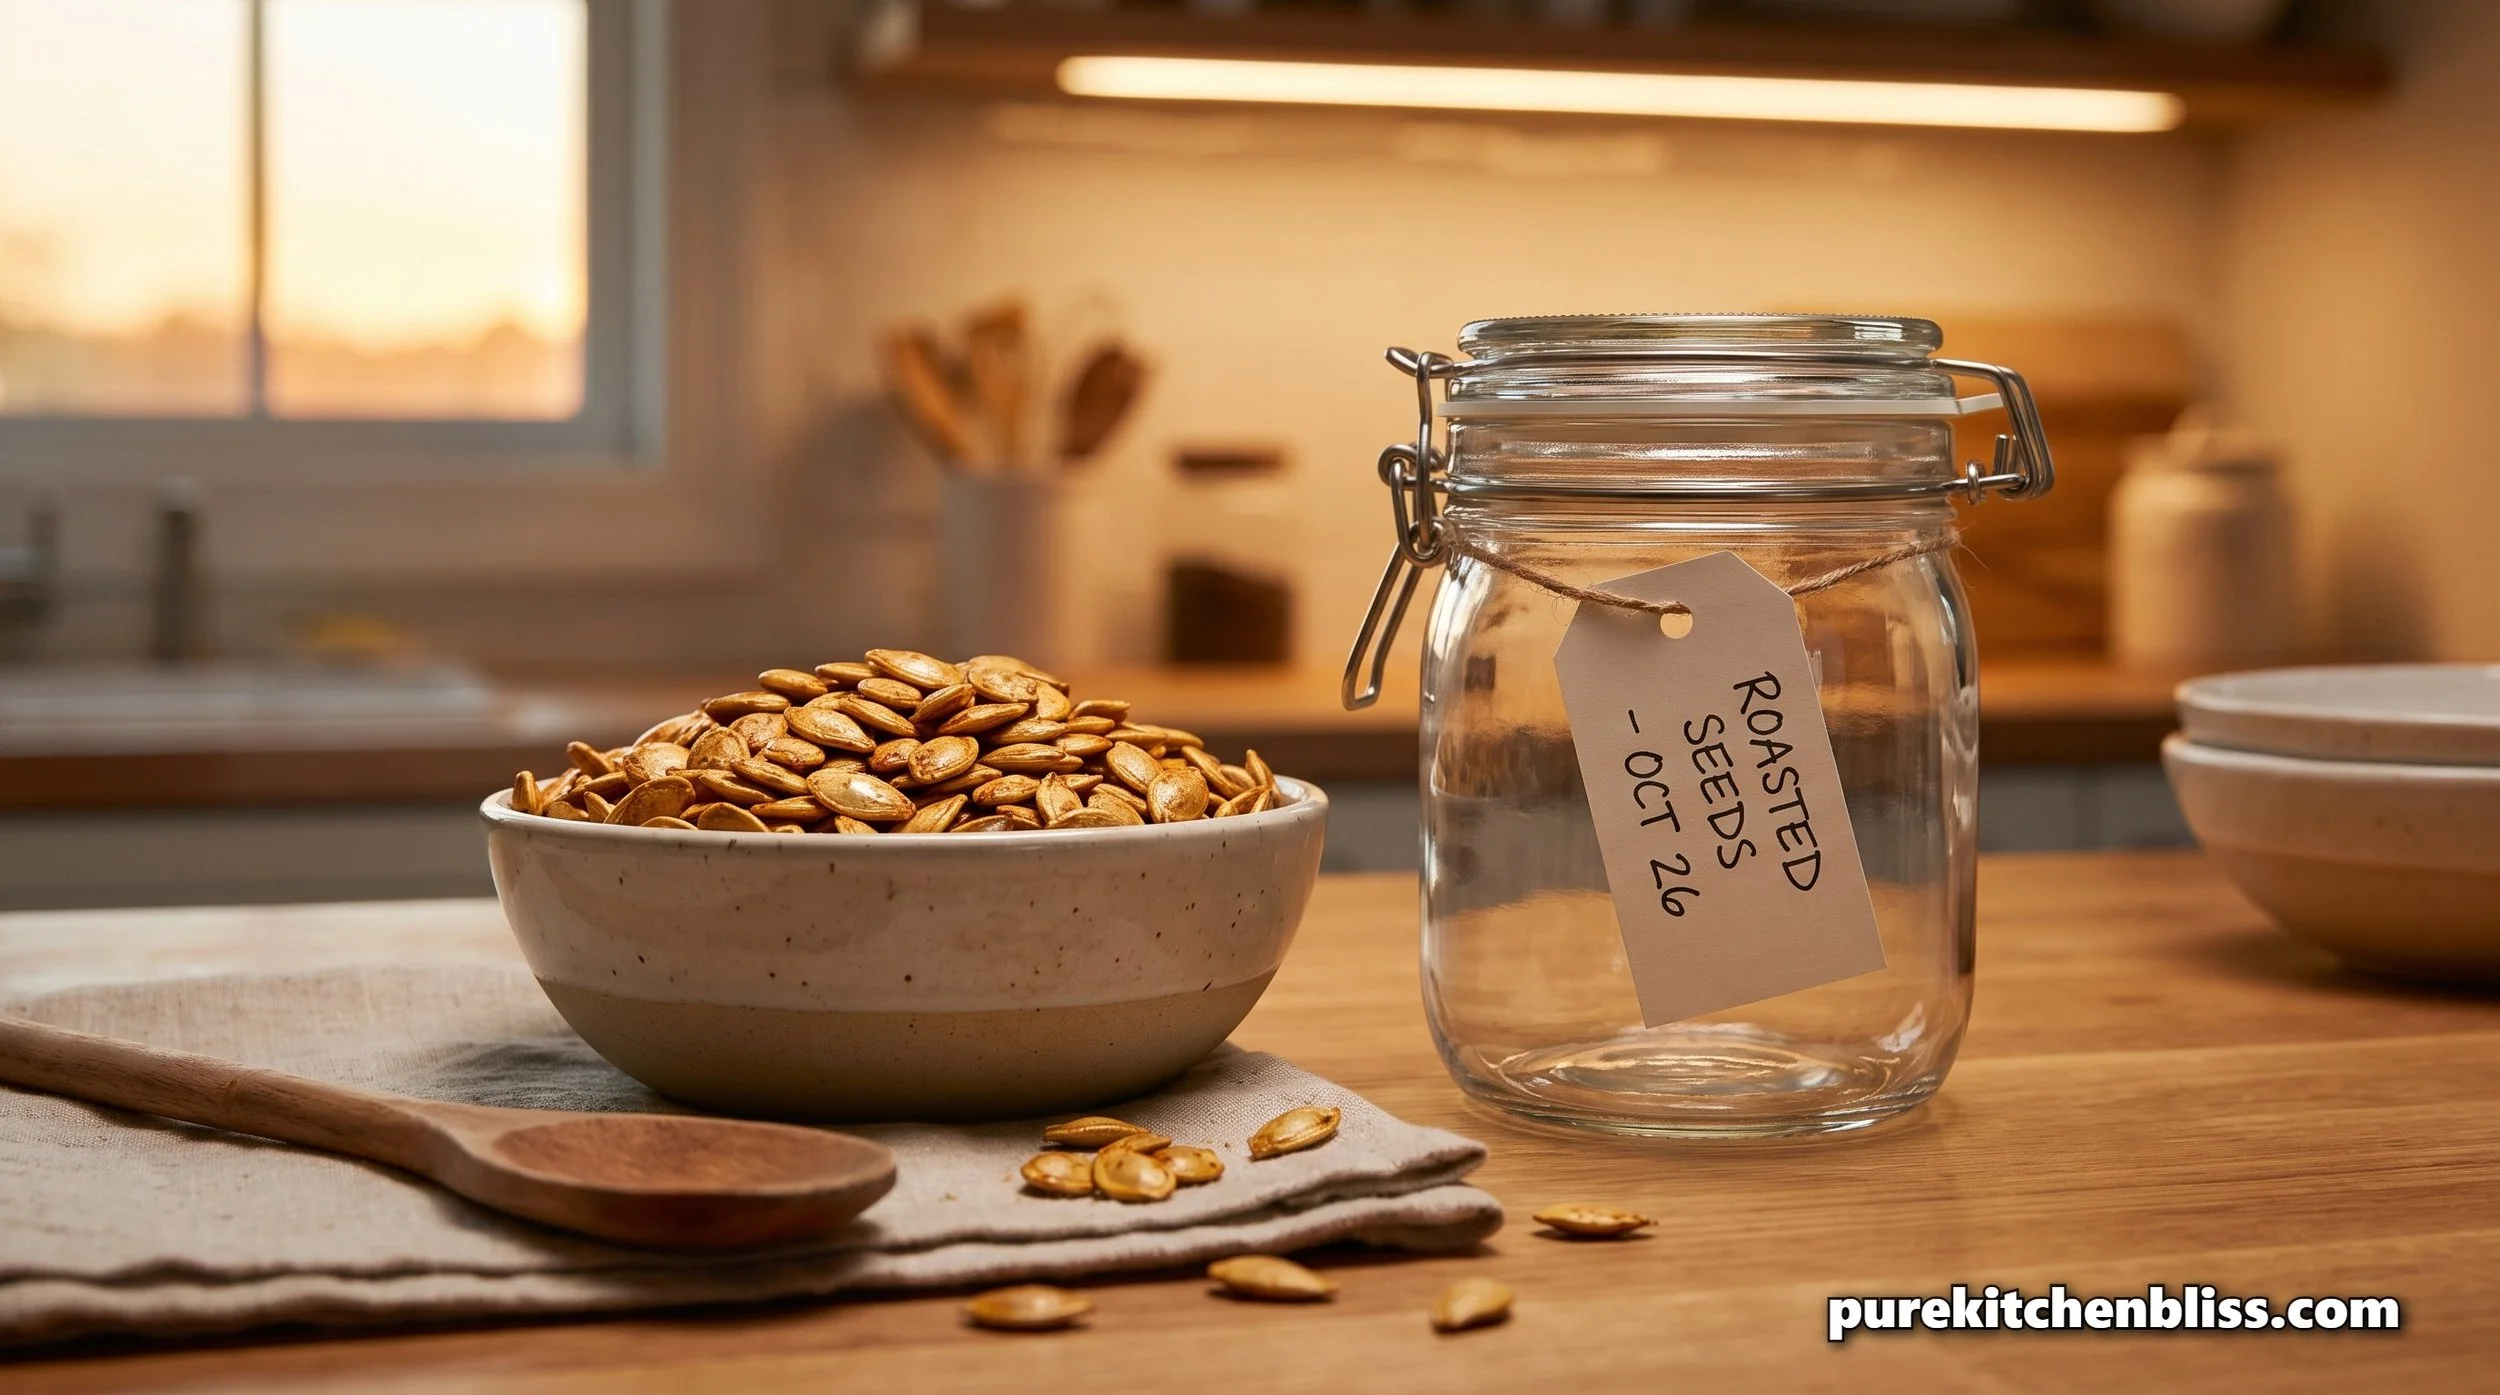
Roasted pumpkin seeds keep well at room temperature in an airtight container for about one to two weeks, or up to a month if you move them to the refrigerator instead. The same airtight storage bins we've used for candy work here too, keeping seeds crisp instead of going stale and chewy from ambient kitchen humidity. If you're setting up a broader pantry or fridge storage system anyway, our fridge and pantry storage container roundup covers options that work for this too.
What this actually comes down to
Clean the seeds well, dry them properly, and pick a temperature based on what you actually want, crunch, even cooking, or a more tender bite. None of it is complicated, but skipping the cleaning and drying steps is why so many home batches come out inconsistent regardless of what temperature the recipe told you to use. Once you understand why the temperature advice varies, you can pick the version that fits how much attention you actually want to give it, and which pumpkin you started with in the first place.