Why I Installed an Inline Water Filtration System Beneath My Kitchen Sink 🚰💧
With a house full of four growing kids, our kitchen island operates like a high-volume hydration station. Someone is always filling a sports bottle for practice, grabbing water for school, or mixing up a pitcher of lemonade.
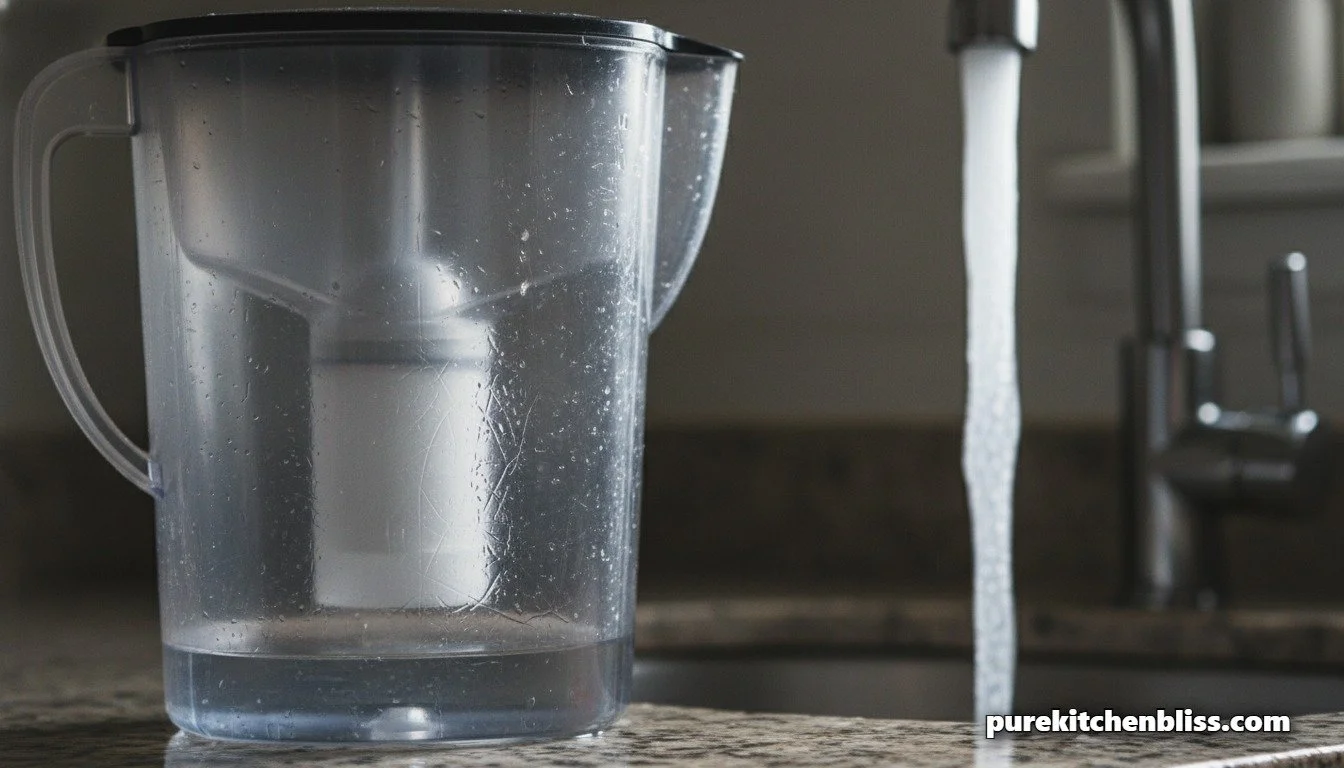
For years, we relied on those standard, plastic countertop filter pitchers. But let's be completely honest: in a six-person household, those pitchers are a logistical joke. They are slow, they take up premium counter space, and they are always sitting completely empty because nobody ever wants to refill them. I got tired of the constant countertop clutter and the low-yield waiting game.
Last year, I decided to fix our hydration bottleneck permanently. I crawled inside the main sink cabinet and plumbed a high-flow, commercial-grade inline water filtration system directly into our cold water supply line.
If you ask a big-box store associate how to get filtered water, they’ll try to sell you a separate, tiny "filtered water tap" that requires you to drill a brand-new hole right through your expensive custom countertops. As a carpenter, I hate drilling unnecessary holes in a clean slab. Instead, I used an inline configuration. This means 100% of the cold water coming out of our primary kitchen faucet goes through the filters first.
Today, I’m walking you through my exact, first-person plumbing blueprint to install an under-sink inline water filter so you can ditch the plastic pitchers and get instant, endless purified water straight from your main tap.
Step 1: Choosing the Mechanical Filter Array 🔬
When you choose an under-sink system, you have to look closely at the micron rating and the flow rate. In my coffee shop, we use multi-stage filtration to protect our commercial espresso machines from hard minerals and chemical tastes. I brought that same logic home.
The System: I installed a Three-Stage High-Flow Inline System (like the Waterdrop 3-Stage Under Sink System).
The Stages: Stage one uses a sediment membrane to catch rust and sand particles. Stage two uses a carbon block to strip out 99% of chlorine, bad tastes, and organic odors. Stage three uses an ultrafiltration membrane to trap microscopic heavy metals without stripping away the healthy minerals your body needs.
The Flow Rate: You must explicitly buy a system labeled "High-Flow Inline" (minimum 1.5 to 2.0 Gallons Per Minute). If you install a low-flow filter meant for a tiny secondary faucet onto your main line, it will restrict your water pressure to a pathetic trickle, making it impossible to rinse dishes or spray down your undermount workstation basin.
Step 2: The Carbon Flash Prep 🧼
Before you hook any new carbon filter up to your clean kitchen faucet, you need to flush the manufacturing residue out of the cartridges.
The Carbon Dust: Inside a brand-new filter, there are loose microscopic particles of carbon dust from the factory. If you hook it straight to your tap, that dust will rush into your faucet's aerator, clogging the fine mesh screen and turning your water a cloudy charcoal gray for the first few gallons.
The Pro Move: Before mounting the system inside the cabinet, connect it to a temporary braided hose outdoors or over a bucket. Run cold water through the filters for a solid 5 minutes until the discharge turns from dark gray to crystal clear. This step guarantees your lines stay completely free of debris, mirroring the clean protocol I use when re-sealing my sink rims.
My First-Person Plumbing Protocol: Under-Sink Inline Filtration
| Plumbing Phase | My Exact Under-Sink Action | The Infrastructure Logic | Hardware Element |
|---|---|---|---|
| 1. Main Isolation | Shut off the cold-water angle stop valve completely | Prevents high-pressure water leaks inside cabinetry | Angle Stop Valve |
| 2. Inline Splice | Divert the faucet line directly through the filter manifold | Ensures 100% of cold tap water is fully filtered | 3/8" Braided Stainless Hoses |
| 3. Chassis Mount | Screw the filter manifold securely to the cabinet side wall | Keeps plumbing off the floor to allow for recycling storage | Pan-Head Wood Screws |
Step 3: Splicing into the Cold Water Line 🔧
Now we handle the actual plumbing work. Don't worry—this requires zero pipe cutting or soldering. It is a simple screw-together process.
The Isolation: Crawl under the sink and turn the handles of your cold-water angle stop valve clockwise until it stops completely to shut off the water supply. Open the kitchen faucet tap to release any trapped line pressure.
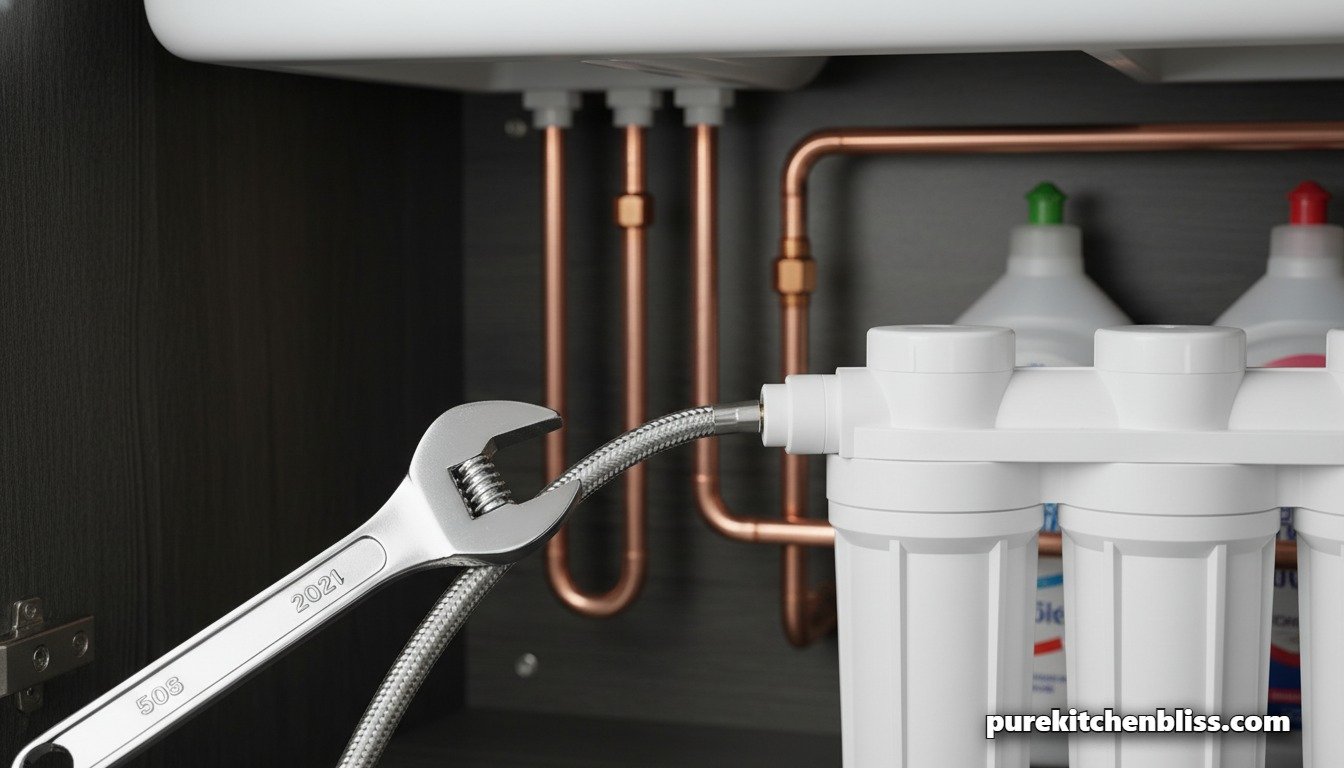
The Disconnect: Disconnect the faucet’s existing 3/8-inch braided metal supply line from the top threads of the angle stop valve using an adjustable wrench. Keep a small bucket nearby to catch the spoonful of residual water left inside the pipe.
The Filter Loop: Under-sink systems come with color-coded inlet and outlet hoses. Screw the filter's Inlet Hose directly onto your wall's cold-water valve threads. Then, take the filter's Outlet Hose and connect it straight to your kitchen faucet's supply line. Wrap the threads with a few layers of Teflon tape to ensure a watertight seal.
Step 4: Mounting the Chassis Off the Floor 🪚
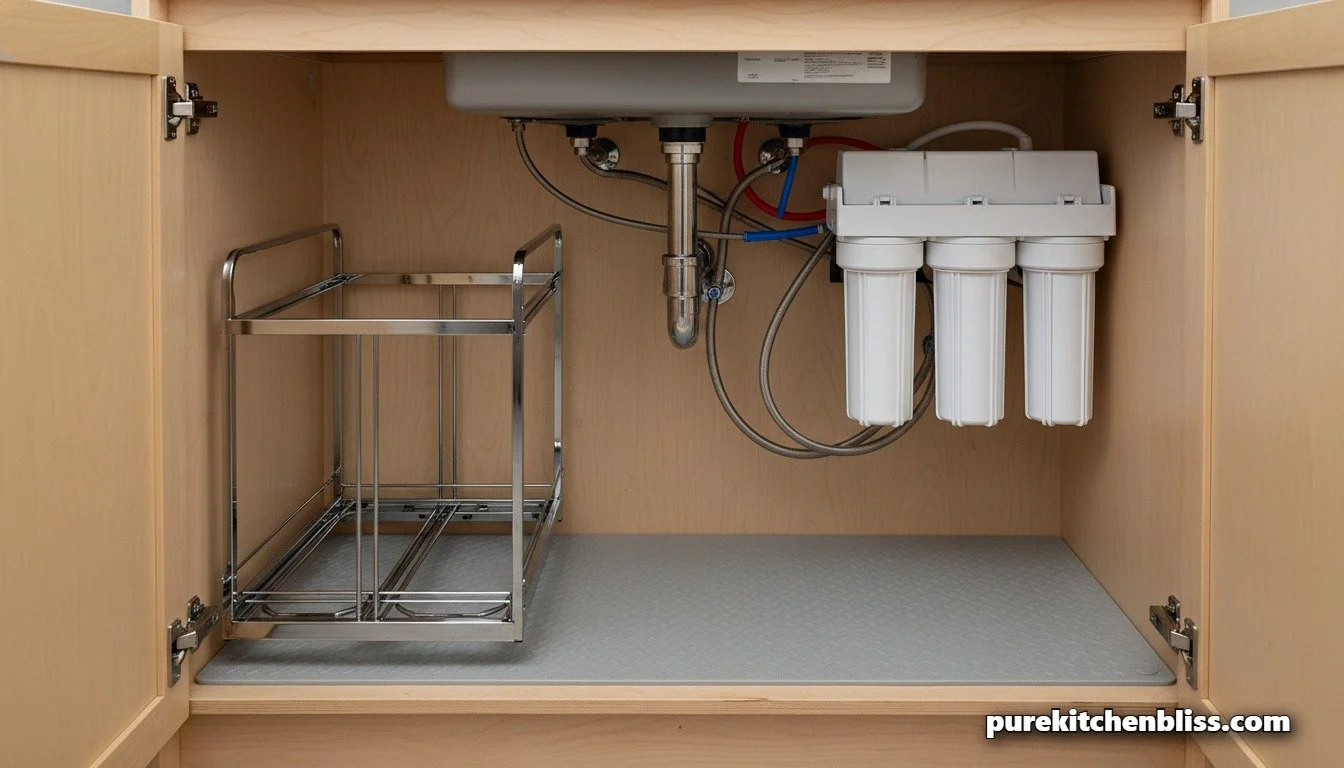
A major mistake I see DIYers make is letting the heavy filter cartridges rest loosely on the bottom floor of their cabinet box. If a bottle of dish soap spills or leaks down there, it creates a gunky mess that is impossible to clean.
The Carpenter’s Rule: Always mount the filter bracket assembly vertically to the interior side wall of your cabinet carcass.
The Fasteners: Use short, 1/2-inch pan-head wood screws to mount the plastic bracket. Do not use long screws, or you risk driving the sharp tips completely through the side panel into your dishwasher bay or adjacent drawers. If your cabinet walls are built from premium wheatstraw agrifiber or plywood, the wood threads will bite tightly and hold the heavy weight of the water-filled filters effortlessly.
The Final Check: Turn your wall valve back on slowly, inspect every single joint for a slow weeping leak, and let the tap run for two minutes.
The Lifestyle Shift ⏱️
Once this system is live, your kitchen workflow changes instantly. When my kids want water, they just pull the main faucet lever to the cold side and fill their bottles at a blistering 2 gallons per minute of pure, ice-cold water. No plastic pitchers cluttering up our clean, matte Cloud Dancer design spaces, no slow filtering wait times, and zero plastic waste.
Plumbing an inline filter is a simple, one-hour weekend project that dramatically upgrades your home's water quality, saves physical space, and brings high-volume, professional efficiency straight to your main sink!
Next Up: Want to see the heavy-duty, dual-tier basin I paired with my under-sink filtration system? Check out our [The 2026 Workstation Sink Showdown: Kohler Prolific vs. Ruvati Roma!.