How to Fix a Leaky Kitchen Sink Sprayer Hose Before It Ruins Your Cabinets 🛠️💧
Transparency Note: We independently select these products based on research and user reviews. If you buy something through our links, we may earn a commission.
The other day, we looked at how running a fully loaded dishwasher is actually the most sustainable way to tackle the dinner cleanup loop. But no matter how much you rely on your machine, your kitchen sink’s pull-out sprayer hose still handles a ton of heavy daily torque, rinsing off big cutting boards, filling up stockpots, and spraying down the corners of the basin.
With four kids constantly managing their own cleanup, our sink sprayer gets yanked, twisted, and pulled dozens of times a day.
Last week, my oldest went to rinse out a cup and noticed a steady stream of water trickling down the braided line, running straight through the countertop hole and pooling right on the floor of the lower cabinet.
If you don't catch a leak like this quickly, that hidden water will warp your wood base panels, rot your subfloor, and create a breeding ground for mildew. A lot of people panic when they see water under the sink and assume they need to spend hundreds of dollars on a local plumber or replace the entire high-end faucet fixture.
As a builder, my first step is always to look at the mechanical connection points. Nine times out of ten, a leaking sprayer line is caused by a simple worn-out rubber seal or a loose quick-connect fitting. Here is my straightforward, step-by-step dad blueprint to diagnose and fix a leaky sink sprayer hose in under twenty minutes for less than five bucks.
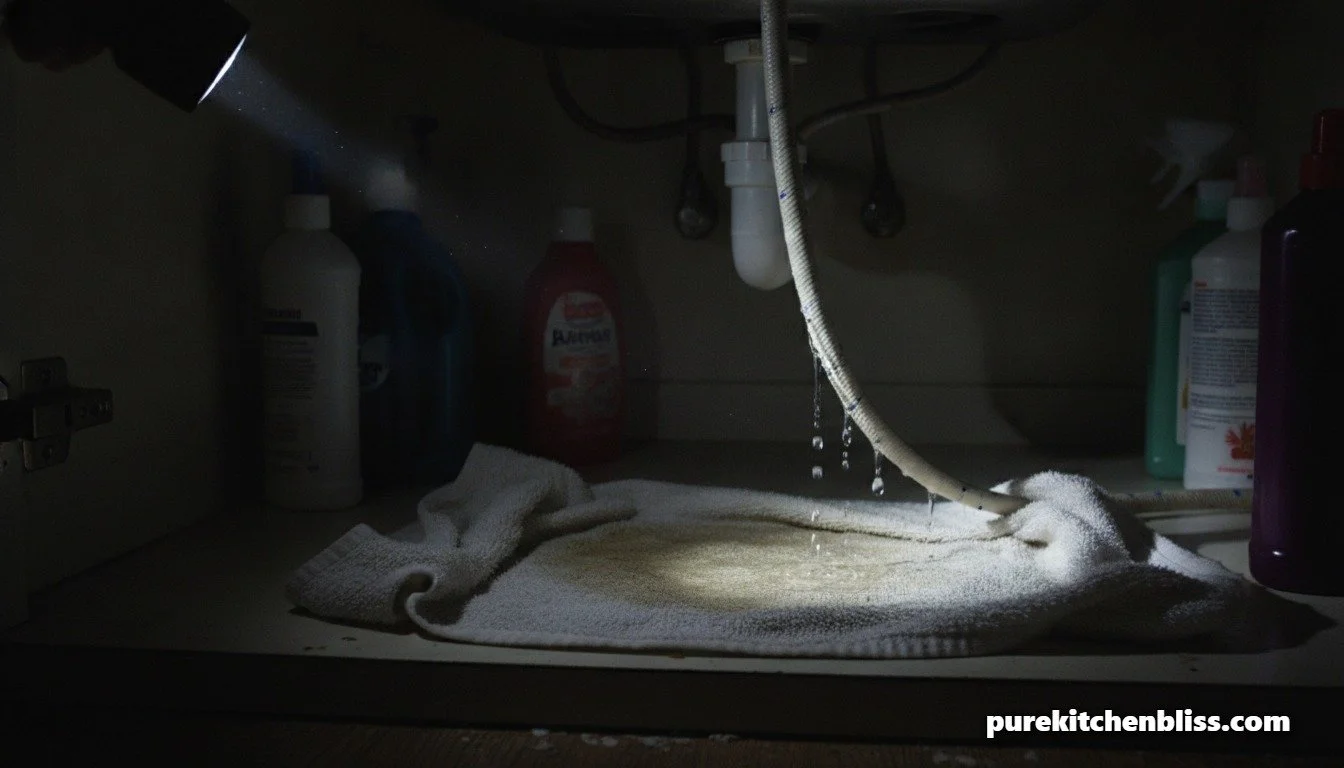
Step 1: Pinpoint the Leak Source 🔍
Before you go buying replacement parts, you need to find exactly where the water pressure is escaping. Wipe down the entire braided line with a dry cloth, turn on the faucet, and pull the sprayer head out over the sink.
The Sprayer Head Connection: Wrap a dry paper towel tightly around the plastic joint where the spray wand screws into the flexible hose. Press the trigger. If the paper towel dampens instantly, your leak is right at the top washer.
The Under-Sink Quick-Connect: If the top connection is dry, look underneath the sink base. Follow the hose down to where it snaps into the main faucet copper manifold. Have someone run the water while you check this bottom fitting for micro-sprays.
Step 2: Swap the Top O-Ring and Gasket ⚙️
If your leak is at the sprayer head joint, it’s almost always caused by a compressed rubber gasket or a split O-ring that can no longer hold a hydraulic seal under pressure.
The Disassembly: Unscrew the sprayer head from the hose coupling by turning it counterclockwise by hand. If it’s on too tight, use a pair of slip-joint pliers, wrapping a thick rag around the chrome finish first to protect it from scratches, matching how I protect our stainless steel appliance finishes.
The Fix: Dig out the old black rubber washer sitting inside the hose coupling using a small screwdriver. Pop in a fresh, high-density matching washer from a standard plumbing kit. For extra insurance, wrap two wraps of white Teflon thread tape clockwise around the male threads of the spray wand before screwing the pieces back together tightly.
My Troubleshooting Matrix: Sprayer Leak Symptoms vs. The Mechanical Repair
| Leak Location | The Physical Root Cause | My Exact DIY Fix | Material Cost |
|---|---|---|---|
| Joint near the Spray Wand | Compressed or dry-rotted rubber cup washer | Replace washer and apply fresh Teflon thread tape | Under $2 |
| Middle of Braided Line | Internal rubber lining split from friction rubbing | Install a universal nylon replacement pull-out hose | ~$15 - $20 |
| Under-Sink Connection | Loose quick-connect collet or worn internal O-ring | Disconnect, clean sediment, lube O-ring, and click back in | $0 |
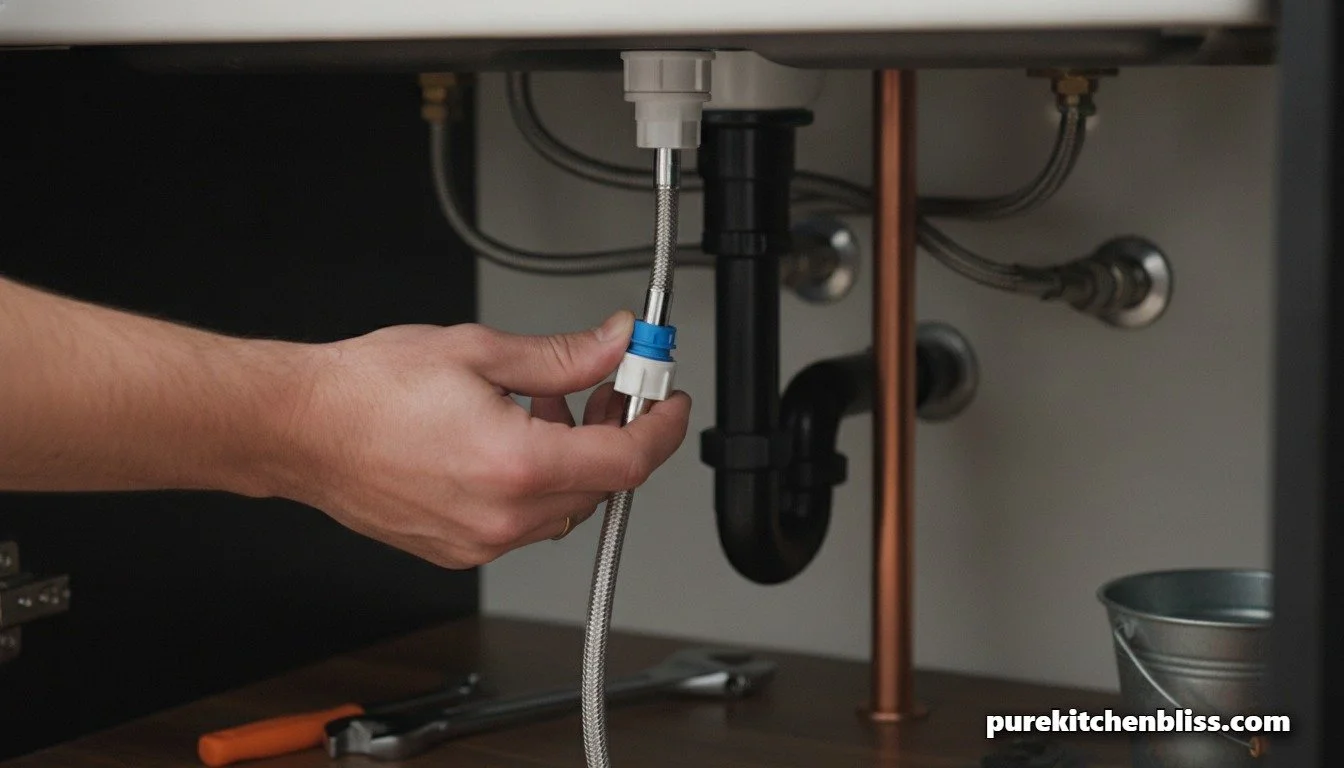
Step 3: Fixing the Under-Sink Quick-Connect 🔑
If the leak is dripping directly from the bottom junction block underneath your counter, your hose's quick-connect fitting has either backed out slightly or has sediment trapped inside its seal.
The Release: Turn off both hot and cold water shut-off valves beneath the sink. Locate the plastic housing block (usually gray, blue, or white) connecting the sprayer hose to the center faucet pipe. Push up on the hose, press the plastic collet ring or square button inward, and pull down to slide the hose out.
The Reset: Check the tiny internal rubber O-ring inside the connection socket for tears. Wipe away any hard-water calcium buildup using a soft cloth dipped in white vinegar—the same gentle approach I use to clear out clogged kitchen appliance paths. Apply a tiny dab of silicone plumber's grease to the O-ring, push the hose connector straight up into the block until you hear a solid mechanical "click," and yank down lightly to ensure it's locked into place.
Replacing a Ruptured Hose Line 🧵
If you notice that water is weeping directly through the braided fabric middle section of the line itself, the internal rubber tube has structurally ruptured from years of rubbing against the sharp back edges of your sink basin or water valves. You can't patch this under pressure; you need to swap the line.
The Fix: Take a picture of your faucet brand logo (like Delta, Moen, or Kohler) and head to your local hardware store or look online. Universal braided nylon lines slip right down through the faucet counter hole, attach to your wand at the top, and click right into your quick-connect port at the bottom in less than five minutes.
My Amazon Shopping Blueprint 🛒
If you need to overhaul your under-sink sealing setup or replace a shredded line this weekend, here are the exact structural parts I use to ensure a long-lasting, leak-free seal:
The Universal Replacement Hose: The Danco Universal Pull-Out Kitchen Faucet Hose Replacement is an awesome upgrade. It features a heavy-duty, double-braided nylon exterior that slides smoothly over cabinet edges and comes with multiple adapters to fit Moen, Delta, and Kohler quick-connect bases seamlessly.
The Essential Seal Kit: To keep a tough supply of gaskets on hand for future household water fixtures, the Captain O-Ring Plumbing Washer and O-Ring Assortment Kit gives you dozens of high-density rubber shapes that seal tight under hard pressure.
Taking twenty minutes to fix a small plumbing leak yourself keeps your kitchen infrastructure completely secure, protects your custom cabinetry floor from water damage, and builds a solid bit of home-maintenance confidence. It ensures your main water workspace stays bone-dry and ready to handle the next big family dinner rush!
Next Up: Want to see the custom, inline water system I plumbed right alongside these sprayer connections to keep our family hydration completely non-toxic and filtered? Check out our Why I Installed an Inline Water Filtration System Beneath My Kitchen Sink!.