How to Clean Glass Jars Without Harsh Chemicals
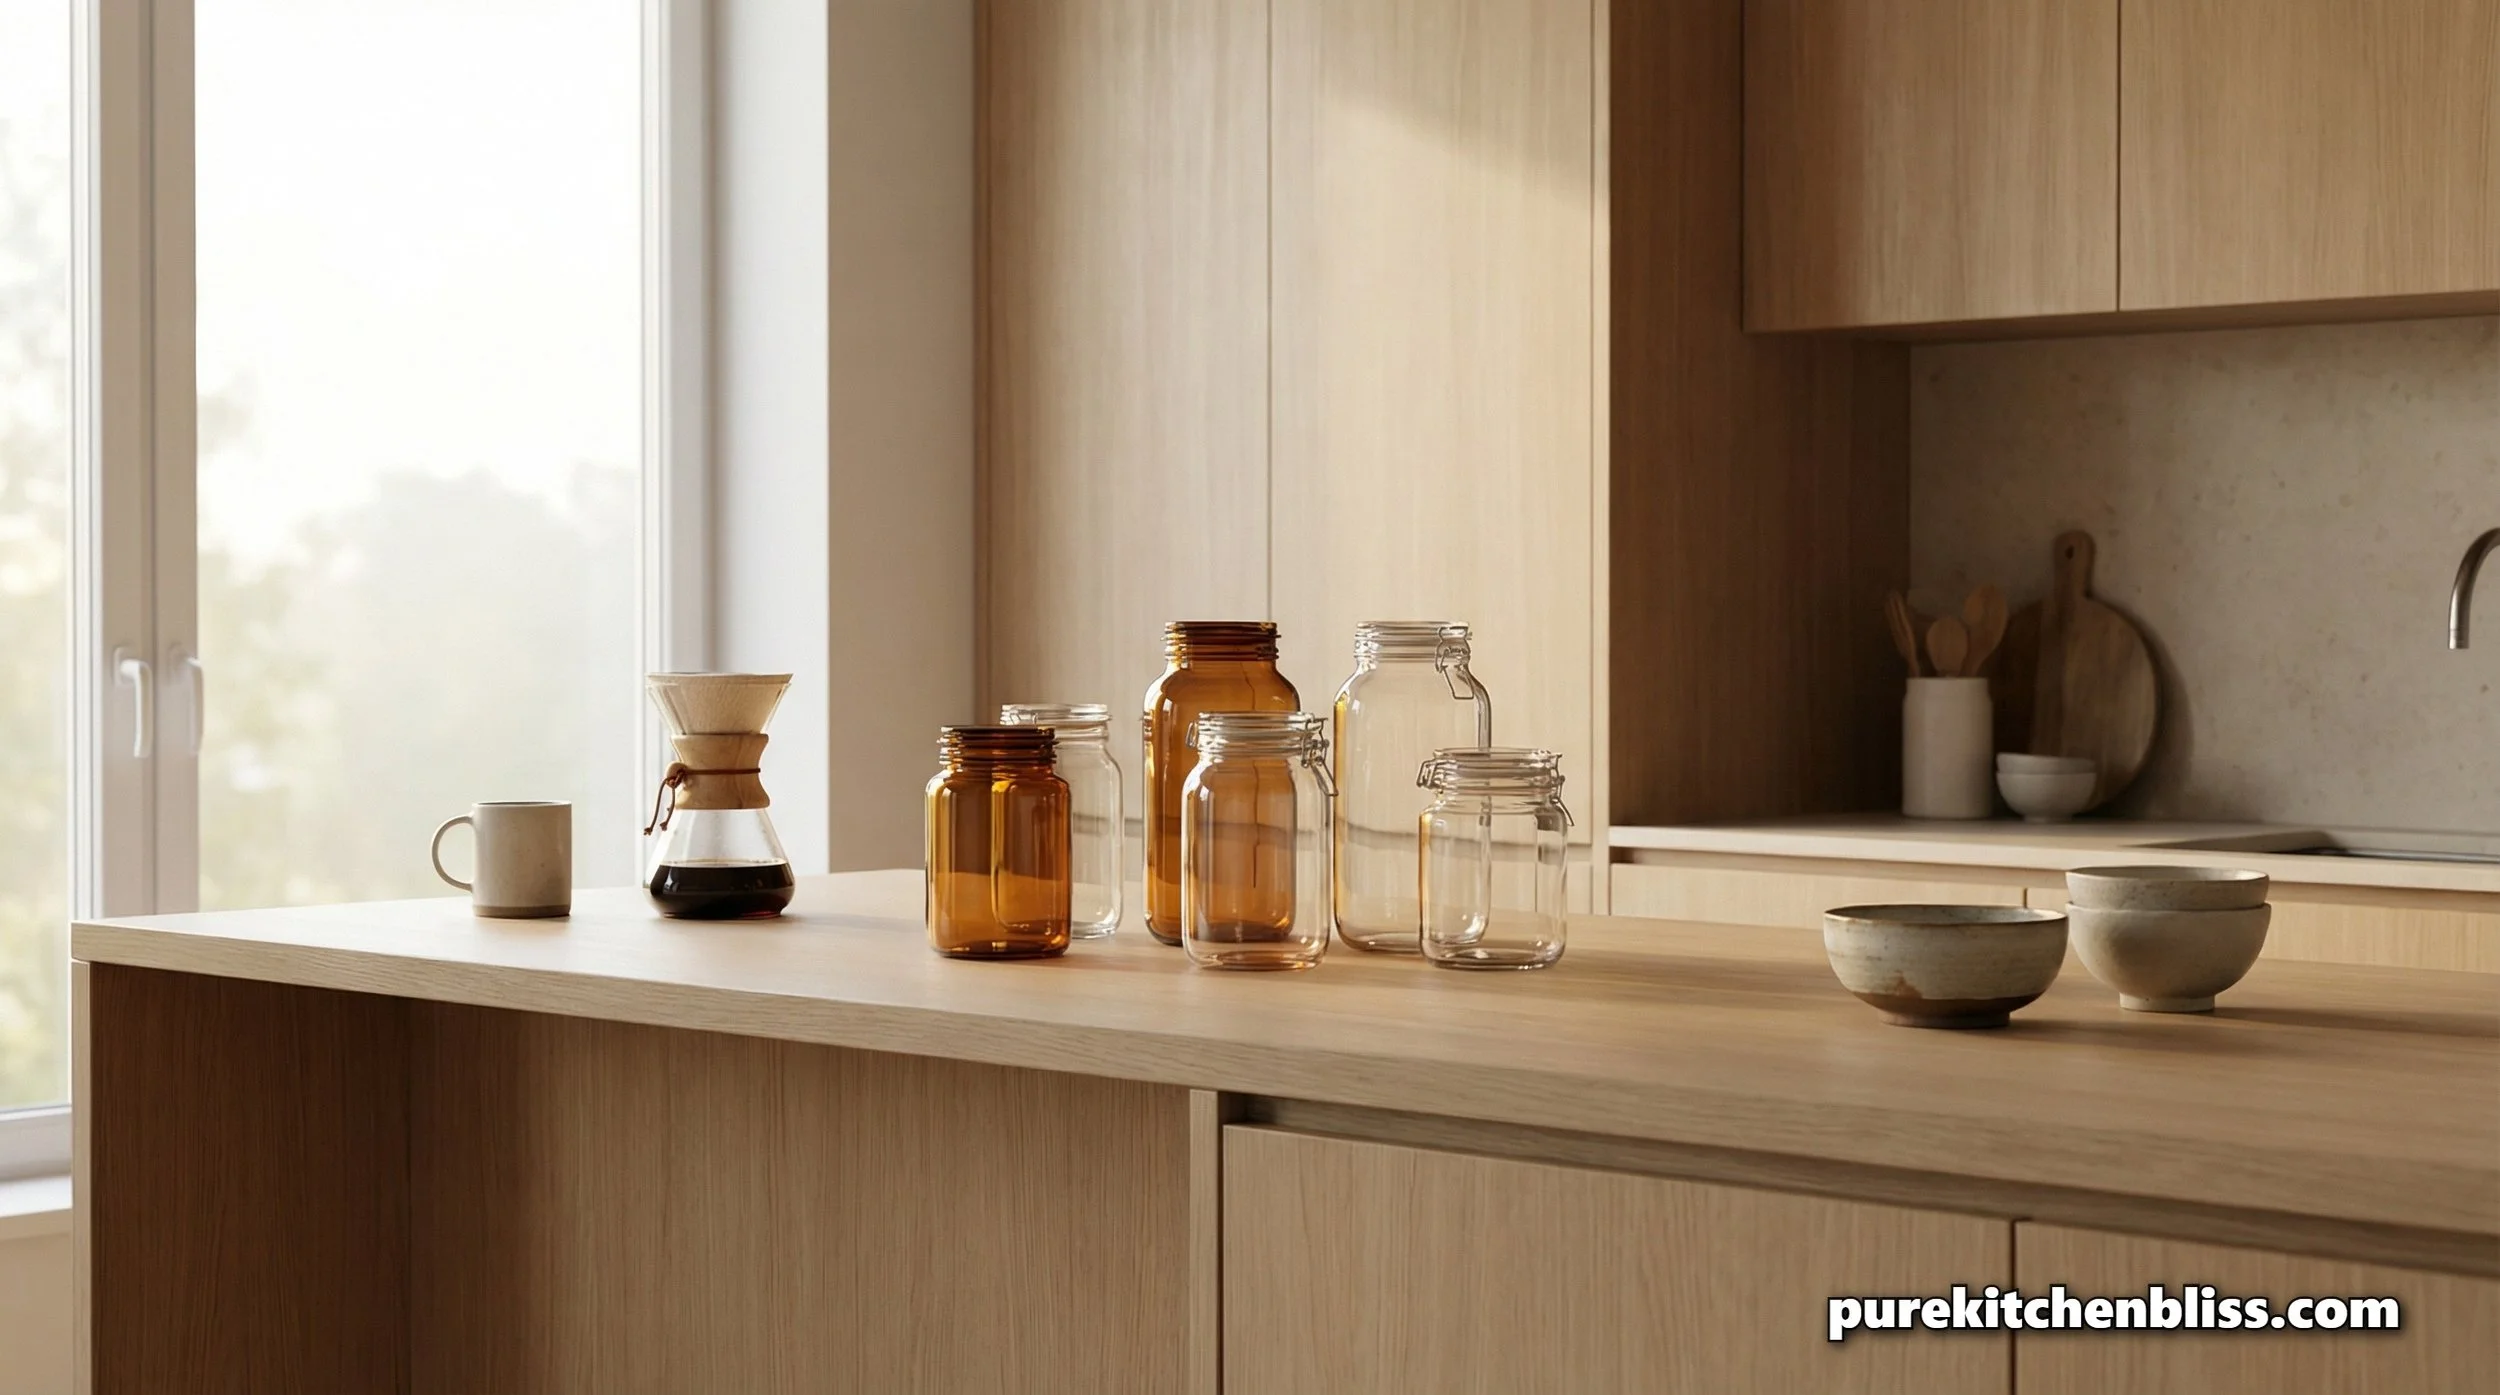
To a Builder-Curator, a glass jar is one of the most versatile pieces of "micro-infrastructure" in the kitchen. Whether you are decanting grains for your Small Kitchen Organization Hacks or prepping for a Monday Morning Momentum smoothie, your glass must be sterile, clear, and free from the chemical residues found in commercial soaps.
In a household with four daughters, we go through a lot of glass. Upcycling jars from the grocery store isn't just a sustainable habit; it’s a way to build a high-performance pantry on a budget. However, cleaning glass isn't just about removing visible dirt; it’s about neutralizing odors and stripping away the "polymerized" oils that can turn rancid over time. Here is the professional, non-toxic protocol for restoring glass to its original purity.
1. The Label Strip: Eliminating Adhesive Residue
If you are upcycling jars, the biggest hurdle is the industrial adhesive used on labels. Most people reach for chemical solvents or "Goo Gone," but those products contain petroleum distillates that have no place in a Sustainable Sanctuary. As a Red Seal Carpenter, I’ve used high-end solvents on job sites, but for your food storage, I prefer using natural solvents.
The Heat Soak
Submerge your jars in very hot 180°C water with a tablespoon of eco-friendly dish soap. Let them sit for 20 minutes. This softens the paper and the top layer of adhesive.
The "Magic" Paste
For stubborn residue, skip the chemicals and mix equal parts Baking Soda and Organic Olive Oil.
The Protocol: Rub the paste onto the remaining adhesive and let it sit for 10 minutes.
The Science: The oil breaks down the sticky polymers, and the baking soda provides a gentle abrasive to lift it away without scratching the "skin" of the glass. Once the adhesive is gone, wash with warm soapy water to remove the oil residue.
2. The Deep Clean: Neutralizing Bio-Load
Glass is non-porous, making it an excellent material for a pure kitchen. However, the "shoulders" and threads of a jar (where the lid screws on) are notorious for trapping bacteria and bio-sludge. To ensure your kitchen air and food surfaces remain pure, we use a mechanical and chemical-free deep clean.
The Solution: Create a mixture of 50% Distilled White Vinegar and 50% warm water. Vinegar is a natural acetic acid that kills most household pathogens without the "off-gassing" of bleach.
The "Mechanical" Action: For jars with narrow necks where a brush won't reach, add a tablespoon of coarse sea salt to the vinegar mixture. Shake vigorously. The salt acts as a "biological scrubber," physically knocking off buildup from the internal curves of the glass.
Glass Restoration & Purity Matrix
| Method | Safety | Best For | Builder's Note |
|---|---|---|---|
| Baking Soda Paste | 10/10 | Adhesive Removal | Effective on polymers without scratching the glass. |
| Vinegar & Salt | 9/10 | Narrow Necks | Mechanical action replaces harsh plastic bottle brushes. |
| Sun Curing | 10/10 | Odor Neutralization | Natural UV rays break down organic odors in the glass. |
| Thermal Soak | 7/10 | Label Loosening | Risk of "thermal shock" if temperature transitions too fast. |
3. The Odor Reset: Vapor-Phase Cleaning
If you are reusing a jar that once held garlic, pickles, or spicy salsa, the odor can linger long after the jar looks clean. This happens because microscopic imperfections in the glass and the lid's seal can trap volatile organic compounds (VOCs) from the previous food.
The Steam Method
Place a tablespoon of baking soda in the jar and fill it halfway with boiling water. The resulting "effervescence" creates a vapor that helps lift trapped odors out of the glass's surface.
The Sun Cure
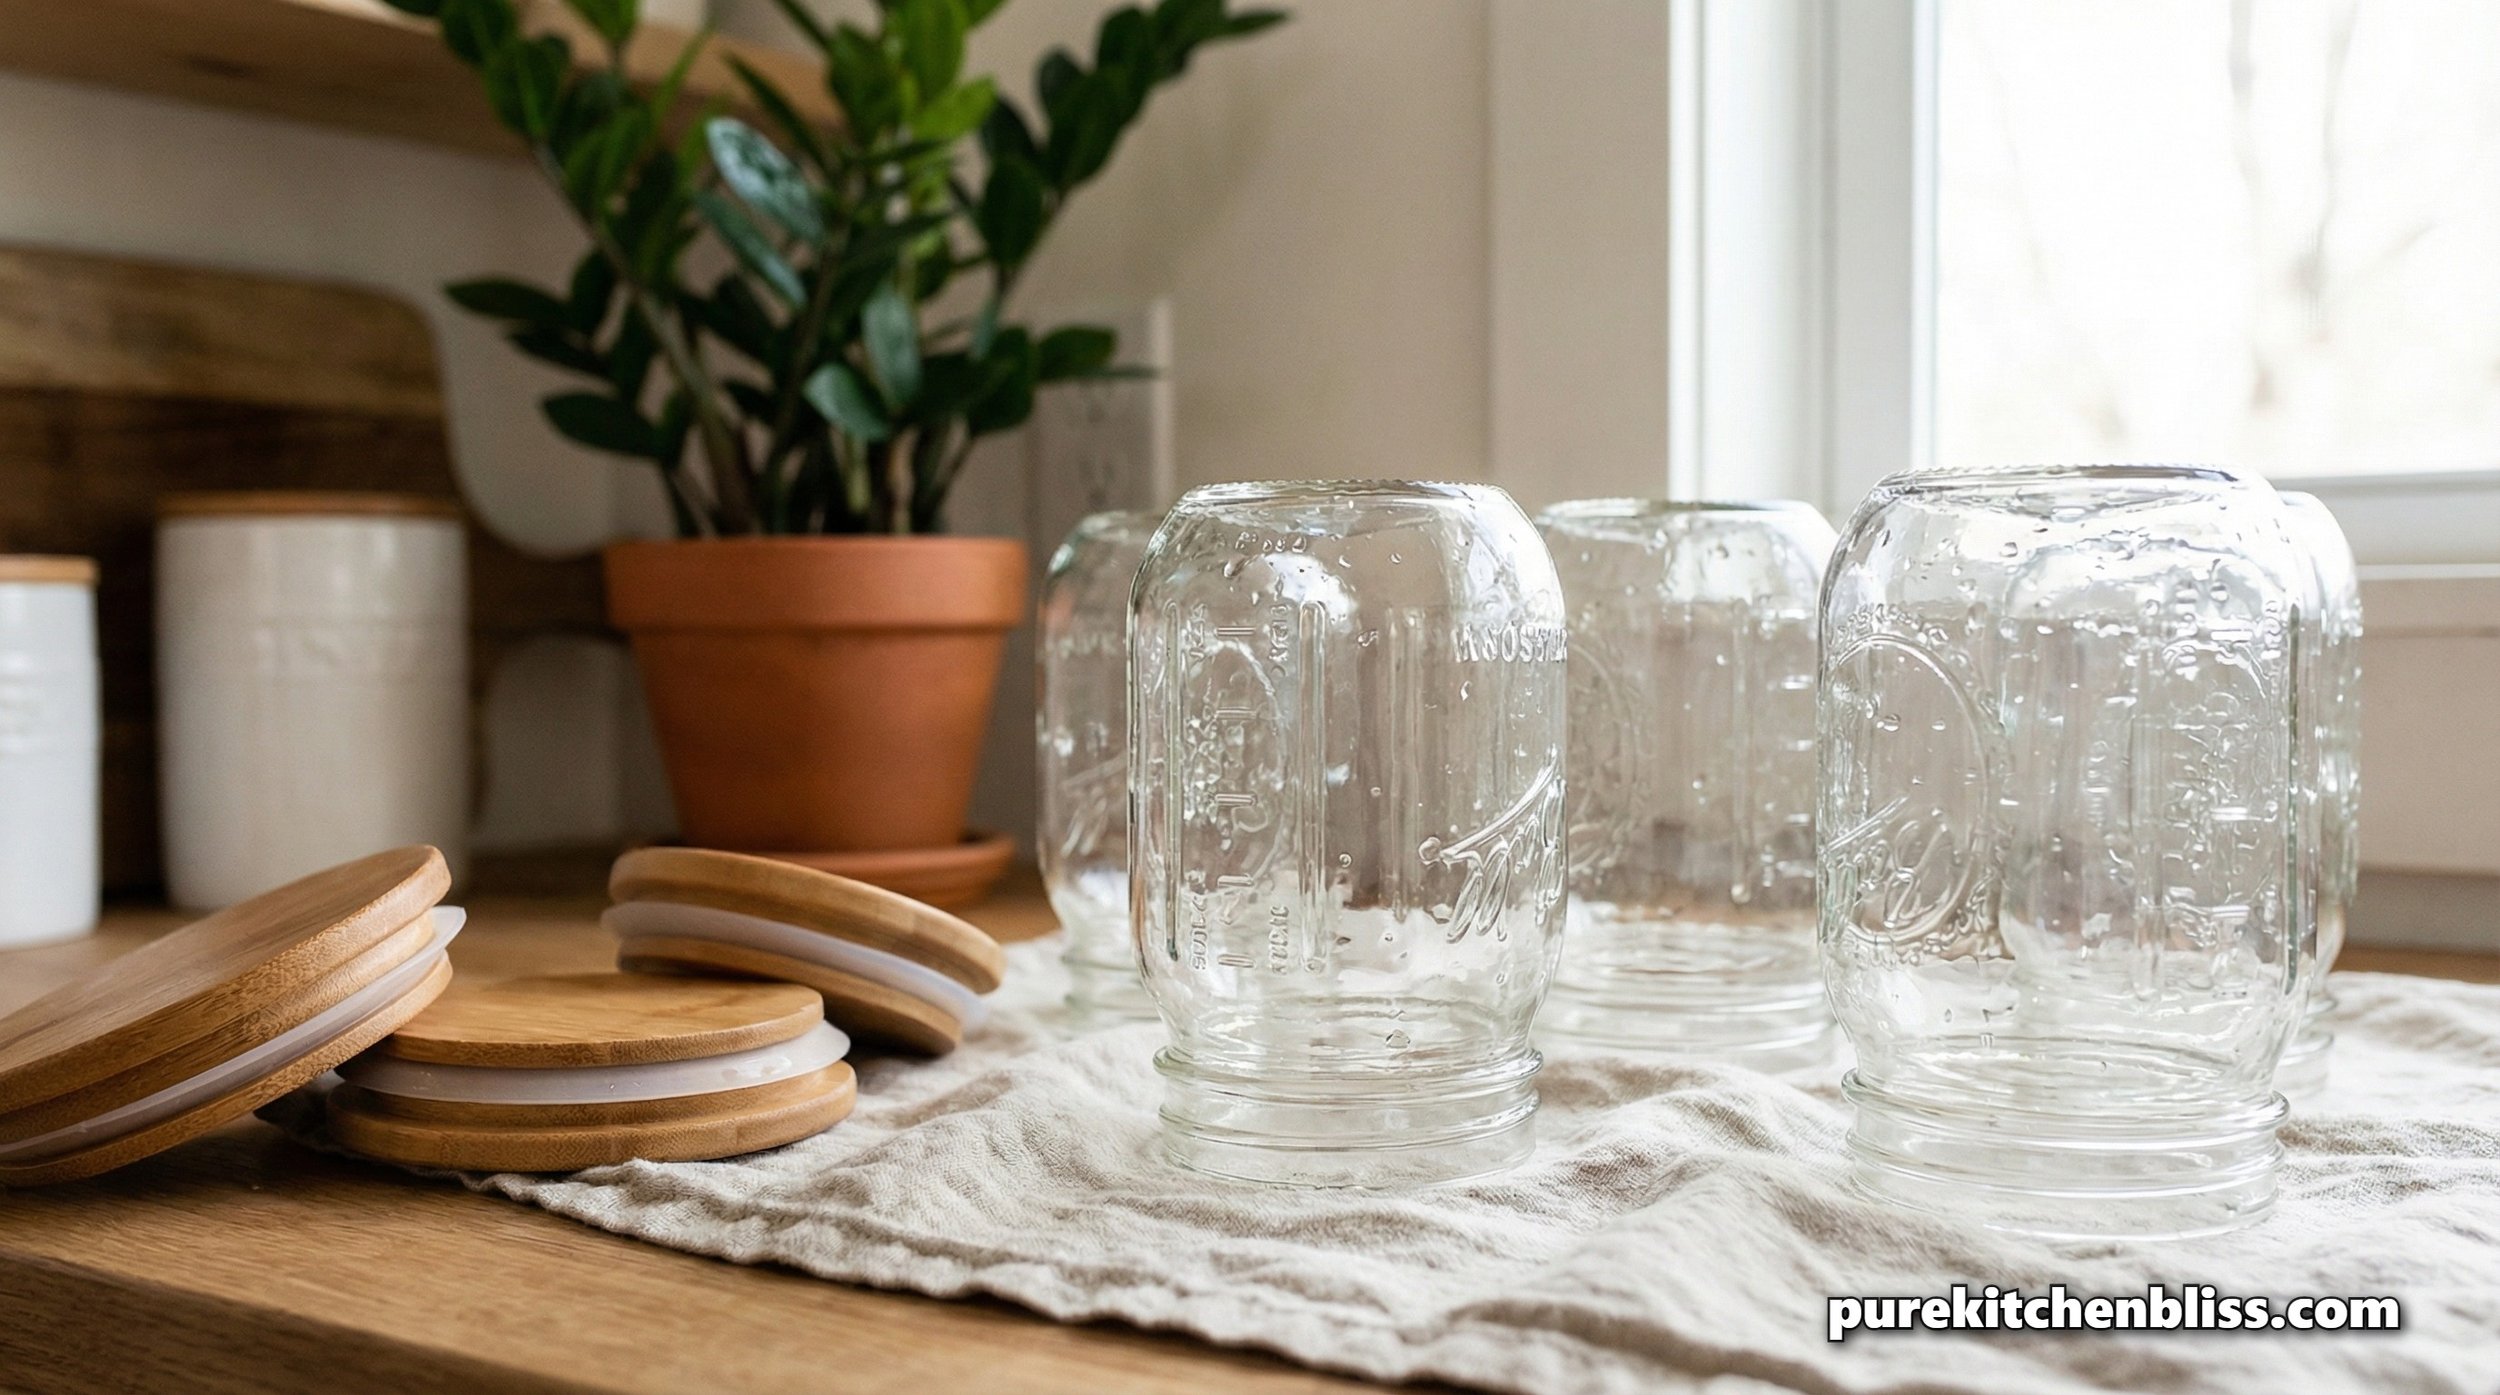
This is a trade secret for organic living. After washing, place your jars upside down on a clean towel in direct sunlight for two hours. The UV rays act as a natural disinfectant and a powerful odor neutralizer. It’s the ultimate "zero-cost" high-performance hack.
4. The Lid Infrastructure: Protecting the Seal
As a builder, I know that any storage system is only as good as its seal. Most jar lids have a plastic or rubber "gasket" that is the weakest link in the chain.
The Non-Toxic Spec: Avoid boiling rubber seals. High heat can cause them to degrade and leach micro-chemicals. Instead, soak them in a bowl of warm water with fresh lemon juice.
The Rust Rule: If a metal lid shows even a speck of rust, discard it. Rust is an oxidation process that can contaminate your food and damage the "bones" of your storage system.
5. Troubleshooting: Common Glass Restoration Issues
To ensure your kitchen remains a sanctuary, you have to know how to handle the "fails."
Cloudy Glass: This is usually calcium buildup from hard water. Soak the jar in pure white vinegar for 30 minutes to dissolve the minerals.
Sticky "Film": If the oil/soda paste leaves a film, use a drop of Castile soap and a warm rinse.
Lingering Pickle Smell: If the Sun Cure fails, fill the jar with dry coffee grounds and let it sit for 24 hours. The carbon in the coffee will absorb the remaining aromatics.
BUILDER TIP: THERMAL SHOCK WARNING
Glass is durable but brittle. Never move a jar directly from a cold rinse to boiling water. This causes thermal expansion stress that can lead to structural failure (shattering). Always transition temperatures gradually.
6. The Family Impact: The "Mason Jar" System
With six people in the house, our "Infrastructure" needs to be kid-proof. We don't just use glass for storage; we use it for daily life.
Prep Once, Use Twice: We use wide-mouth jars for everything from overnight oats to holding "Dad’s Special Sauce" for Sunday BBQ.
Durability: In a house with four girls, things get dropped. We prioritize Borosilicate glass for items that will see high heat or frequent handling, as it's more resistant to thermal and physical stress.
7. Conclusion: Clarity in the Sanctuary
Cleaning your glass jars without harsh chemicals isn't just better for the planet; it ensures the flavor of your food remains untainted. By following this professional restoration protocol, you are extending the life of your kitchen's infrastructure and maintaining the purity of your home.
By the time you finish this ritual, your jars won't just look clean, they will be professionally restored, ready to serve as the high-performance backbone of your pantry.