How to Grow Mint Indoors Without It Taking Over
Transparency Note: We independently select these products based on research and user reviews. If you buy something through our links, we may earn a commission.
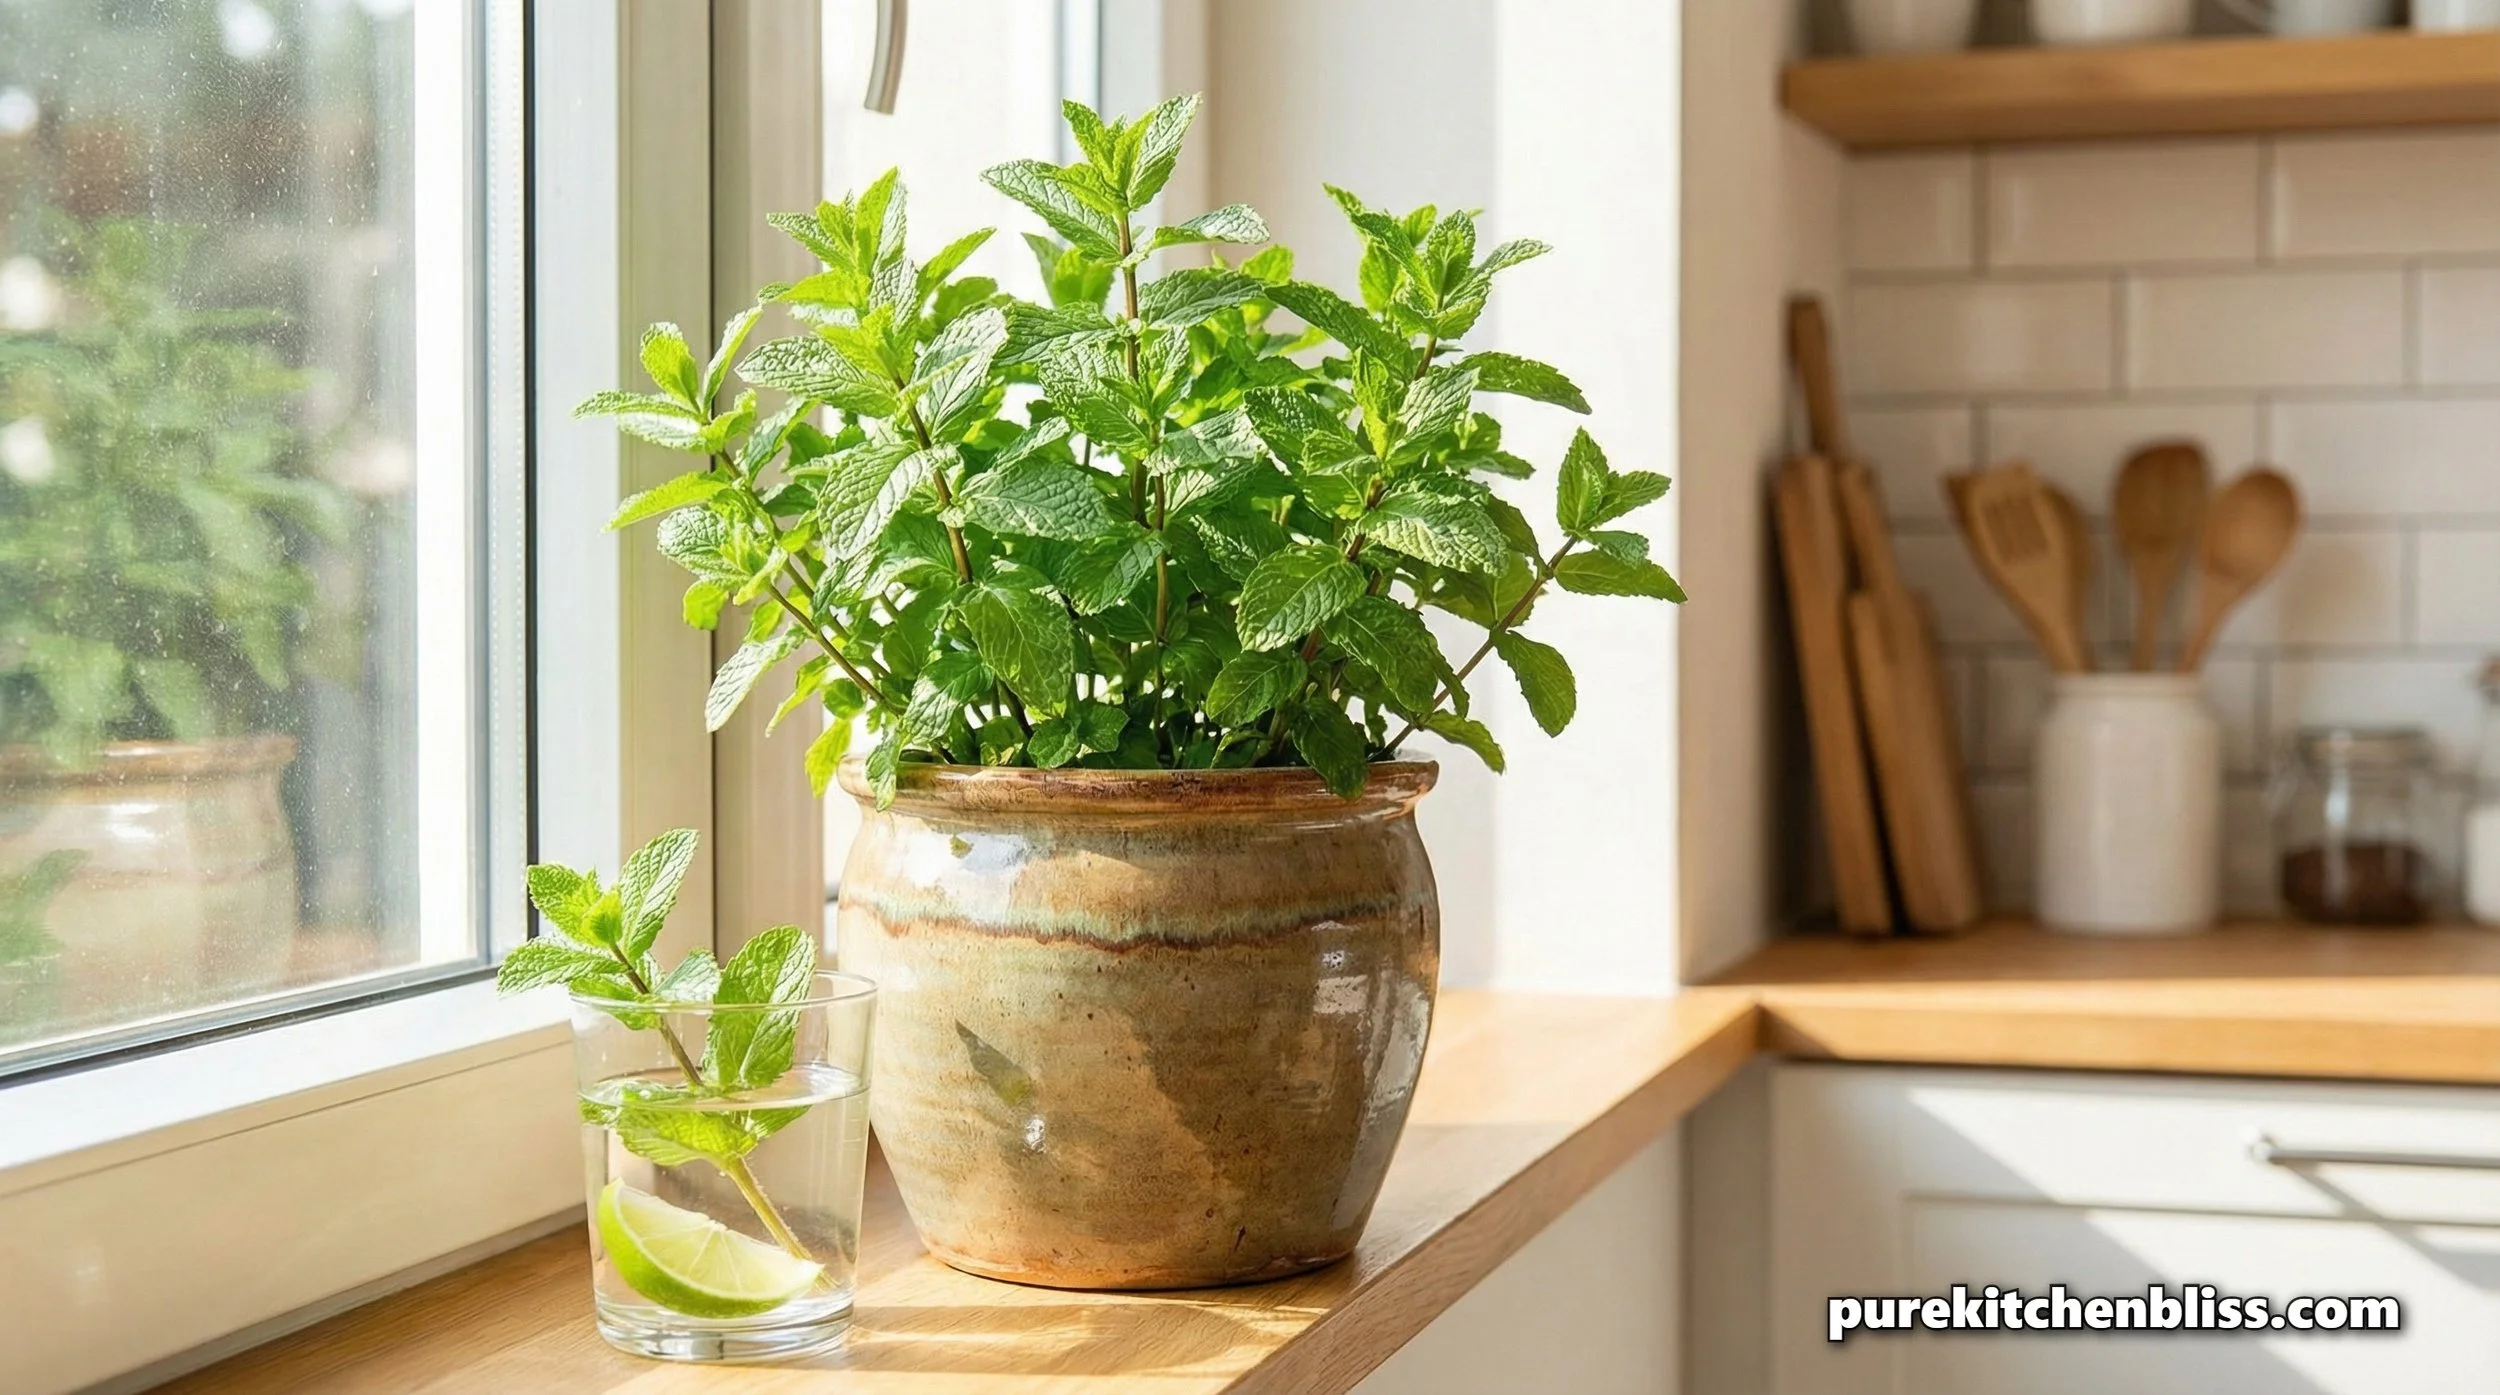
Mint is the champion of indoor gardening. It is remarkably resilient, grows with a vigor that can catch a beginner off-guard, and can survive in environmental conditions that would kill other, more delicate herbs like basil or cilantro. However, mint has a reputation for being "invasive," which is a problem if you have a massive outdoor garden but a great benefit if you are growing it in a controlled container on your kitchen counter. It is the perfect "anchor" plant for anyone who wants to learn the mechanics of high-yield indoor growing, as it provides immediate feedback on your care routines. If you treat it like the aggressive grower it is, you will have a year-round supply of fresh leaves for teas, cocktails, and culinary garnishes.
1. The Containment Infrastructure
The number one rule of mint is: Keep it in its own pot. Mint grows via "runners," underground stems known as rhizomes that spread horizontally to colonize new territory. In an outdoor garden, this allows mint to take over entire flowerbeds. Indoors, this biological drive means that if you plant mint in a mixed herb garden, it will suffocate your basil and parsley within weeks by stealing their nitrogen and root space.
Give your mint a dedicated 6- to 8-inch pot all to itself. It will love the extra room, and your other herbs will thank you for the distance. Because mint is such a rapid grower, it is also a great candidate for "self-watering" pots or pots with wide surface areas. A wider pot gives those runners more space to travel and produce new stems, which effectively increases your total harvest volume without requiring extra floor space.
2. Maintenance and Harvesting: The "Aggressive Cut"
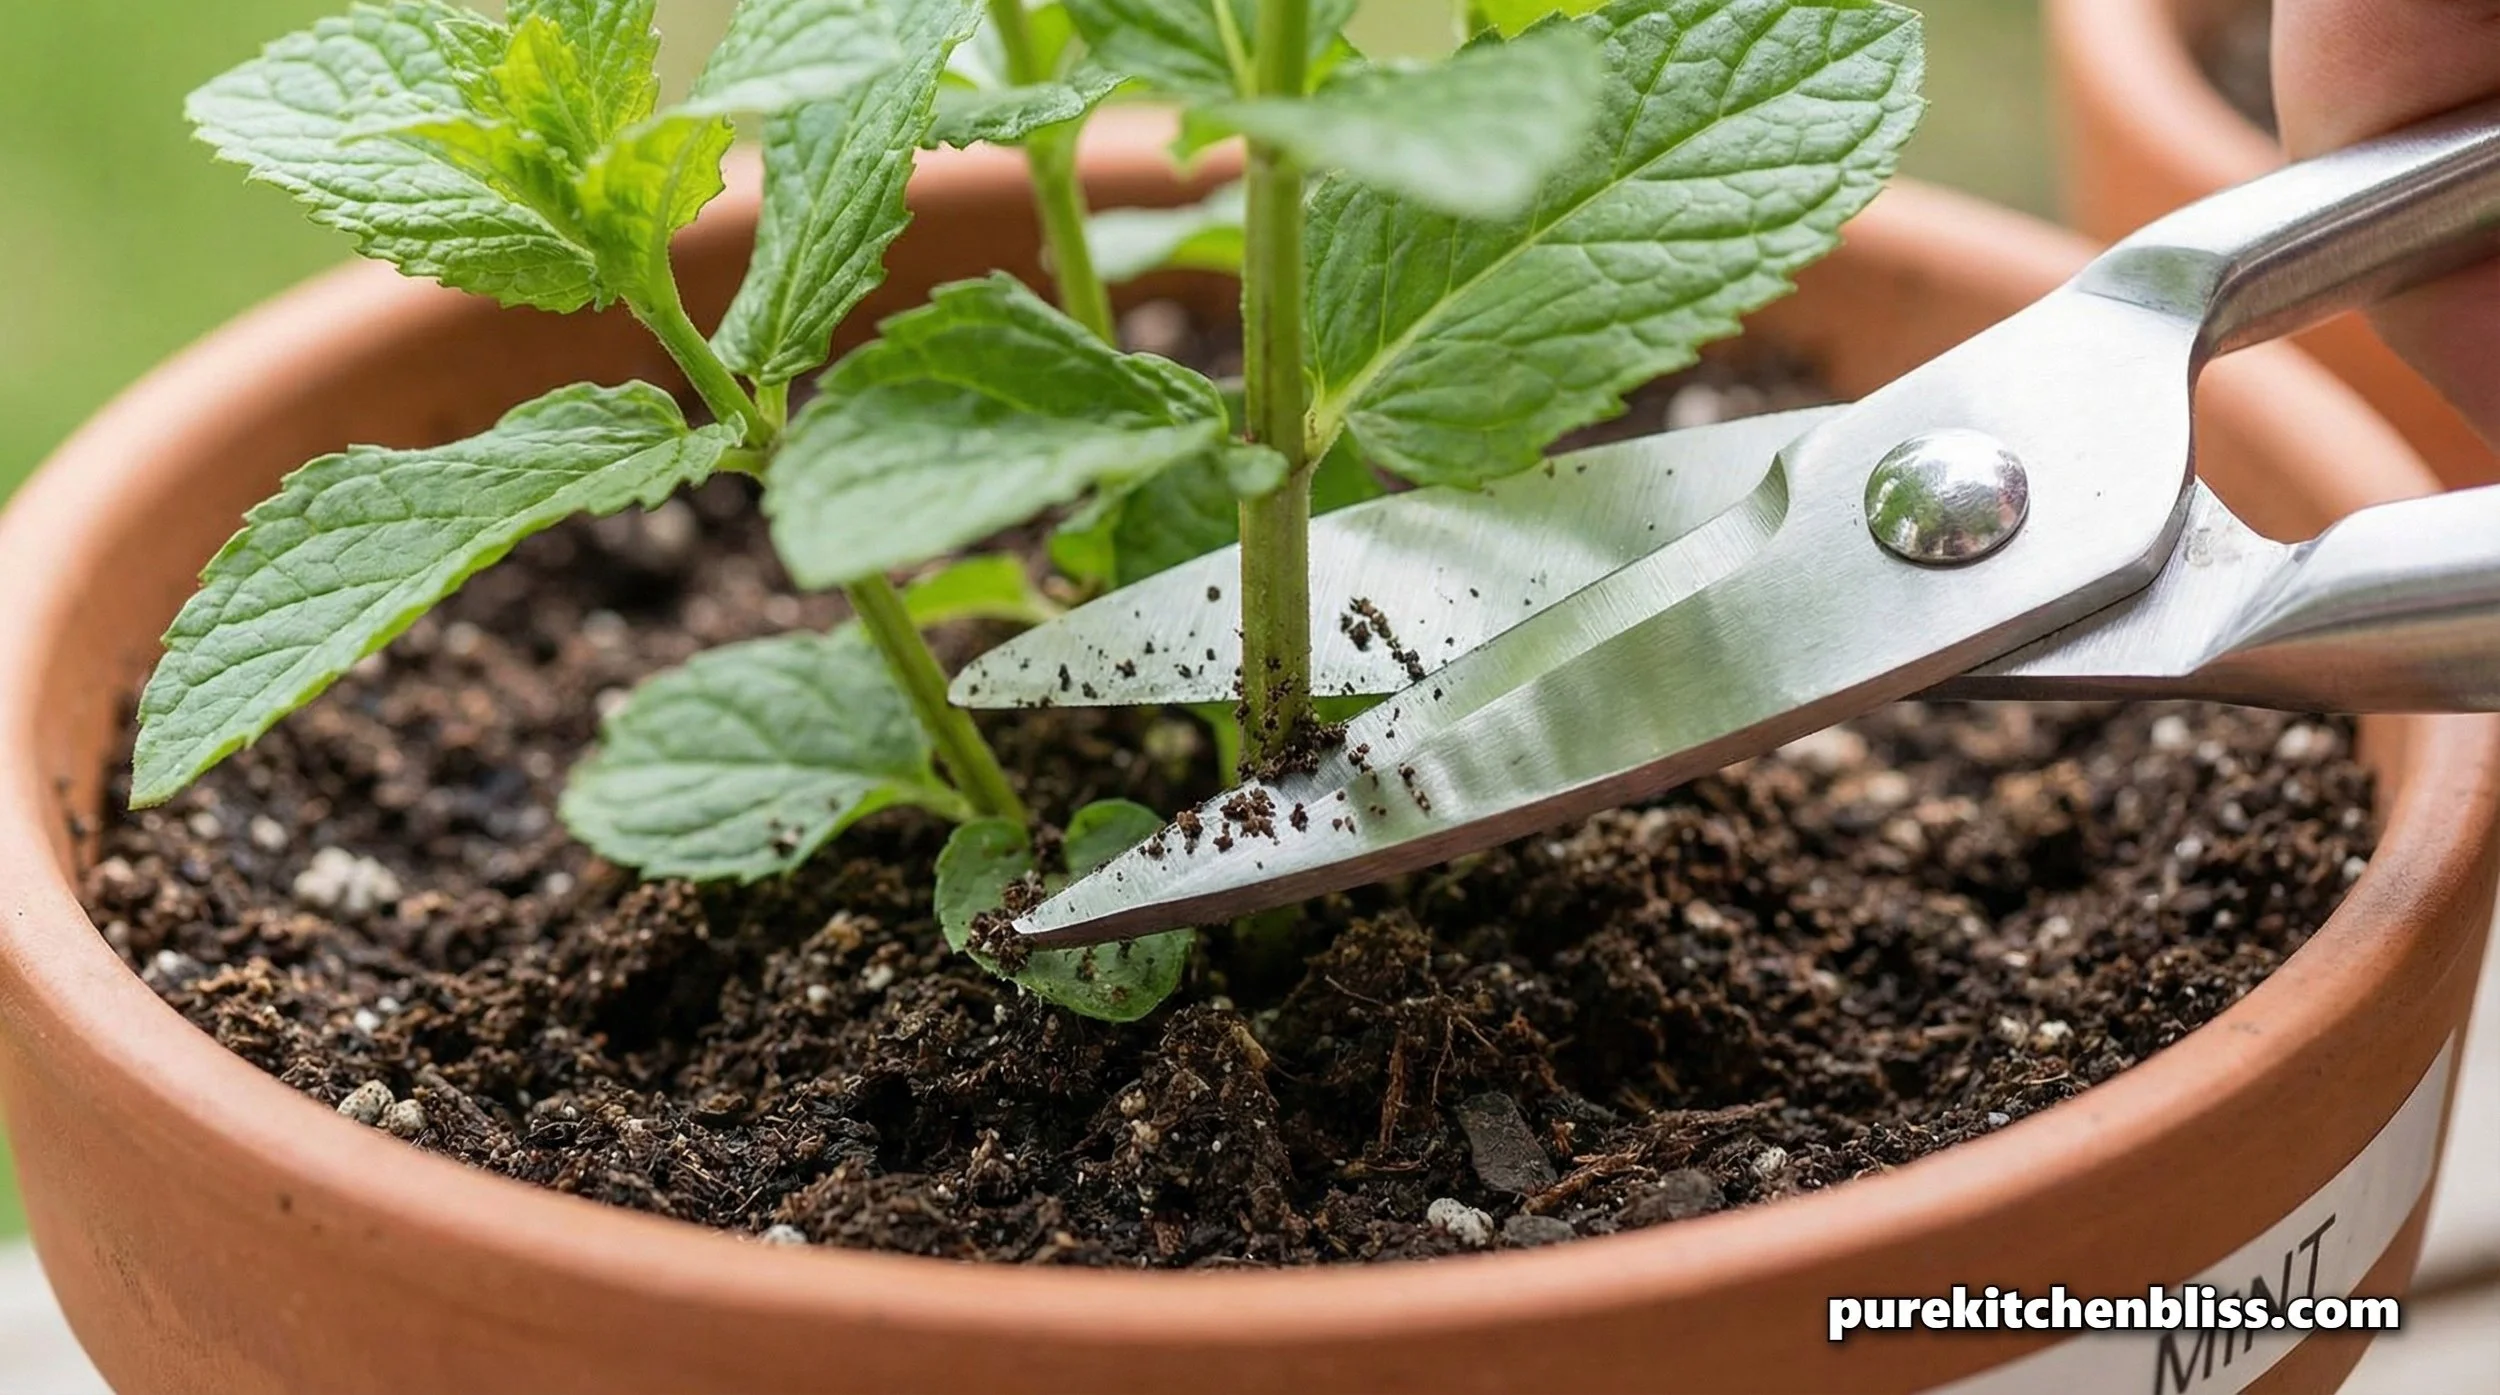
Unlike basil, which requires precise "pinching" at specific nodes to maintain its structure, mint thrives on being cut back hard. It is a regenerative system; the more you harvest, the more it produces.
The Aggressive Cut: If you’re afraid to cut your mint, it will get "leggy," long, thin, woody stems with only a few leaves at the very top. Don't be afraid to harvest! If you cut the stems down to 2 inches above the soil line, the plant will respond with a surge of thick, vibrant new growth. This creates a denser, healthier plant structure.
The Watering Protocol: Mint is a thirsty herb. It prefers "moist" over "dry." If the surface of the soil looks dry, it's time to water. If you let it dry out completely, the plant will wilt dramatically. While mint is resilient enough to bounce back from a single dehydration event, repeated dry spells will cause the leaves to turn brown, brittle, and lose their essential oils, which is where all that flavor lives.
| Mint Variety | Best Use | Growth Habit |
|---|---|---|
| Peppermint | Teas, Desserts | Spreads quickly; very robust. |
| Spearmint | Cocktails, Salads | Sweeter; slightly slower grower. |
3. Light and Airflow: Avoiding Pests
Even though mint is hardy, it is prone to one major indoor issue: Powdery Mildew. This looks like a fine, white, flour-like dusting on the leaves. It happens when the air in your kitchen is stagnant or too humid. Mint doesn't need high-intensity light like basil, but it does need airflow.
Airflow: If you grow your mint in a tight, dark corner of the kitchen, you’re creating the perfect conditions for mold. Consider keeping a small oscillating fan nearby to improve air circulation.
Light: Mint likes bright, indirect light. A windowsill that gets morning sun is perfect. If your kitchen gets intense, direct afternoon sun, keep the mint slightly back from the glass to prevent the leaves from scorching. Remember: mint evolved as an under-canopy plant, so it is naturally adapted to filtered light.
4. Soil and Nutrient Needs
Mint is a heavy feeder. Because it grows so fast, it pulls a high volume of nitrogen and potassium out of the soil.
The Reset: If your mint starts to turn pale or yellow, it’s not necessarily sick; it’s hungry. Refresh the soil by adding a small amount of organic compost or a balanced, water-soluble organic fertilizer every 4–6 weeks during the growing season (spring and summer).
Soil Choice: Use a standard, well draining organic potting mix. Avoid "garden soil" or "topsoil" from outdoors. These are too dense and lack the necessary drainage for container gardening. They can also introduce outdoor pests like fungus gnats to your kitchen environment, which can be difficult to eradicate once they take hold in your indoor space.
5. Troubleshooting: Why Is My Mint Dying?
"My mint has tiny black bugs": These are likely aphids or spider mites, which love the underside of mint leaves. Wipe them off with a damp cloth and use a gentle insecticidal soap spray immediately.
"The leaves are turning brown at the edges": This is usually a sign of low humidity (common in winter with indoor heating) or inconsistent watering. Try moving the plant to a spot with more humidity or place it on a tray of pebbles and water to boost ambient moisture.
The "Root-Bound" Check: If your mint stops growing despite you feeding and watering it correctly, it has likely outgrown its pot. Pull the plant out of the container; if you see more roots than soil, it’s time to move it to a larger container (or prune the roots and refresh the soil).

6. Conclusion: The Easiest Herb You'll Ever Grow
Mint is a fantastic way to introduce "living food" into your kitchen infrastructure. It’s nearly impossible to kill, requires simple maintenance, and provides a near-infinite supply of fresh flavor for drinks, desserts, and savory dishes. By giving it its own pot, ensuring consistent moisture, and harvesting it aggressively, you’ll have a lush, productive plant for years. It is the perfect demonstration of how a little bit of care goes a long way in an indoor culinary garden.
Ready to Start? Start your own easy-to-grow mint patch today and never run out of fresh leaves for your tea or cocktails again.
Buy Mint/Herb Starter Kit - Shop on Amazon